|
Digital Clock Supports |

|
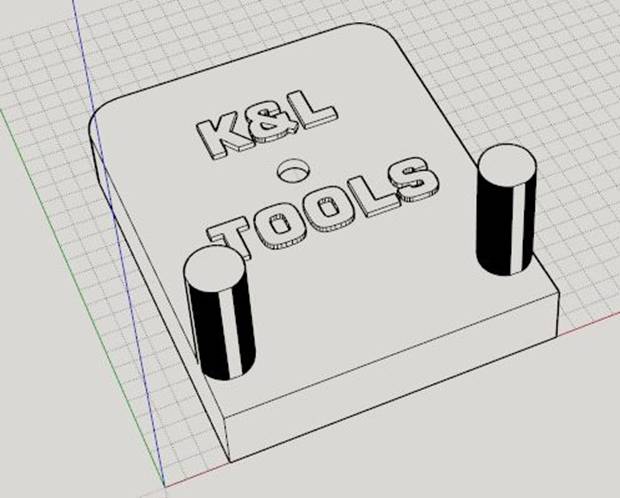
Before buying a 3D printer, I spent some time creating this tool rack (to the left) using an on-line 3D program "Tinkercad". It was easy to use and let me get an idea of what it's like to do 3D CAD, having only used CAD to design PCBs. Like Kahn, "2 dimensional thinking".
When I was done, my friend Gregg "printed" it for me. Well, I thought it turned out great and was now sold on the idea!
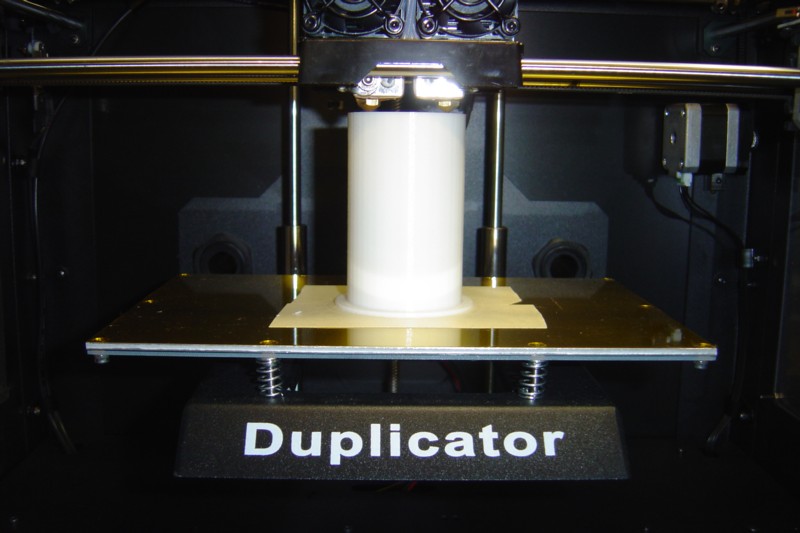
I started learning "SketchUp", a far more sophisticated program, and ordered my printer, seen below just after it arrived and I set it up:
|
|
3 |
|
5 |
|
Electronics & Maker Projects (page 1) |
|
Below are things I've designed since having the printer. The projects I enjoy most are "Things" (3D printing world term) that serve a real practical purpose. |
|
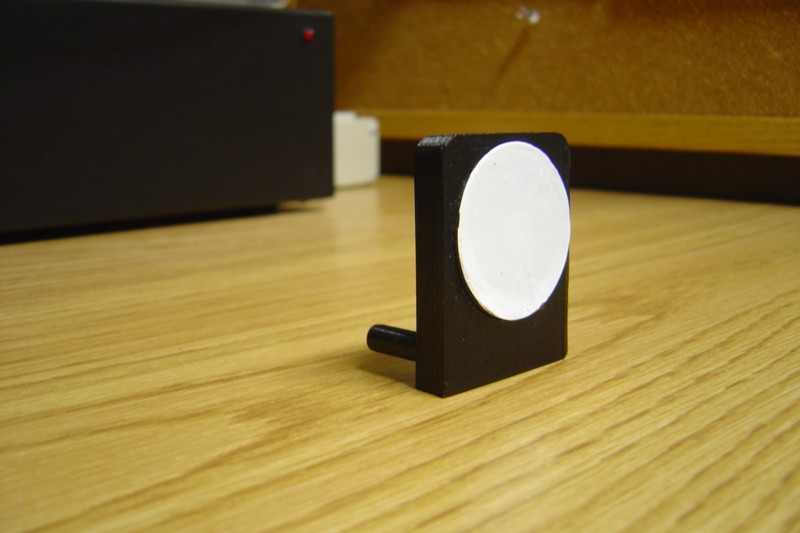
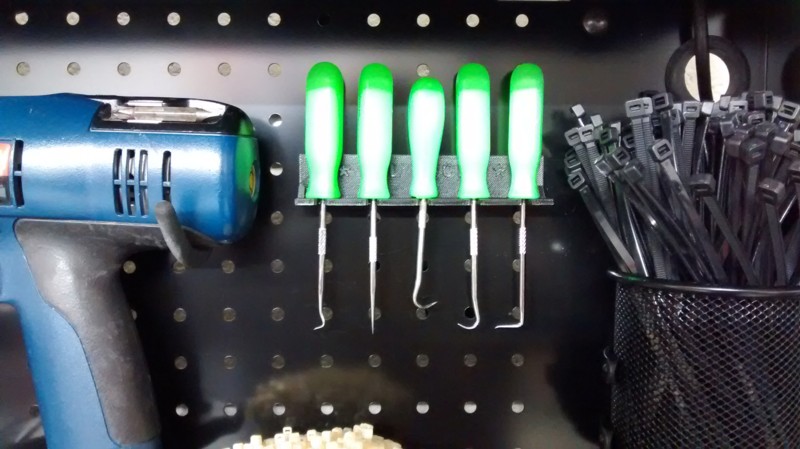
Magnetic Pliers Rack |
|
Round part is a magnet taken from a magnetic hook, embedded in a recess I designed into the back and held by a 4mm black button head screw. |
|
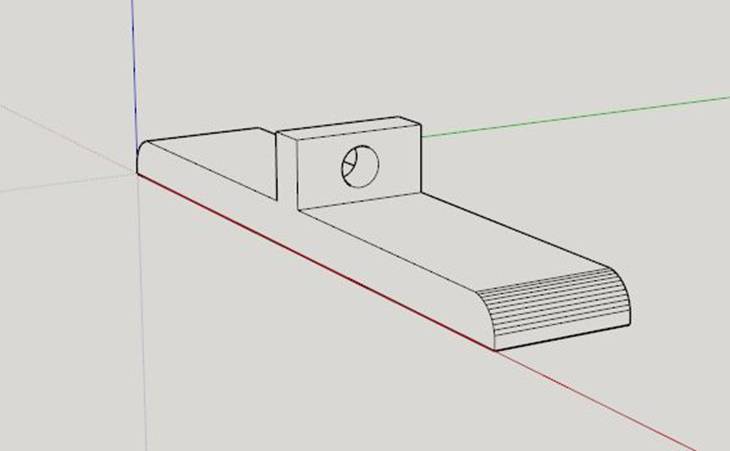
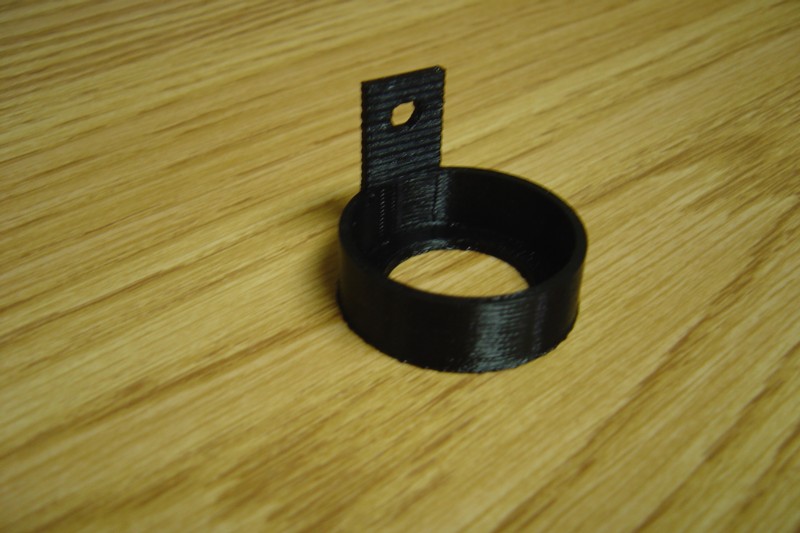
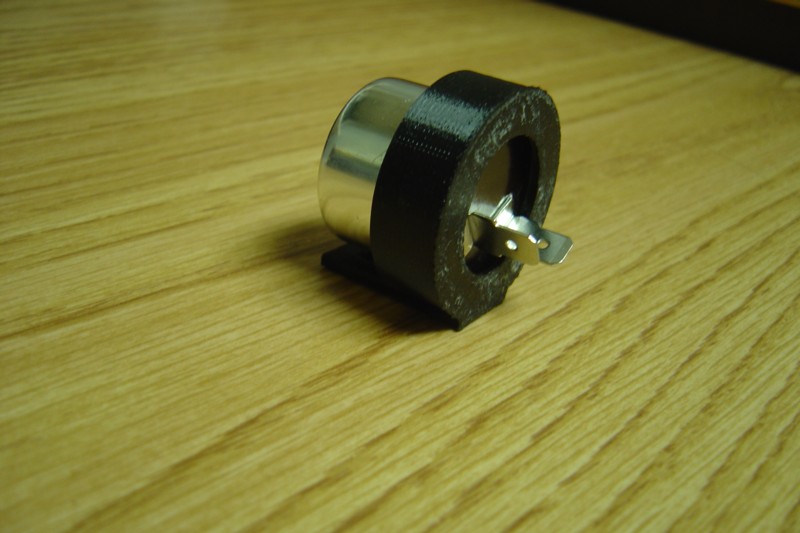
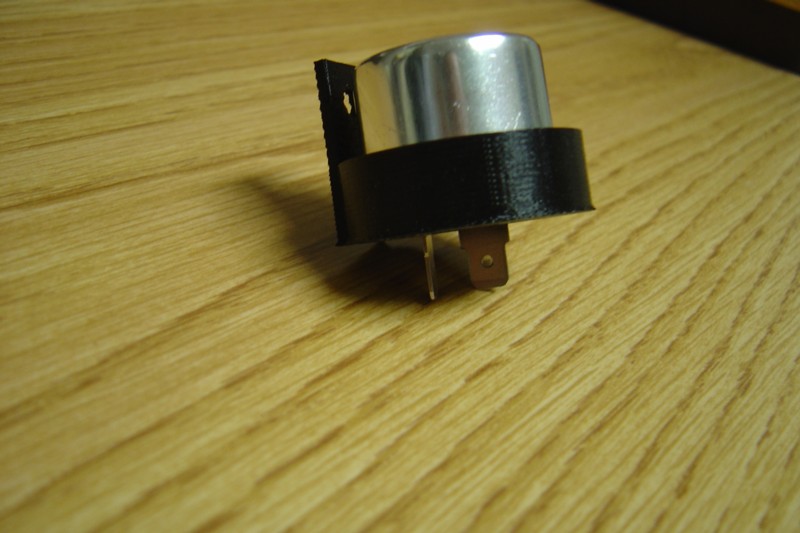
Turn Signal Flasher Holder |
|
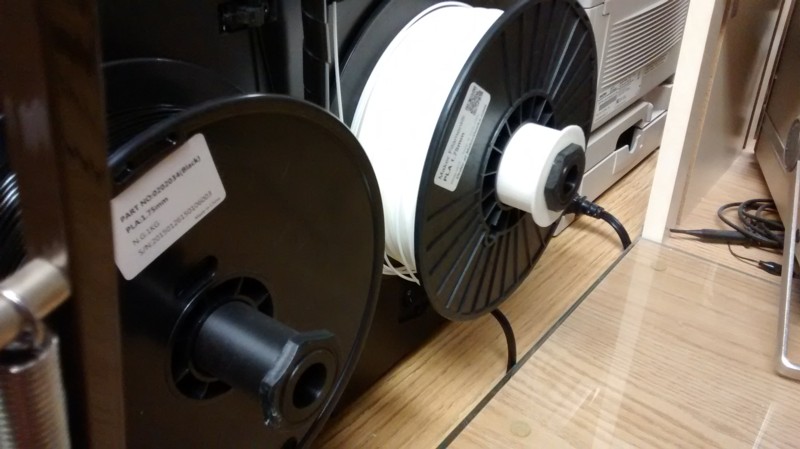
Spool Adapter |
|
Being Printed |


|
Being used on printer to hold reels with larger ID |
|
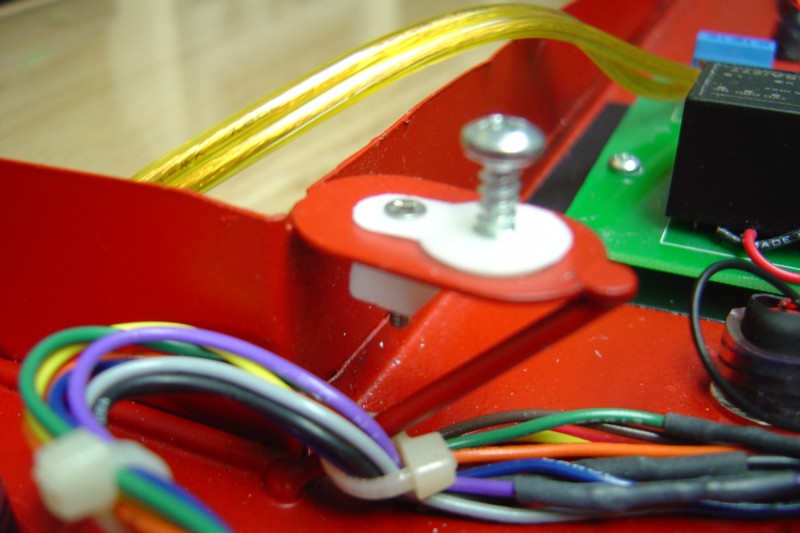
Keyslot Adapter |
|
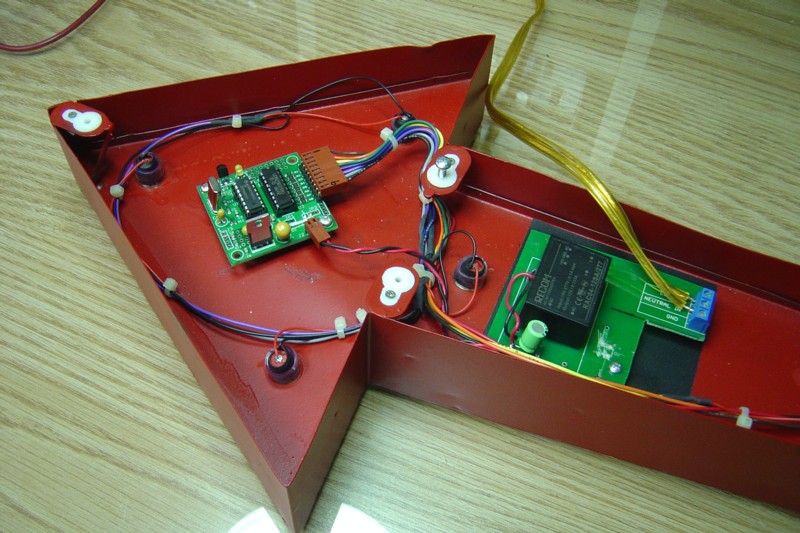
We bought this decorative metal arrow sign at a really great price because it was all open in the back with the wiring all mangled and didn't have a power supply. It normally just lit up all the bulbs, but I designed a small PCB with a microcontroller to sequence the lights. It was originally designed to hang on the wall, and had lots of keyslots to allow mounting. I designed a kind of keyslot-to-mounting-hole adapter that let us use sheet metal screws to attach a backplate we made from plexiglass that Linda painted red. Sometimes the little things give you the most satisfaction. |

|
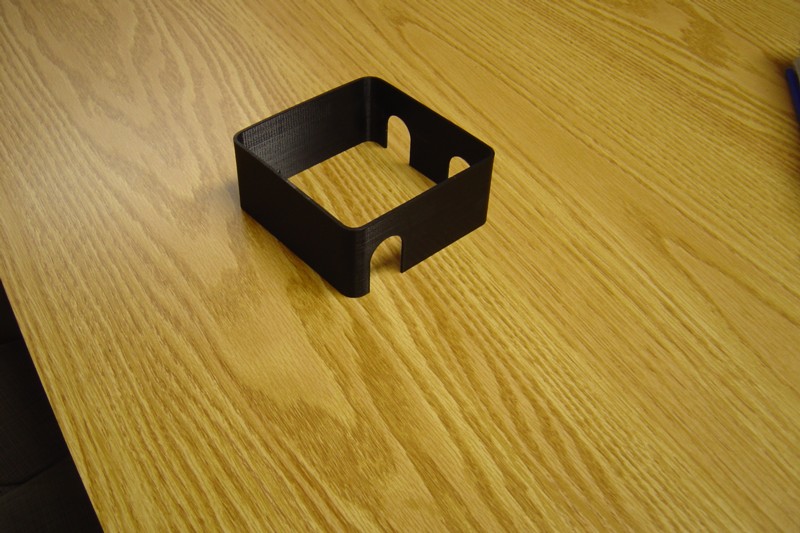
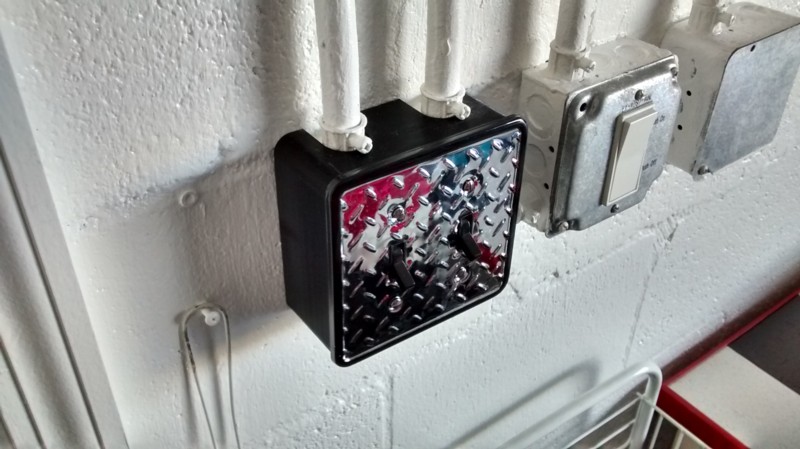
Junction Box Surround |
|
We saw these great diamond plate switch plates on clearance. They're really nice in that they have a black edge with a radius. Also, they are larger than our junction boxes, so it left a lot of room around the outside. So, naturally I thought of creating a black surround that would fit into the edge trim of the plates and create an alternate exterior. The white area on the rightmost finished box is actually a nightlight we found that fits in a Decora opening. |
|
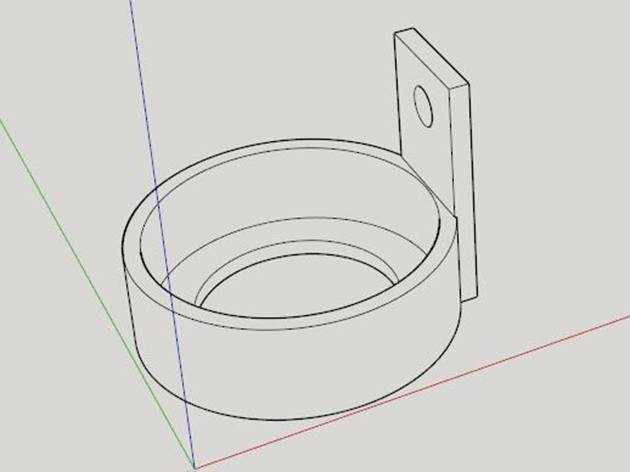
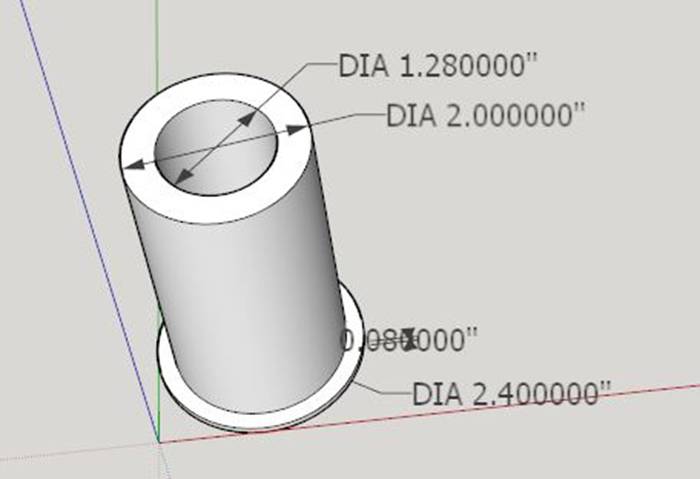
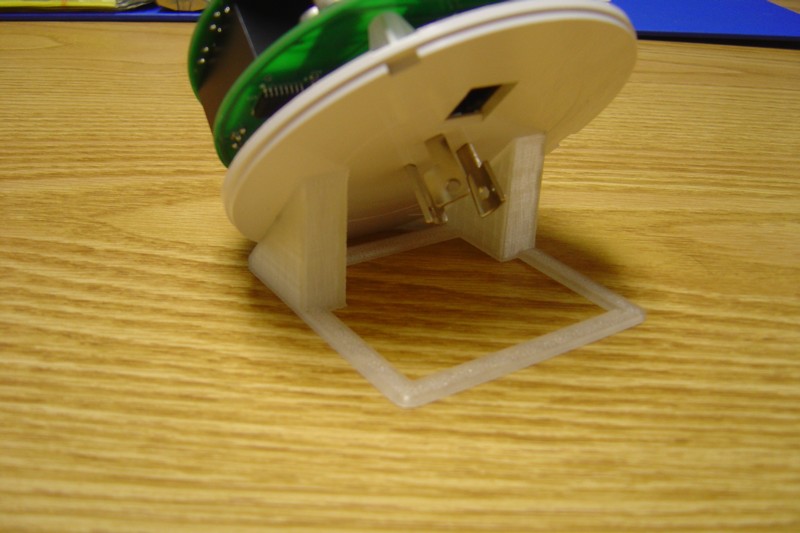
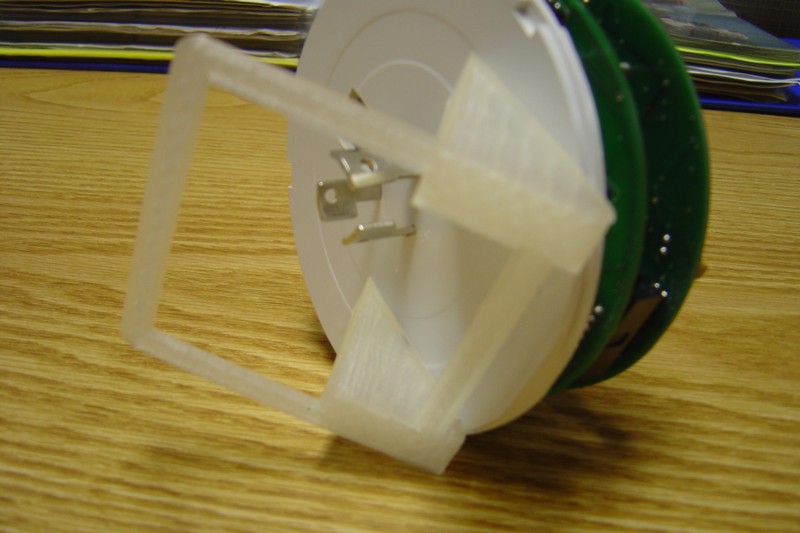
Display Stand For Lighting Controller |
|
This is the first time I've used "clear" filament, and while of course the "Thing" doesn't end up "clear" due to the fine lines with which it is created, it is a cool effect. You can see the internal matrix resulting from what here is a 15% infill. It is also giving me ideas for projects that emit light through the structure. |
|
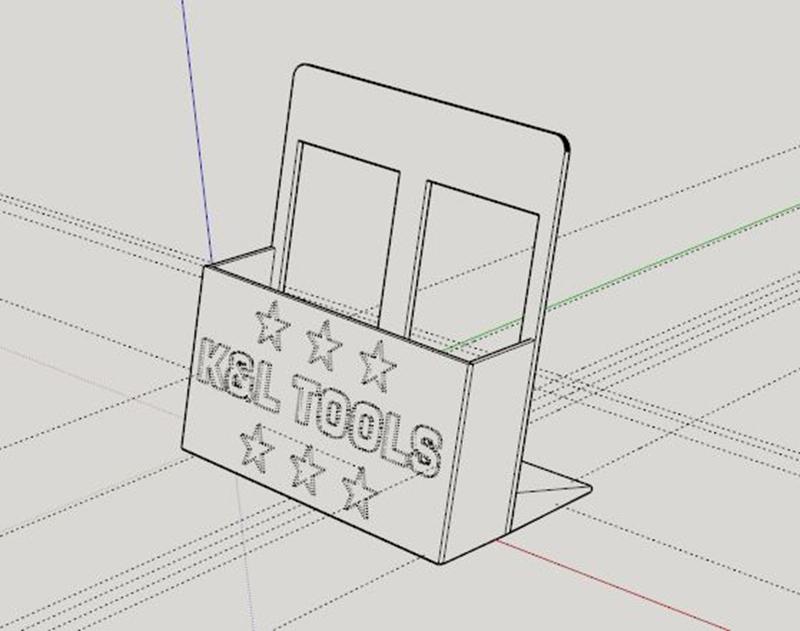
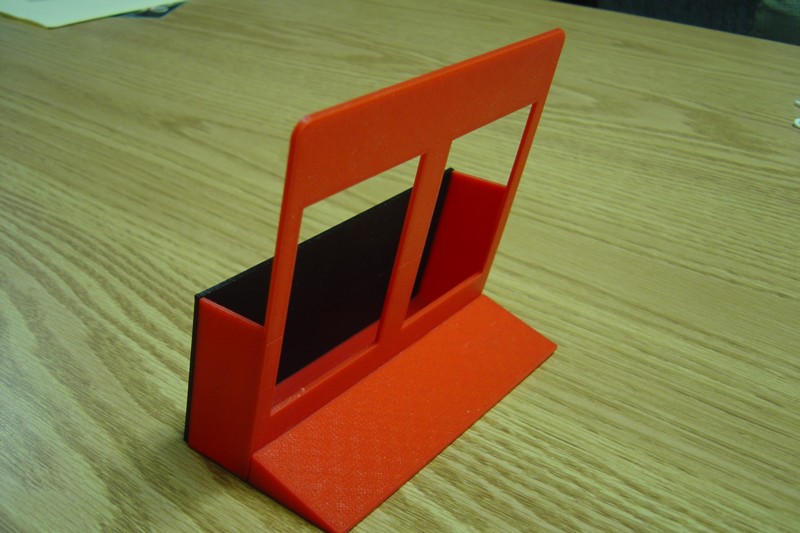
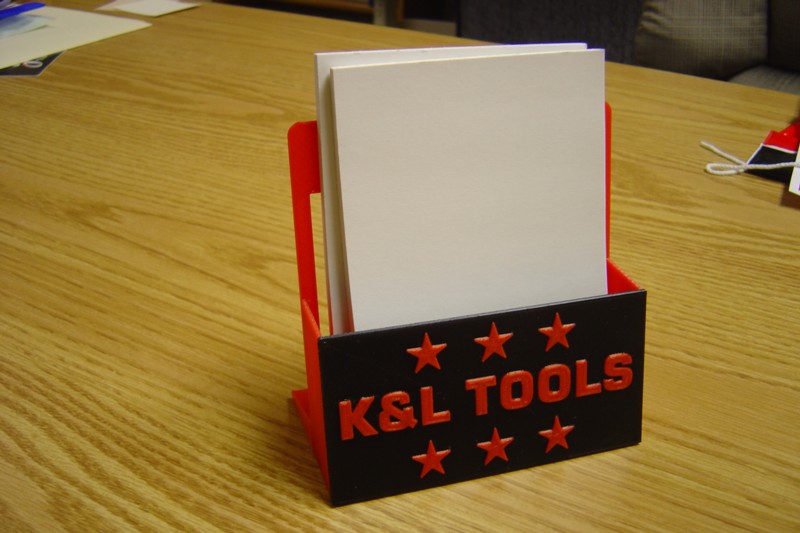
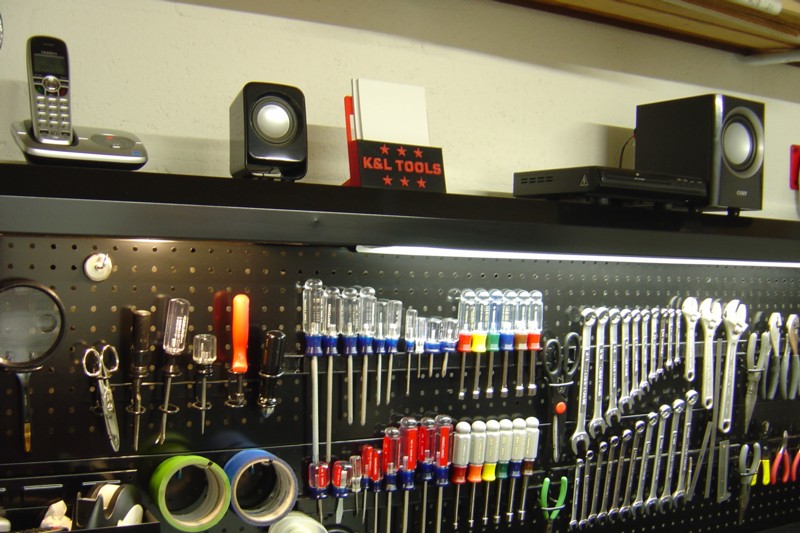
Notepad Holder For Shop Bench |
|
This is a notepad holder for the shop. Originally it was going to have a magnet on the back and hang on the left side workbench support. But while I was designing it, I thought this would be a good time to try dual color/extruder printing, which was one of the features of the Wanhao I knew I would want to use.
So, I made the lettering the main focus of the project instead of just an added detail. I also gave myself a lot of freedom by creating 3 sections and super-gluing them together. The drawing is actually a composite of all three: the front panel, the main structure and the rear support. I had experimented and found that superglue really bonds PLA.
When it was all put together, I adhered a thin magnetic sheet to the bottom to keep it steady on top of the workbench riser. |


|
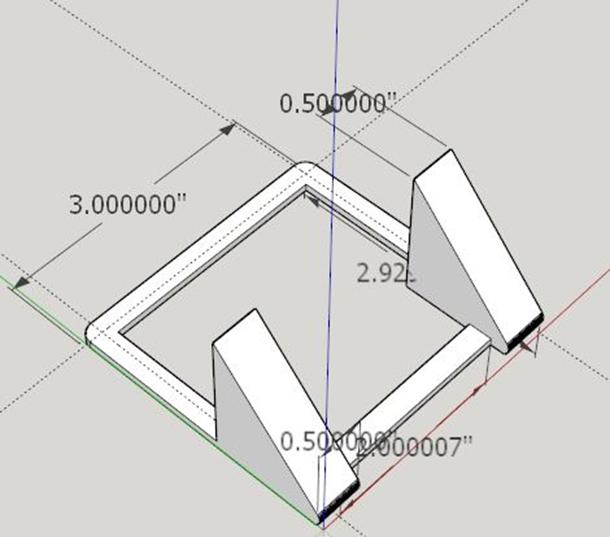
Linda has always said I should put some of the many things I designed over the years on display in the Lab. I've started to do that, but not everything just sits nicely on a shelf. For my streetlight controller, I decided to make a stand that will hold it at an angle so it can be seen. |