
|
Electronics & Maker Projects (page 5) |
|
Molex .093” Connector Starting With Molex File |
|
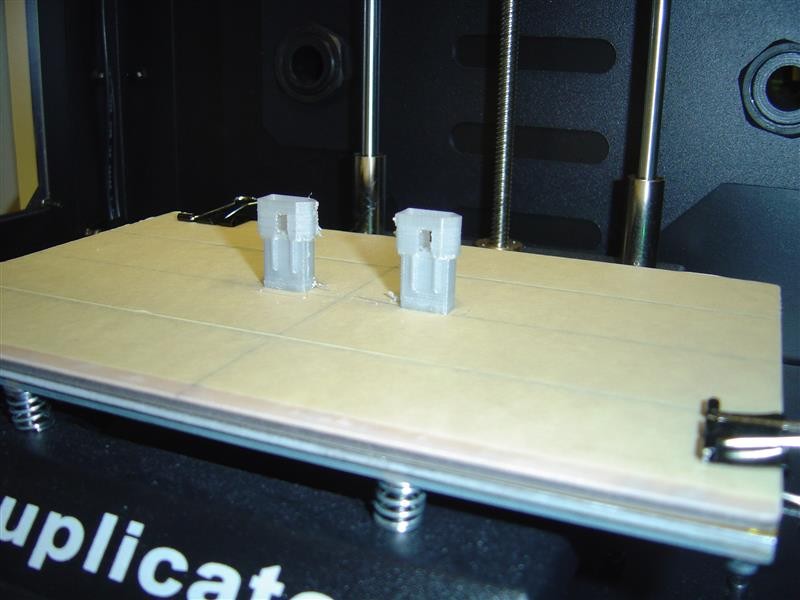
I was thinking about the hardware I made from the McMaster files, when I had a crazy thought. I wonder if Molex has anything like that on their site? To my great surprise, they did! While I use lots of their various connectors in electronics, the ones I use most on car projects are the standard .093”. They have a high current rating suitable for most car applications. Also, for this 3D printing experiment, they are large enough to have a good chance at printing properly. I downloaded their .step file & ran it through FreeCad to create an .stl file.
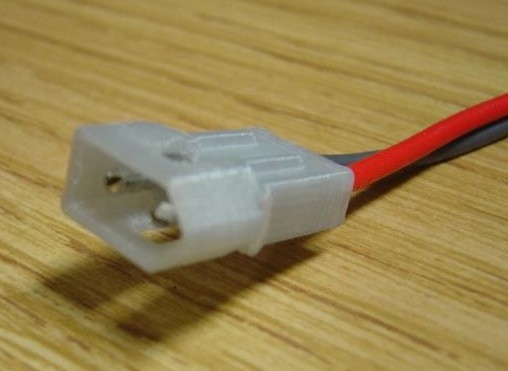
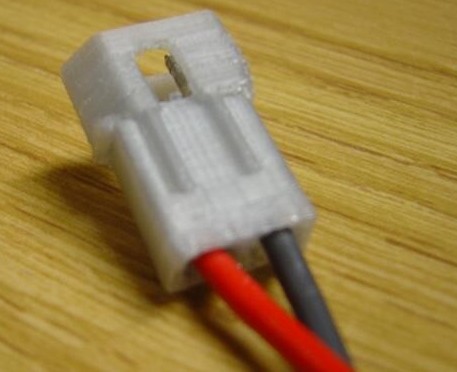
It looked great when it was done printing, but I did have to do a lot more cleanup work than usual. I needed to drill out the contact holes, first a smaller size to allow passage of the tip, then a larger size not quite all the way through for the crimp area. Also, a factory female housing would not quite fit, so I heated the 3D printed male with a heat gun just a bit then inserted the female housing. Pulling it out while still hot then letting it cool left the 3D printed male the perfect size for a great final fit. I crimped some wire to a couple of contacts and was able to insert them into the new housing.
Well, once again it is the simple / practical things that I really get a kick out of making. I’ve been using these connectors for 40 years and now I made my own!
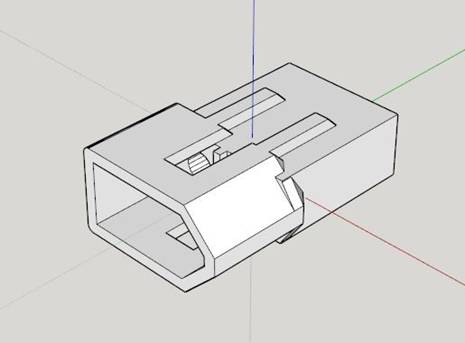
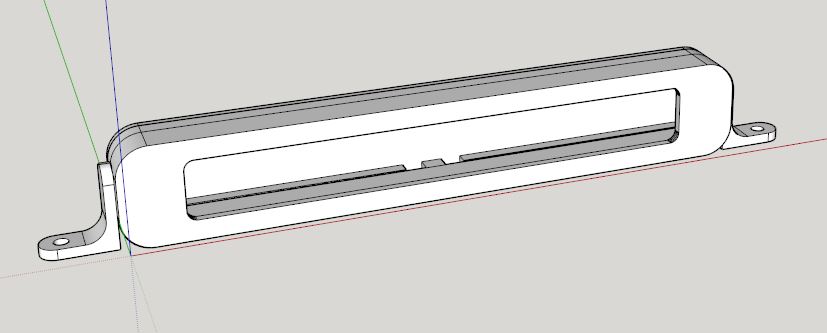
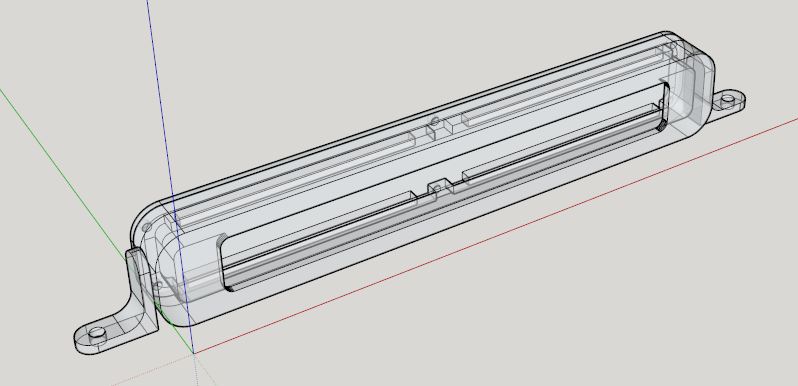
The connector I printed was the direct result of the CAD file as converted from the original Molex file. When I examined the result I could see where there were some horizontal “ledge” aspects which drooped a little. So, I imported the .stl into SketchUp and was able to modify it and kind of make it my own. I put 45˚ slopes to eliminate ledges and cleaned up various aspects. That is the CAD screen capture you see here, which I would use if I ever 3D print it again. |

|
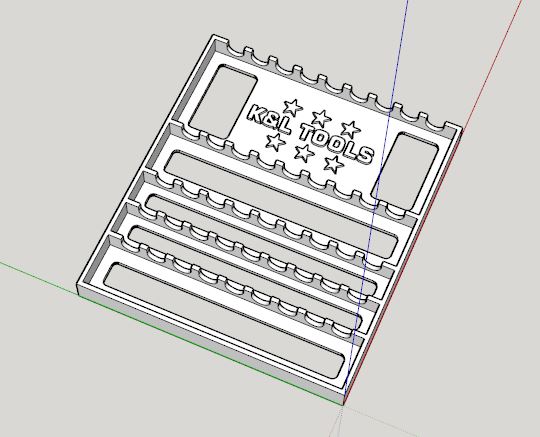
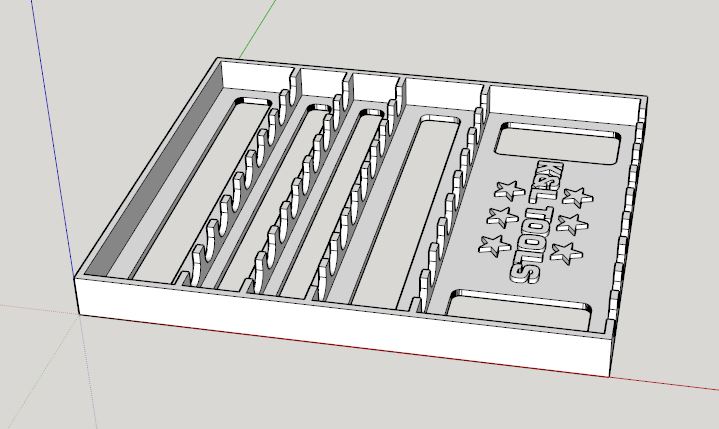
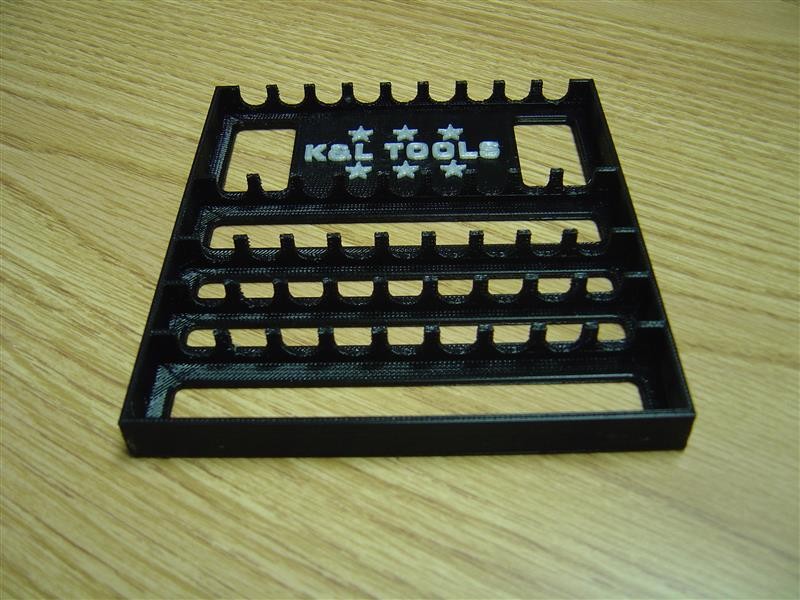
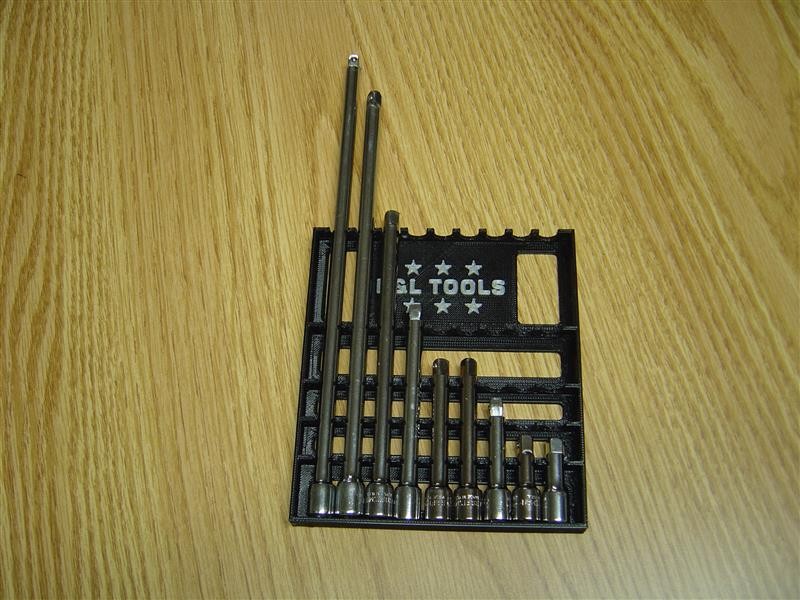
Socket Extension Holder For 1/4” Extensions |
|
The 1/4” socket extensions in the main tool drawers in the shop always roll around and become disorganized. Disorganization is not permitted. I don’t make the rules. So, I designed this tray to keep them all aligned and allow for easy access. |
|
Vacuum Cleaner Headlight |

|
Step right up, friends! You say you know you’ve got dirt but you just can’t see it? You say you’re sure there’s crud in the carpet? Well, enough of that filthy talk! With this handy dandy vacuum cleaner accessory from the folks at “K&L Tools - Sucking Division”, you can now see what you’re about to suck up! Yes, our new “Lite-O-Suction” puts your dirt in a whole new light.
The last time we bought a vacuum cleaner, we concentrated so much on it’s ability to clean that we really didn’t notice it had no light. So, I started to remedy this by looking for a place to tap off the post-switch 110V line. Well, I ended up taking apart the entire vacuum cleaner. At one point I was pretty sure we would indeed have a light because we were going to have to buy a new vacuum.
Finally, I was able to tap off line voltage and route it to a small area where I just squeezed in a 5V switching supply. I didn’t have a small power supply in stock, so we went to Staples looking for one of those small cube-style USB wall chargers. We lucked out and found some on clearance for $5. When we took it to the register, it rang up at $1 (went back the next day and bought a few more). I took it apart and harvested the nice 5V switching supply PCB.
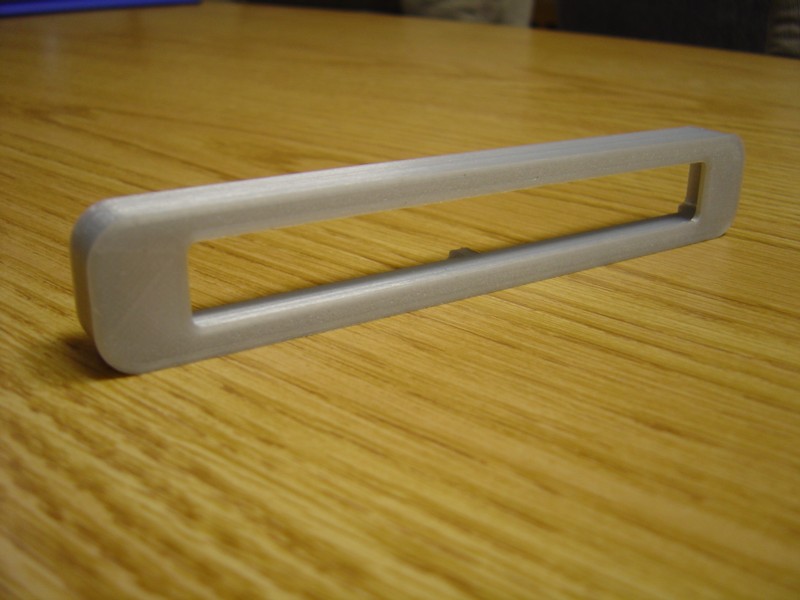
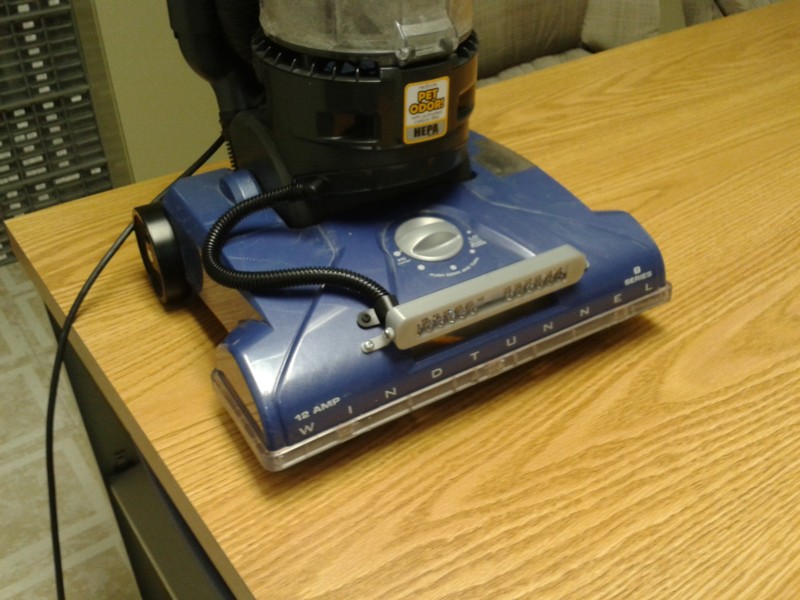
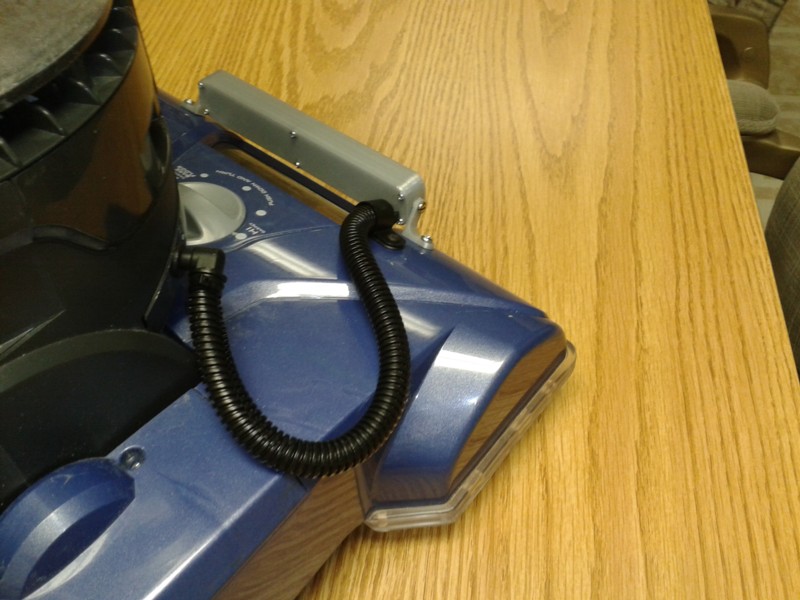
I still had parts from dismembering a few Harbor Freight free blue-oval LED flashlights. I took the main LED panel PCB and cut it in half lengthwise on the bandsaw. Then I designed an enclosure around it. I built in an internal “ledge” that sandwiched the perimeter of the PCBs between the housing and the rear panel. I also created a couple curved angle brackets for mounting it to the vacuum’s case. I installed the bds., wired them up with current limiting resistors, then used an AC adapter’s DC cord as an input. I had installed a mating panel-mount DC power connector on the vacuum at the output of the switcher. Linda said to use spiral plastic wiring loom over the power wire, as it would kind of match all the other hoses on the vacuum. I had some that was about the right size and it looked great.
So, I mounted it all on the vacuum and now we have light!
|