
|
Electronics & Maker Projects (page 7) |
|
Bell Box Surround |
|
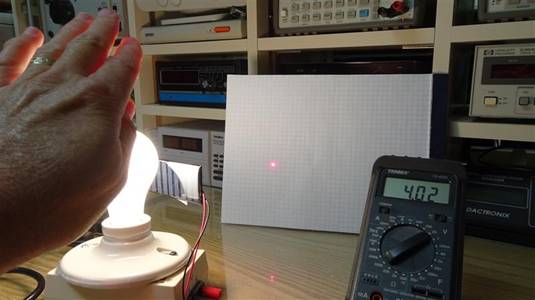
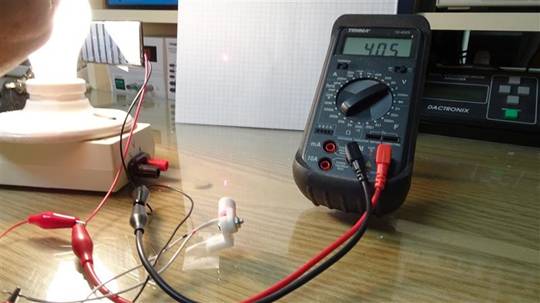
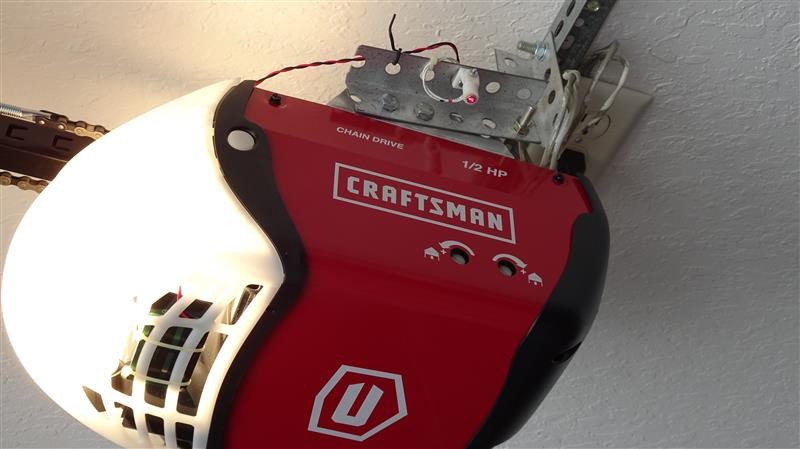
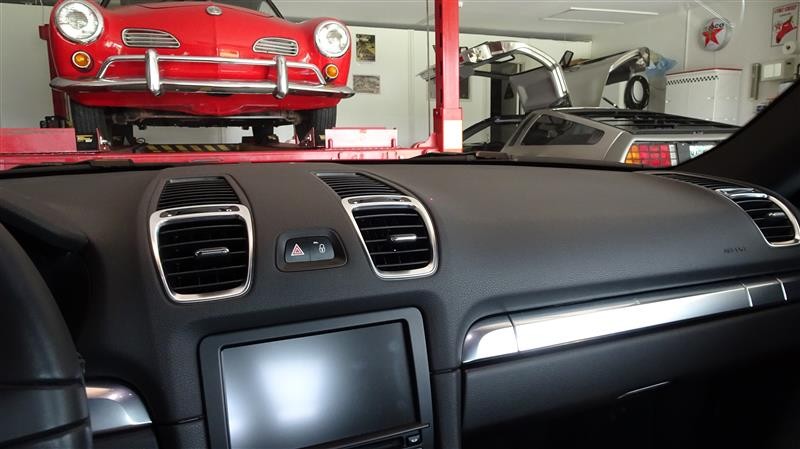
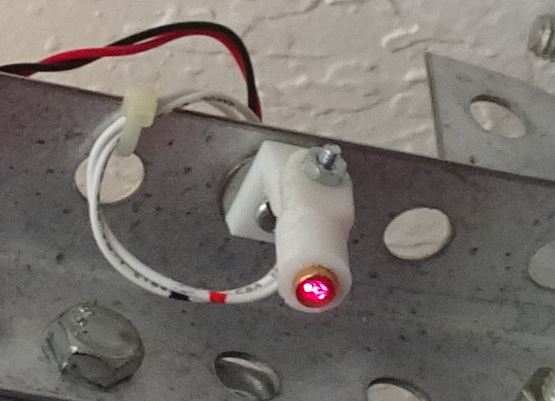
Photos above show experimenting on the bench to see how close to a 60W bulb the solar panel needed to be to fire the laser. To the left is the solar panel tie-wrapped to the bottom of the opener’s bulb cover. The twisted pair takes the power to the laser assembly mounted to the opener support brackets. The lower two photos shows the dot on the dash that lets me know I’m in the perfect parking location. It’s actually a pretty bright dot even though the dash is black. |

|
Light Powered Laser Parking Aid |

|
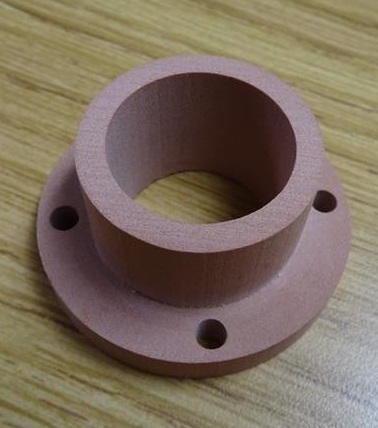
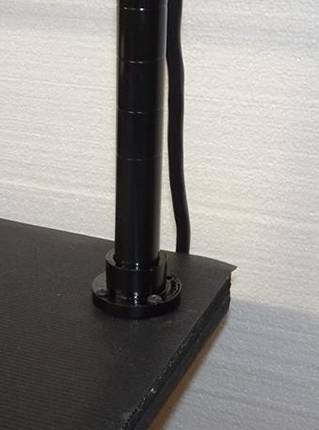
Below left is a finished flange. In the center photo we see it after Linda painted it and we put it in place at the base of a riser leg. Below right is the riser with flanges on both rear legs. |

|
Yes, you can buy laser parking aids that mount on your ceiling. But the ones I saw looked like they had all-angle aiming flexibility but the reviews said they actually only adjust in one axis. Not only that but they need a power source, etc.
So I decided to make a simple laser parking aid which, by way of the mounting screw and the pivot screw, could be adjusted to any angle. And, to avoid wiring into the door opener, I power it with a small solar panel that I tie-wrapped near the opener’s light bulb. It puts out just enough current to fire the laser. A bag of 10 tiny laser modules was $2.50 and the solar panels were 3 for $5.28 from China. |
|
First CNC Experiments! |
|
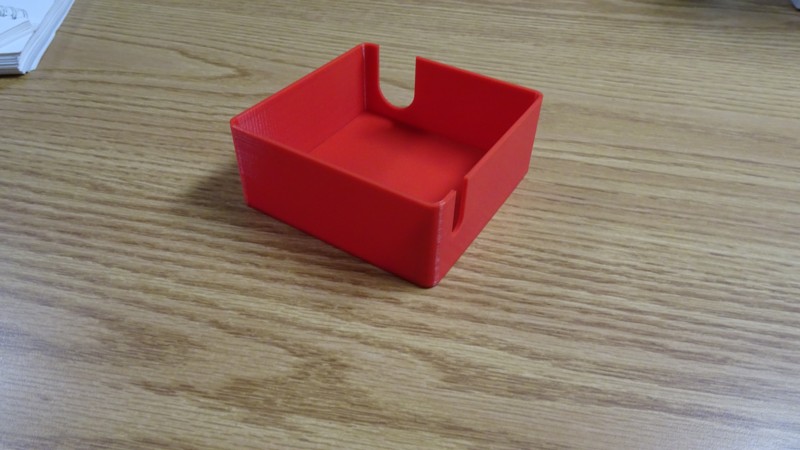
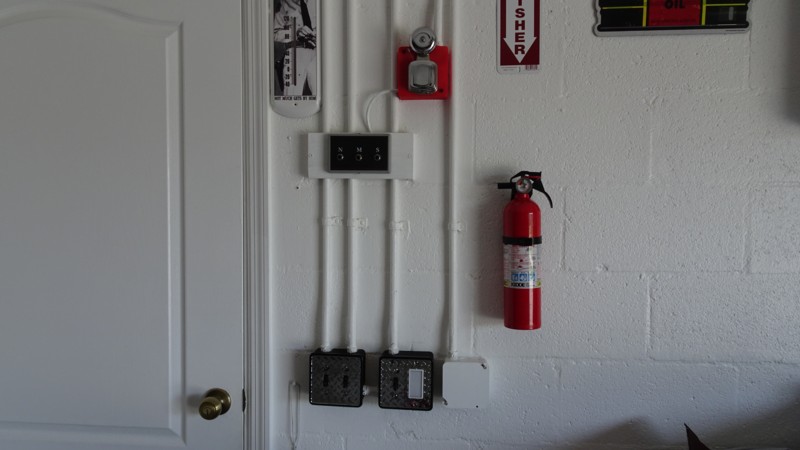
When we’re in the garage, we can’t hear the doorbell. So a long time ago I wired this small chrome bell into the doorbell circuit. I mounted it on a junction box plate where the lo-voltage wiring is located. Linda said I should make a surround for it in the same way I did for the garage light switches.
So, I designed an entire cover which attaches with the same screw holes that previously held the plate. I made it red which goes well with the chrome bell and looks official. With the color and being near the fire extinguisher, I imagine people will assume it’s a fire alarm. |
|
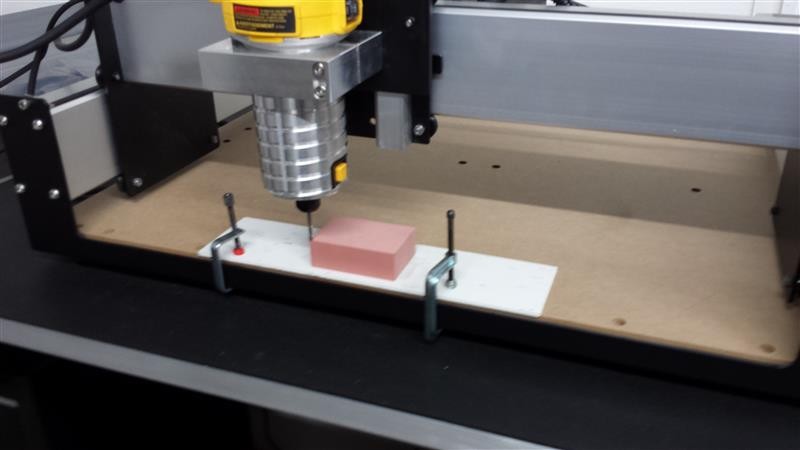
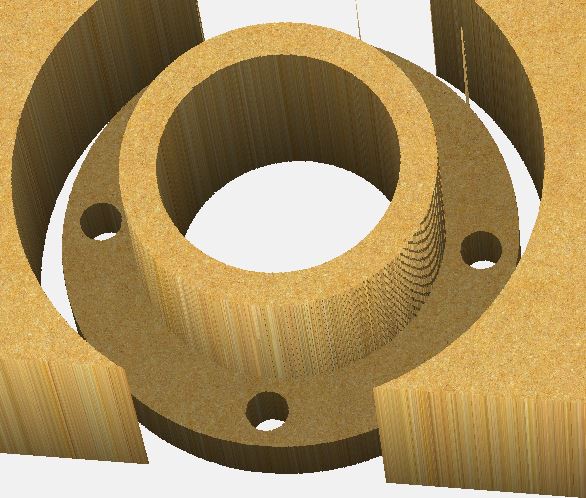
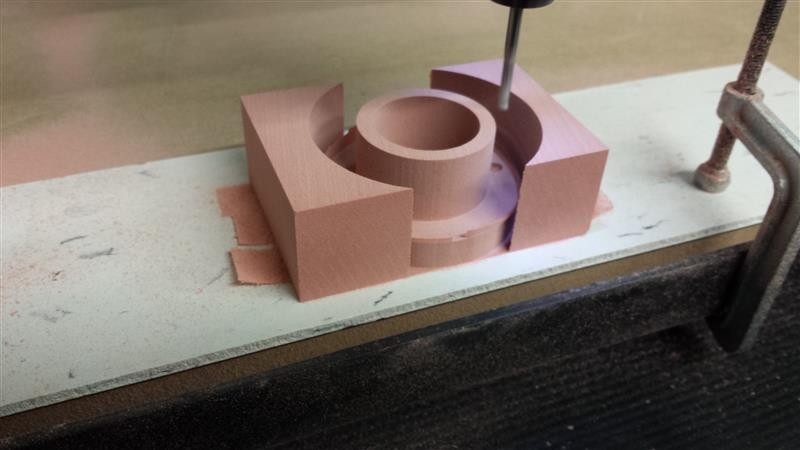
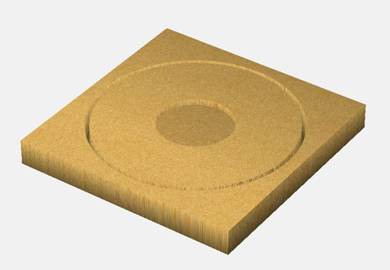
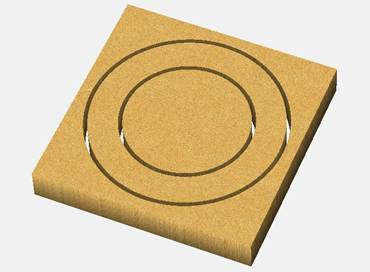
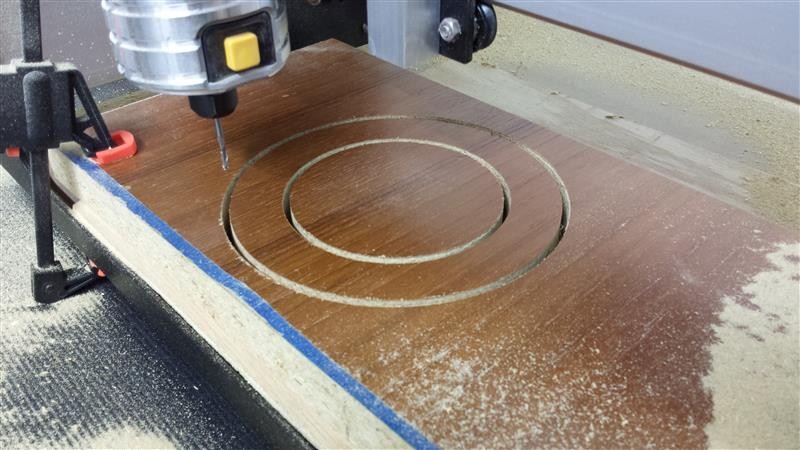
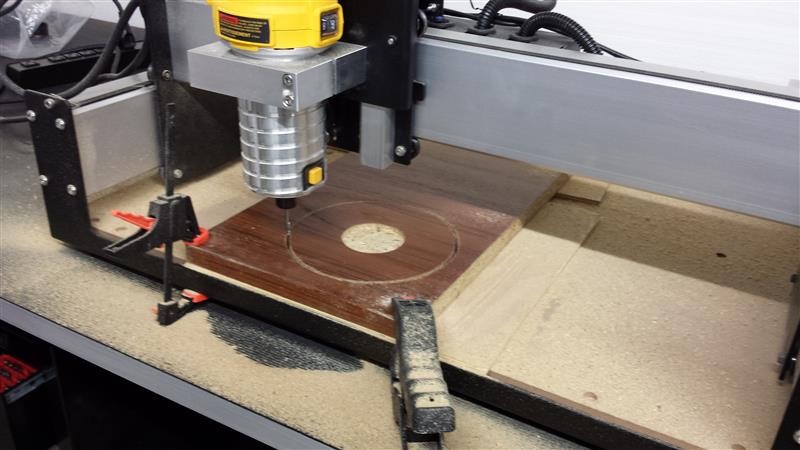
Two weeks to the day after getting the CNC, I start on my first real project! To the right is a 3D simulation view of the CAD drawing I did in “Carbide Create” for a flange. I used Carbide3D’s small synthetic wood / Renshape blocks for this carve.
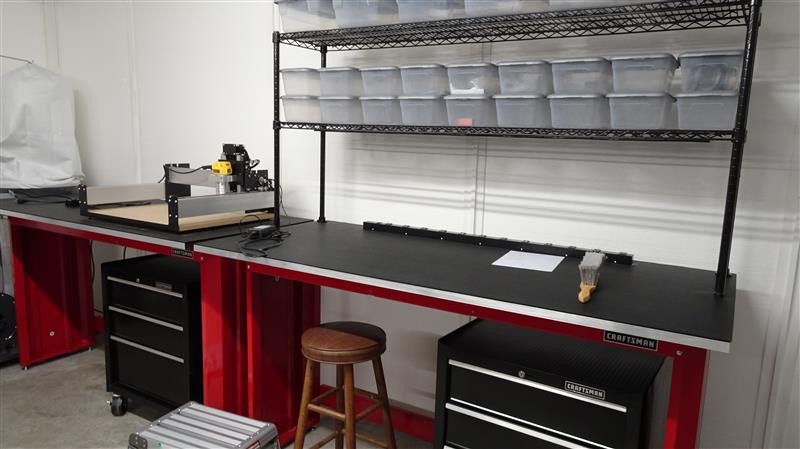
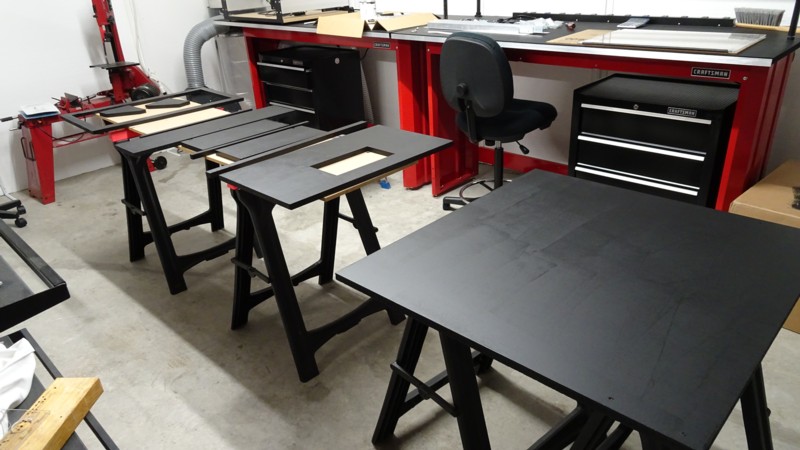
While waiting for the CNC to arrive, we had doubled the size of the garage shop and bought additional benches (see the “Garage Pictures” page of our website to see the new layout). On one I used a 34” tall by 6’ wide black wire shelving unit as a kind of riser for storage boxes. The poles sit on the benchtop, and these flanges, once painted, will keep them from moving or tipping over. Below you see it being made. Very exciting! |
|
Plastic Badge (CNC) |


|
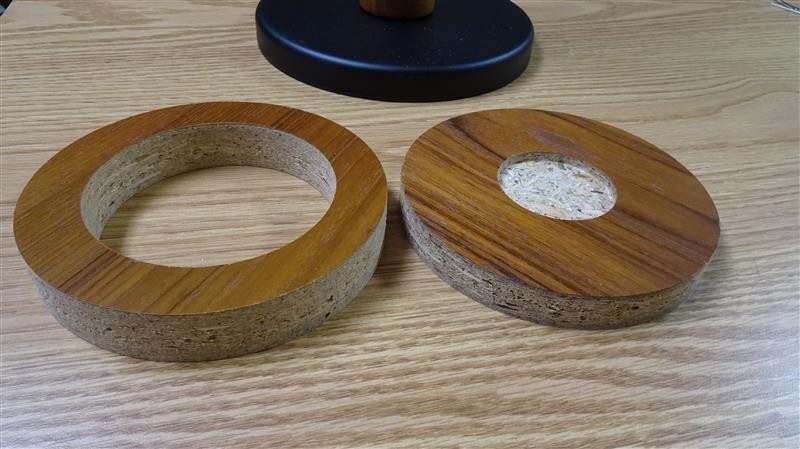
Most of our living room furniture is teak. Years ago we stopped by one of the teak furniture stores to look around, and found it was out of business! We looked around back and found mountains of teak odds and ends in a dumpster. Well, scrounges that we are, we took at least two car loads home. We’ve used these panels, shelves, doors, hardware etc. to make curios out of shelving units and countless other modifications.
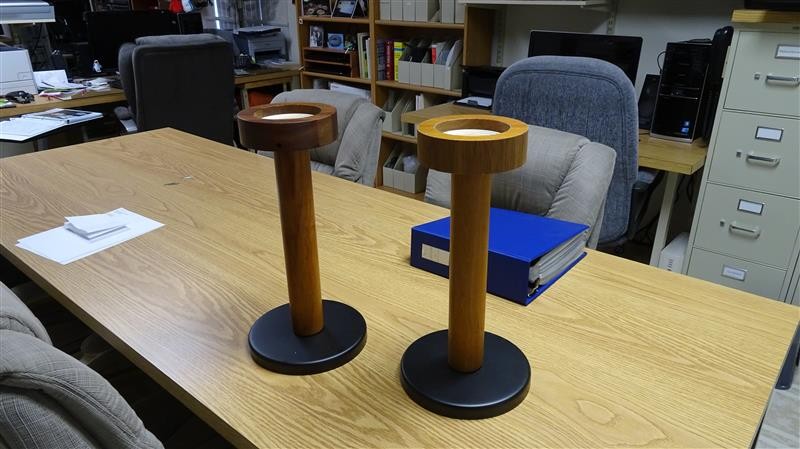
There were a few of these large teak cylinders which must have been legs. There was also a solid teak lamp base. I turned the lamp base upside down, attached it to one of the legs then bolted it to a black metal base. I dropped in a plastic coaster, and had a quick and easy stand-alone drink holder.
When we bought furniture for our current house and put the drink holder by the lounge chair, I wished we had another one for the couch. Well, since we still had more legs and black metal bases, Linda suggested I use my new CNC to carve out pieces to make another drink holder.
The CNC made a beautiful, accurate cut using scrap teak pieces we still have in stock. Then, Linda used some of the scrap teak veneer left over from when we made our dining room table to veneer the outside surface. The last photo shows it in place next to the couch with the original one in the background. |

|
Click Below For Video (last half is quick tour of shop) |
|
Click Below For Video |
|
Drink Holder (CNC) |

|
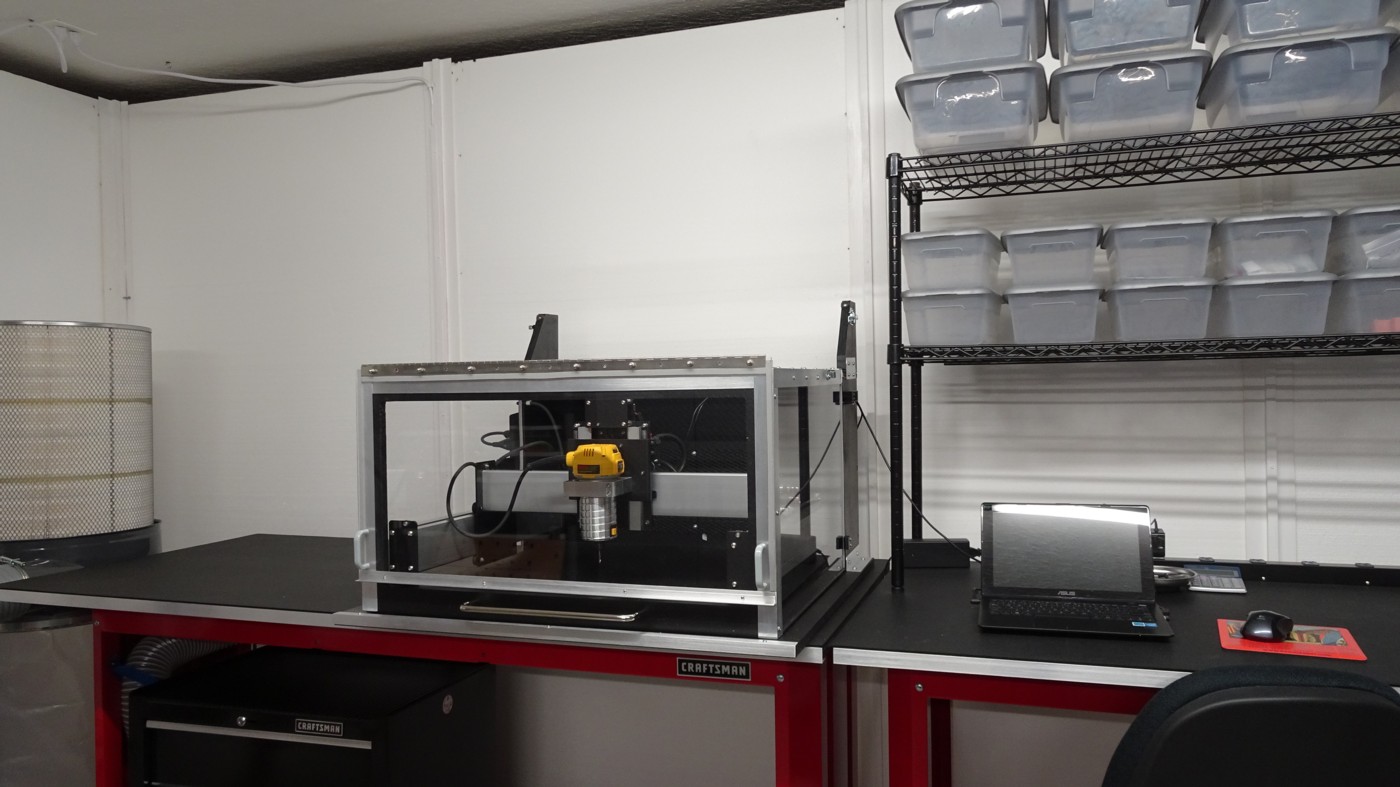
When making the Drink Holder (see above) from old teak covered particle board material, the dust layer it put on everything in the shop was pretty bad. I stood there with the vacuum nozzle most of the time, but it really couldn’t capture it all. Also, when I made the flange out of Renshape material, it put a pink powder everywhere. After reading about the hazards of shop dust, I decided to go ahead and design an enclosure for my Shapeoko3 CNC.
I started by getting the huge Harbor Freight dust collector and retrofitting it with the popular (Wynn Environmental 35A274NANO Cartridge) .5 micron filter. I wanted to get a feel for the suction force and other details before designing an enclosure, as it would incorporate a “port” to suck out the fine particles.
After setting up the dust collector and experimenting, I began to have doubts about building the cabinet. I wondered if I shouldn’t have just stayed with plastic and aluminum and forgot about milling wood and plastics that create dust. The collector and enclosure were becoming a big and expensive infrastructure project. I also didn’t want an enclosure that kept me from easily accessing the machine. At this point I was already in deep, so I decided to press on.
|
|
CNC Enclosure |
|
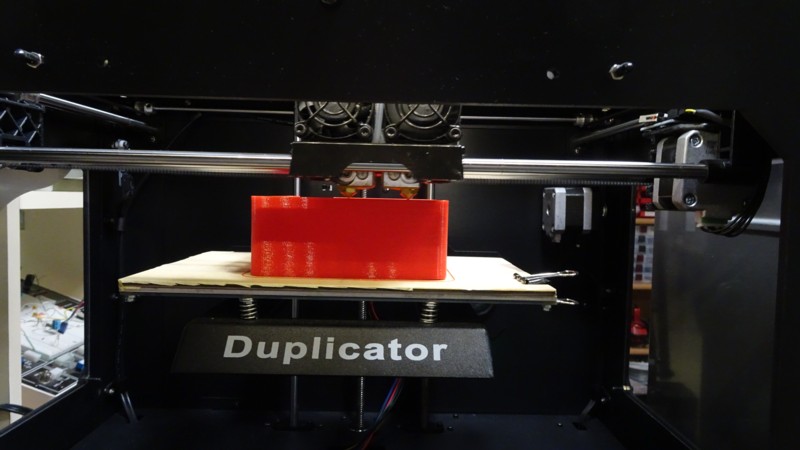
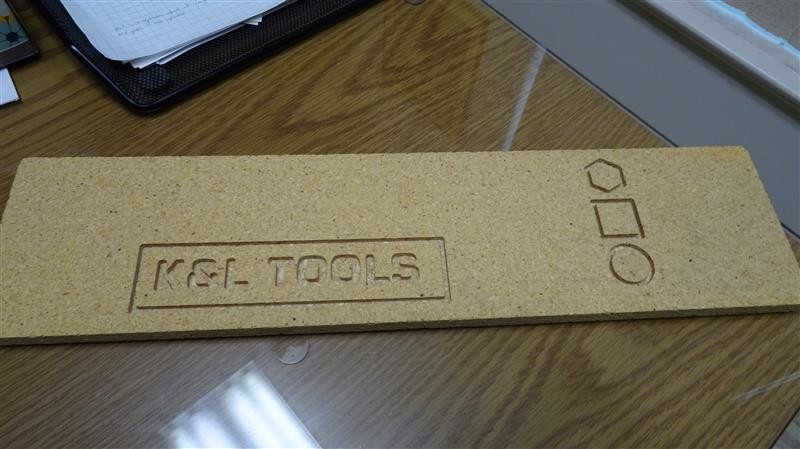
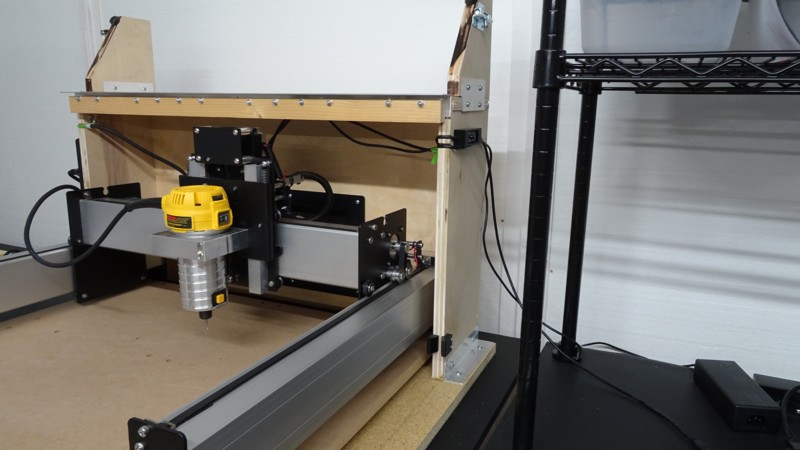
Well it’s been about 1-1/2 years since my 3D printer arrived. Several months ago I began studying CNC machines because I thought it would be a great tool for creating my projects. So, I ordered a Shapeoko 3. When it arrived it was in various sub-assemblies and putting it all together was a fun project in itself. So I have been experimenting with it, and to the left are my first carves of shapes & text into wood. |
|
cover guide |
|
switch holder |
|
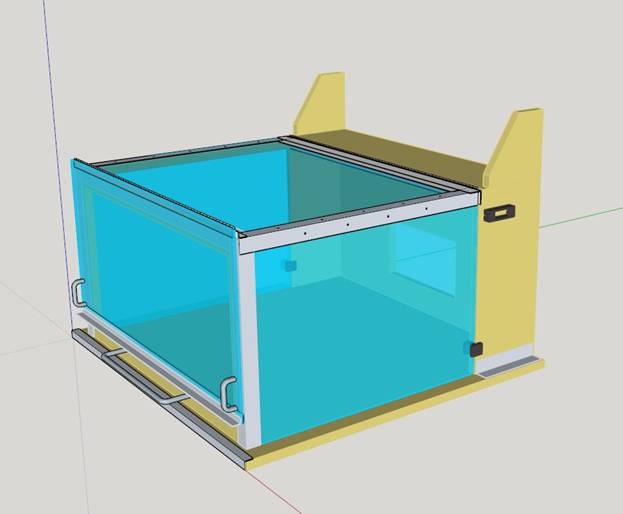
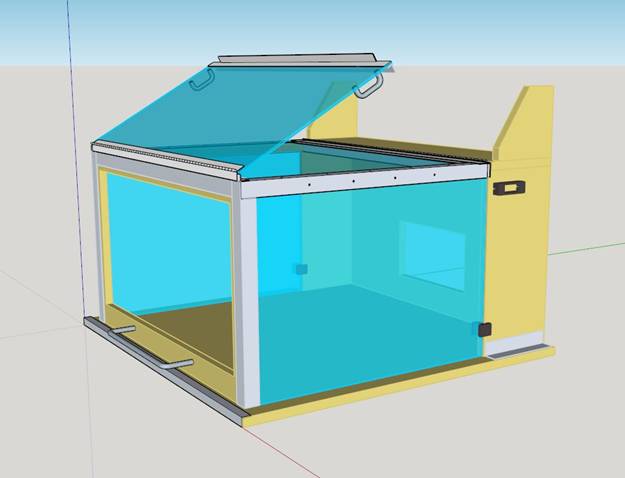
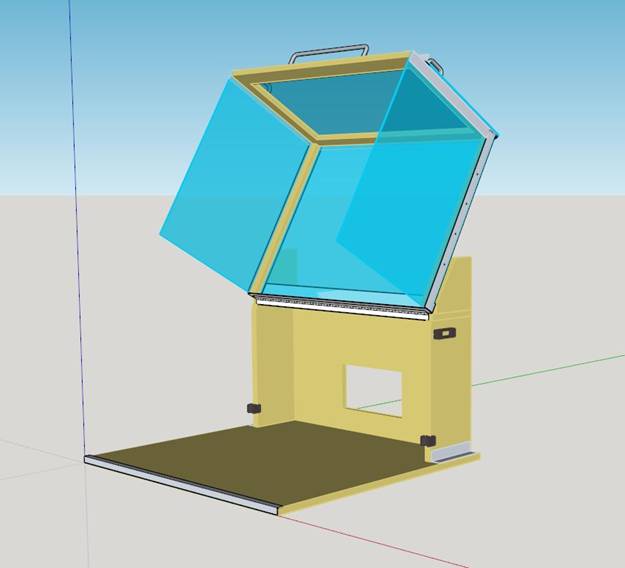
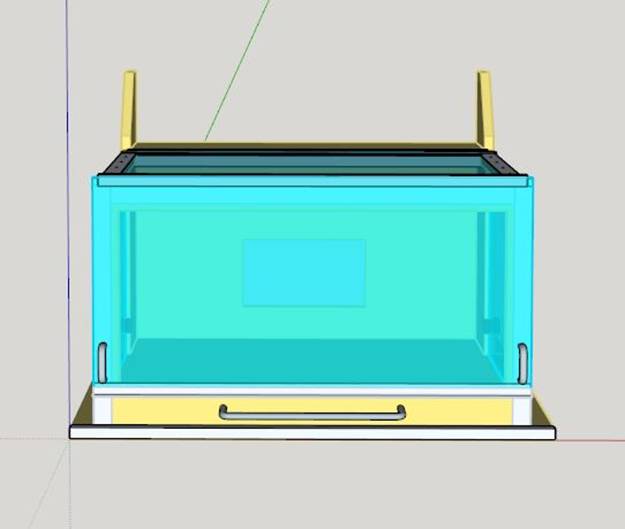
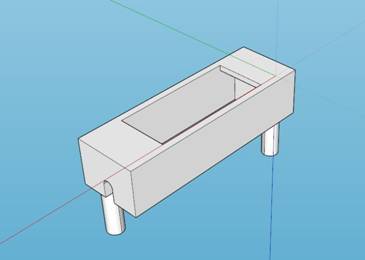
Animation shows the enclosure in it’s fully closed state, then with the front door open, then in the fully lifted-out-of-the-way position. |

|
I know you can have these made anywhere. Well, now I can make them here! But really, one thing I look forward to is making front and rear panels for my electronic projects. If I get larger sheets of this 2-layer material, I should be able to cut out all the various openings for switches, displays, connectors, etc. Then, using a very small diameter endmill, label everything. Over the decades, putting my electronic designs in aesthetically pleasing enclosures was often the most difficult part of the project. |

|
switch holder |
|
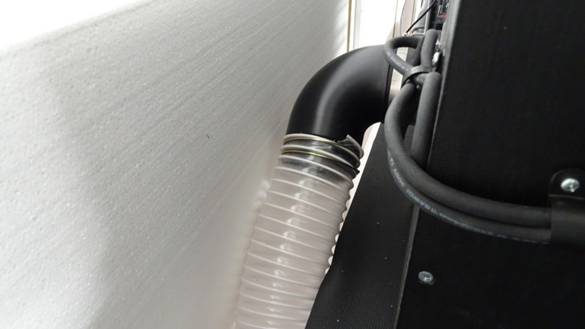
dust extraction hose |
|
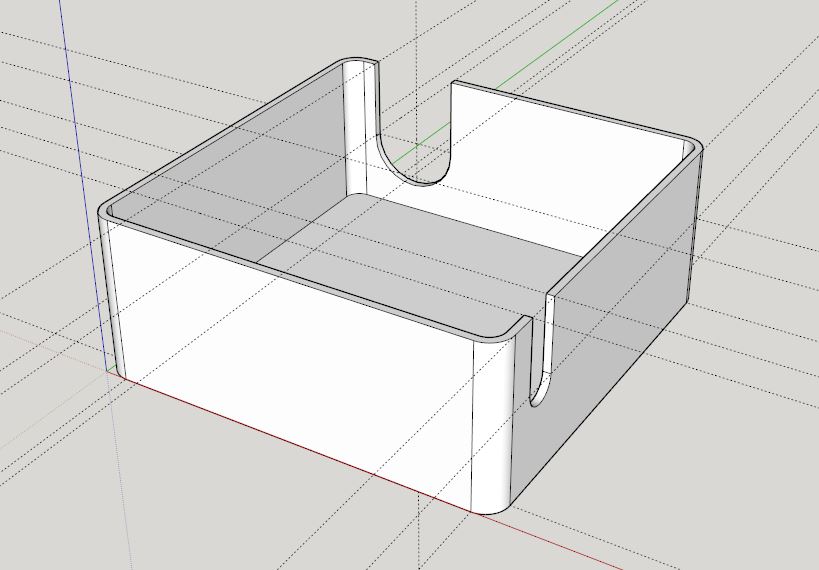
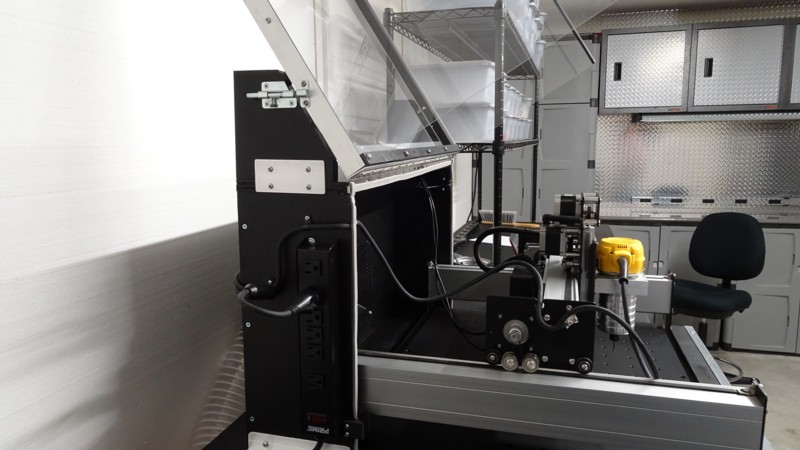
I started by doing the fundamental design in SketchUp. That way I could work out some of the details since it was going to be a more complicated design than I would have liked in order to achieve my goal of total access. The idea was to have quick access through a front door that hinged up. But, to get at the entire machine in a manner closest to not having an enclosure at all, most of the structure would lift up and out of the way. My approach was to hinge it at the top by creating a rear “riser” to which the piano hinge could be mounted.
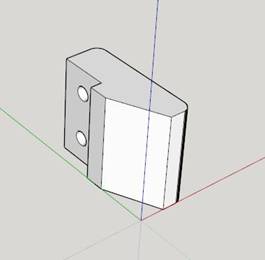
Since the plexiglass sides would be lifting forward-then-up away from the rear riser, when they came back down they would need to fall into place. For that I designed “cover guides” which flare out and create a path for the sides to be guided into a vertical position as the cover is closed. I made these on the 3D printer. They can be seen in the CAD renderings on the rear riser’s sides, 2 inches up from the base.
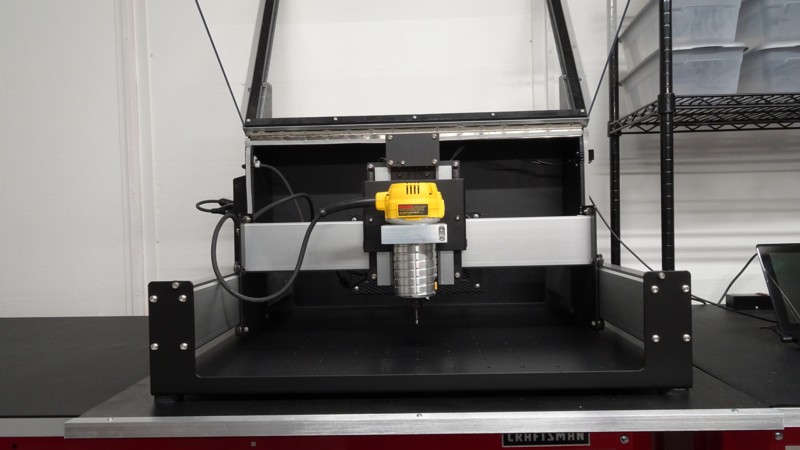
The bottom edges of the plexiglass sides come to rest on the base. I slightly slotted the holes at the top and front edge so that I could adjust the plexiglass to meet the base squarely. I used some rubber windshield washer hose which I split with an Xacto knife to make an edging for those bottom edges. This allowed for a nice seal and quiet closing. Also note that while Linda painted the enclosure satin black, which really makes it look nice, I’ve made it a wood color in CAD so the details can be seen.
The Shapoko3 CNC has a desktop power supply with an in-line rocker switch. I designed and 3D printed a “switch holder” which snugly holds the switch and has built in round risers which go almost all the way through the wood side and are held in place with sheet metal screws from the inside.
The rear panel has a large cutout for a Peachtree "6x10 Dust Collection Joiner Flange" PW432. This will kind of “funnel” the dust down to a 4” port to which the dust collection hose is clamped. I actually used the CNC to make this cutout.
On top of the riser there are 2 quasi-triangular pieces aiming up. These provide a resting place for the lid in the raised position. There are 2 screw-on rubber feet on the sloped edge which the aluminum sides of the cover rest on.
The front plexiglass door does not come down all the way to seal the opening. There is a gap that I arrived at experimentally which allows air to be sucked in, run over the CNC’s base plate then out the rear flange. I used an anemometer to tune this gap for the best air flow without imploding the enclosure.
As I was getting close to finishing the project, it was looking very nice and I was starting to think about the next step which would be some type of hold-down system. While I did a lot of research, I just wasn’t looking forward to another “tooling up” project. I really wanted to get on to actually making something. So, I ordered the very expensive Carbide3D Threaded Table. This turned out to be an amazing piece and really finished off my build.
As I write this, I have yet to actually use the new setup but am really looking forward to it!
I put together an article on how to build the enclosure and posted it at Instructables:
www.instructables.com/id/Enclosure-for-Shapeoko3-CNC-Machine/
|
|
closeup of it mounted on the opener bracket |
