
|
Electronics & Maker Projects (page 10) |
|
Wire Shelving Bracket Covers & more (3DP)
|

|
On 2017-09-14 we were in TN running from what was supposed to be a disastrous hurricane, at which time we put a deposit down on a house. Other than the Center Line Marker (previous page), that was the end of my Maker projects until appox. 2019-03-20, a full 1 1/2 years later!
Months were spent packing for the move. We formally closed on the TN house 2018-06-15 and the huge semi, packed floor to ceiling, delivered our stuff the next day. We spent a couple weeks just arranging the basics, then back to FL for about 6 weeks of dividing up the lab into two bedrooms and an office. Hard work, building walls, wiring, etc. all the while sleeping on an air mattress on the floor. Lots of “projects”, but certainly not a hobby.
When we finally went to TN to stay, around 2018-08-12, we had an even larger project. The house needed to be set up for functionality and the basement was full to the ceiling and completely unfinished. We built two walls, one of them I designed for dual pocket doors. Then I did an electrical plan, and after torturous dealings with the builder and electrical inspector we had the basement wired. Then had it drywalled. Flooring, paint, on and on! I really couldn't call my Shop & Lab done until about 2019-03-20, and have refined it everyday since. Those 18 months were overwhelming with us questioning our decision constantly, truly a big chunk out of our lives.
So from here on, these projects are now Made In Tennessee! |
|
Akro-Mills Drawer Dividers (3DP) |
|
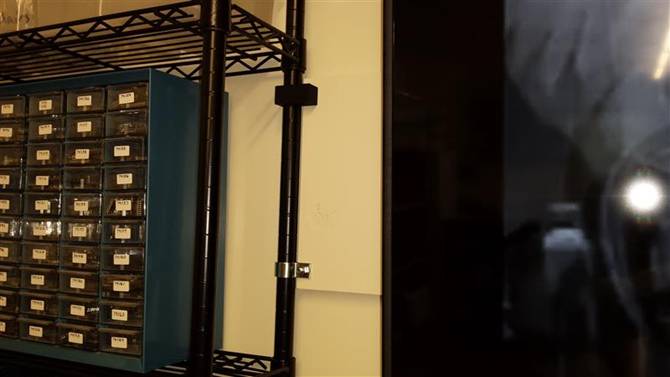
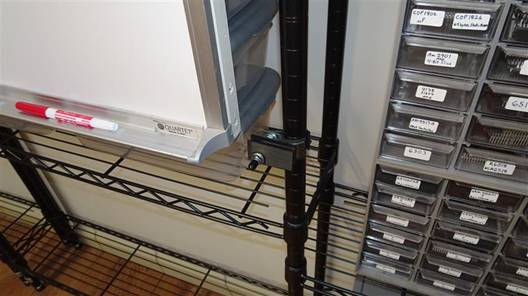
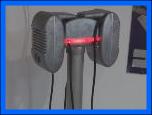
Wire Shelving Bracket Covers - upper one in place, lower bracket before cover. |
|
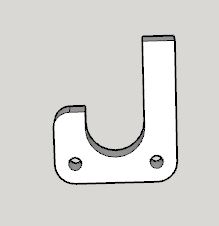
Curtain Rod Bracket |

|
Whiteboard Stabilizer |
|
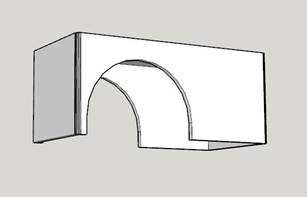
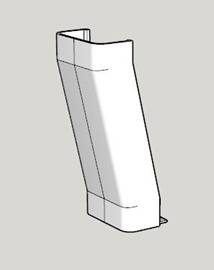
Cable Raceway Offset Coupler |

|
Putting the new house, shop & lab together meant lots of small projects. In the lab there’s a whole wall of black wire shelves. Attached is a large board which holds the “Presentation TV” which is in front of the conference table. The brackets that mount it to the shelves were unsightly, so I 3D printed covers for them. You can see the brackets in the photo (upper right), the top one with the cover and the bottom before putting the cover on.
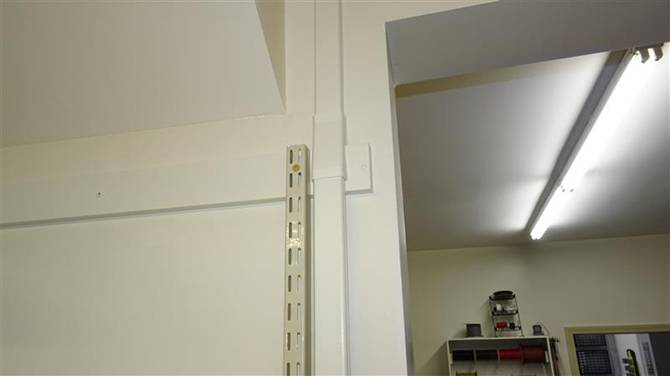
I had to run a surface cable raceway up and over to get signals to the 3D Printer and my desk. Wiremold makes nice raceway and lots of couplers & corners. But, I had a spot that had to change elevation. I designed my own offset coupler (photo lower right). Linda painted everything in the raceway wall color which made it blend in.
The whiteboard hangs from a track on the ceiling and slides in front of the Presentation TV. At the bottom of it’s support structure I have an aluminum angle with one side facing down. To locate it horizontally when slid into place, I have 2 Stabilizer Brackets (center photo).
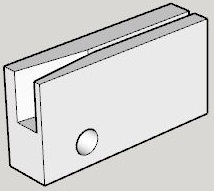
What if you want to hang your curtains on the inside of the window opening but you want them more secure than the spring tension rods they sell. We looked for brackets to do this job, but couldn’t find them. I made these that screw into the window opening and allow the rod to just lower into the J section. |
|
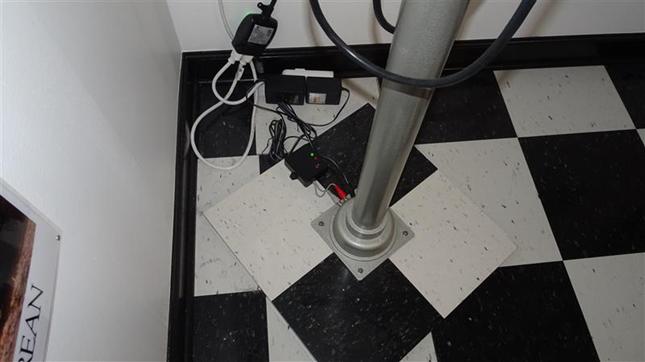
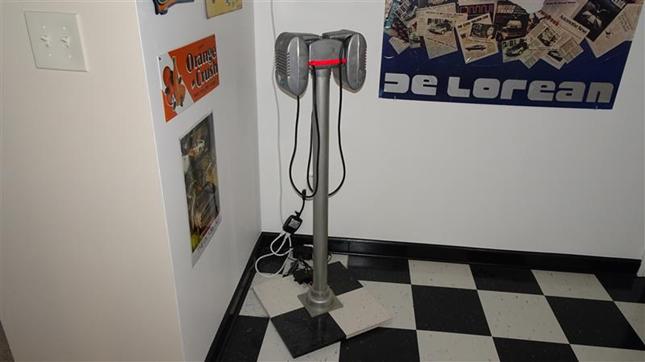
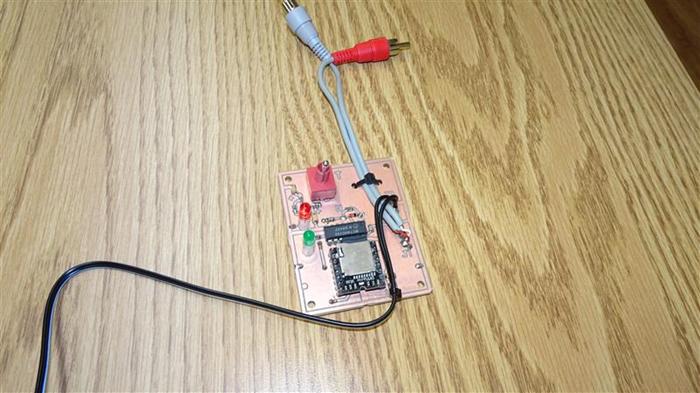
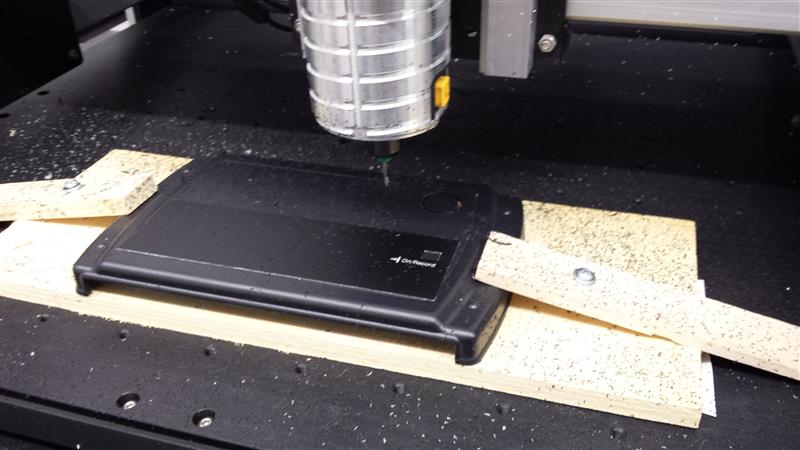
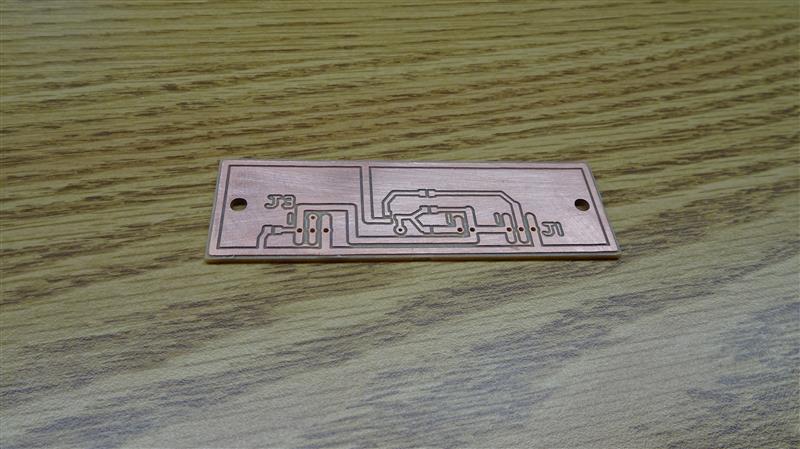
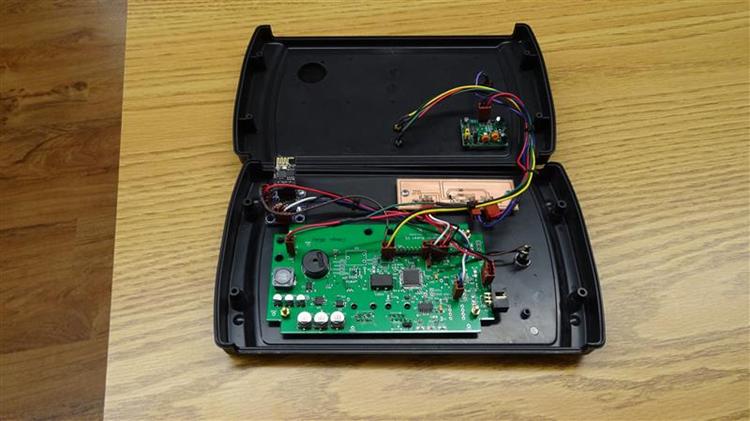
We have Drive-In Movie speakers that we made a pole and platform for and I put in a light for it’s red stripe. At the base flange are connectors for the light’s power and speaker inputs. In FL it was in our garage diner, which we have now reproduced on our second floor. For parties I used to dig out a tiny mp3 player and an amplifier I made years ago and have it play an authentic drive-in movie announcer soundtrack I found on the web. That’s a lot of trouble so I’ve wanted to build a unit that was always attached and ready to go. I designed a PCB to hold an mp3 module, a switch and some logic and milled it on my CNC. Below is the assembled bd. before being put in an enclosure which now sits at the base (see photos). The video shows it powering up and playing the first few seconds of the 5 min. track. |

|
Hi Don Cent (CNC) |
|
A great guy from my breakfast group, Don, had to spend some time in the hospital. He’s a very serious coin collector, so I thought I would surprise him. I used a special endmill with a very pointed tip to engrave Lincoln saying “HI DON”. When he was back at the group, I told him I found a very rare “mint error” and gave him the penny and an eye loupe. Whoops, mistake! Don tells me Britain has “pennies”, we have “cents”! |
|
Drive In Speakers Audio Unit (Electronics, CNC) |
|
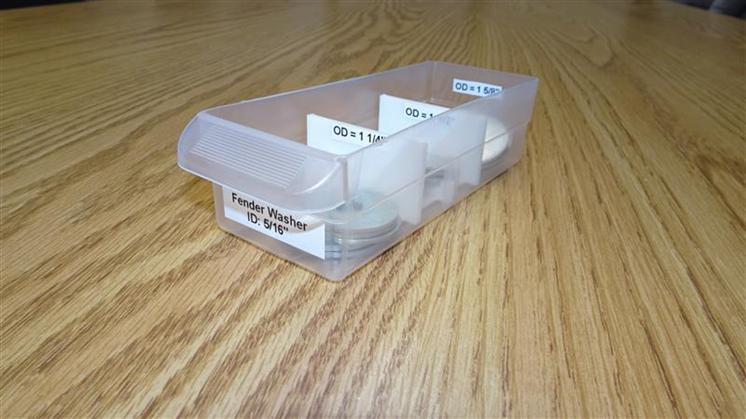
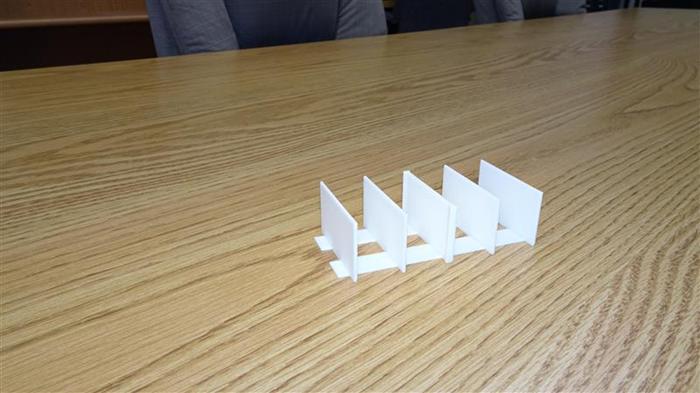
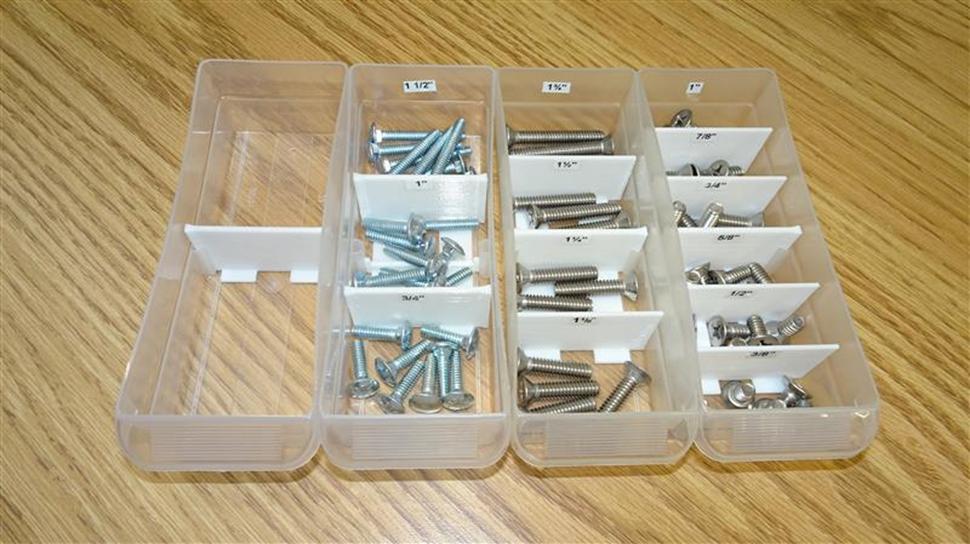
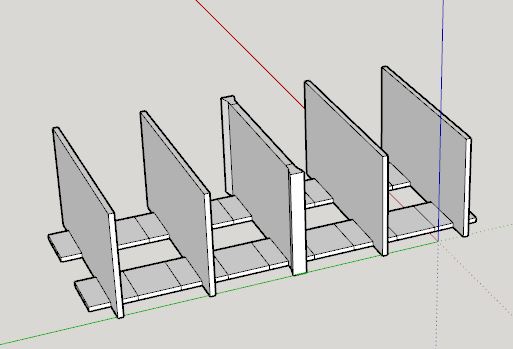
I’m building a “hardware wall” in the new shop. A lot of my fasteners are in the old polystyrene Akro-Mills drawers with hand written labels. These are great drawers, some of which I’ve had for almost 40 years. They have grooves which allow dividing the drawers into 2 or 3 compartments. The really old ones also had grooves allowing for 4 or 6. The new(er) units have polypropylene drawers which won’t crack, very nice. However, they are more narrow and worse than that, they only have provisions to be divided into 2 compartments.
That’s not going to allow the level of organization that I need, so I designed dividers that fit into the side supports their 2-way dividers use, but branch out along the bottom in both directions and have dividers spring up from there. I have ones that let me have 2,3,4 or 6 compartments. |
|
WiFi For 2nd Big Clock (Electronics, CNC) |
|
In 2015 I built a “Big Clock” which uses a computer monitor for a screen and displays the time with huge characters. You can use a keyboard to put messages on the screen for future dates. Later, in 2017, I made a WiFi unit which plugs into the Big Clock. It goes out to the web once a day, gets the exact time, and sends it to the clock to update the time, so it’s always correct.
That unit was/is kept in the living room. I decided to build another Big Clock & WiFi For Big Clock unit for my new Lab. This time I would add a PIR motion sensor to the WiFi... unit so that when no one is around the monitor’s backlight would go off. To add that, I needed a small level conversion PCB which I designed and made on the CNC.
I also used the CNC to cut a large perfect hole in the enclosure for the PIR lens to protrude (photo lower right but hard to see milled hole). Modifying plastic electronic enclosures was originally the main thing I wanted the CNC to do. You can only do so much by drilling holes. Making large or rectangular holes is a very powerful facility. |