

|
Electronics & Maker Projects (page 12) |
|
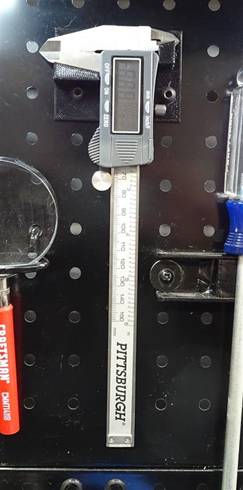
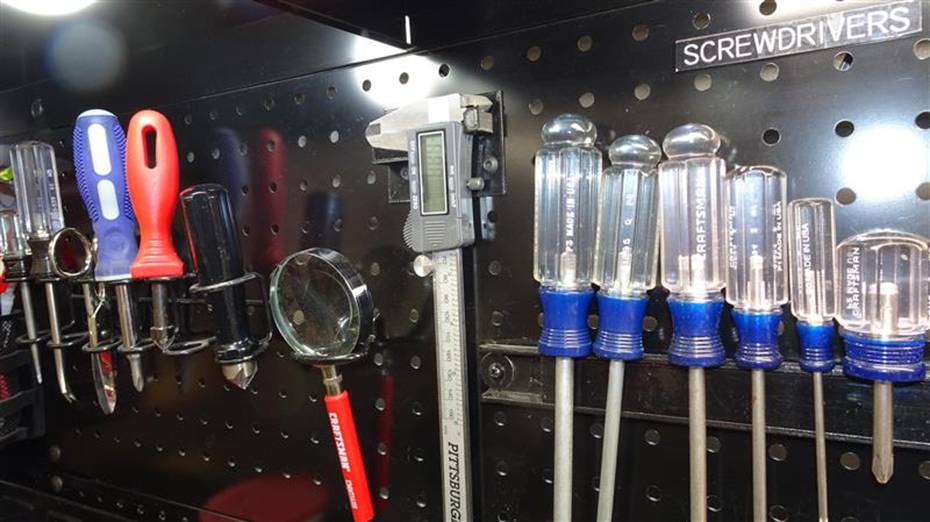
Digital Calipers Pegboard Hanger (3DP)
|
|
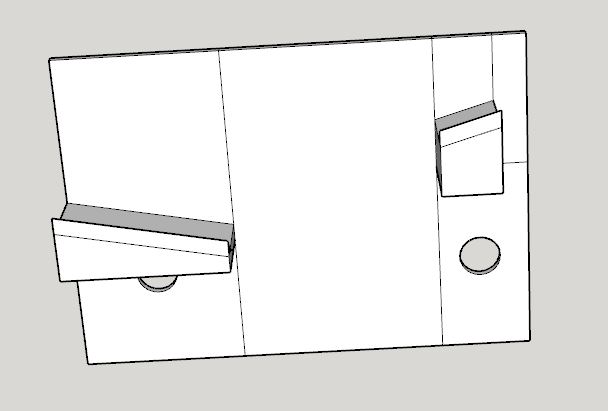
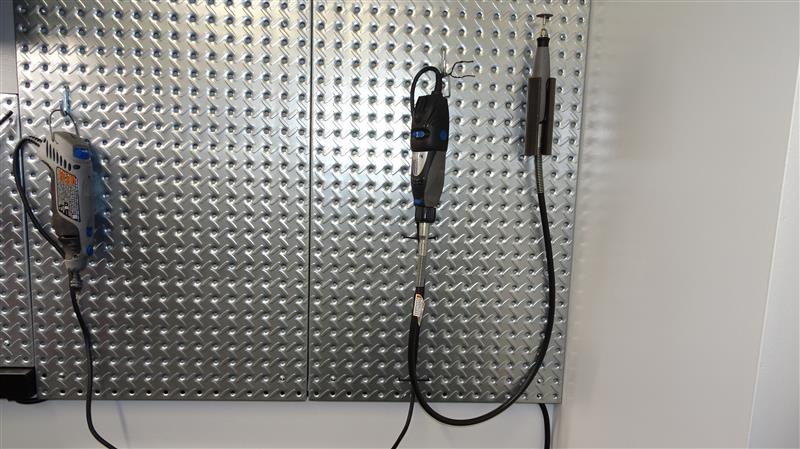
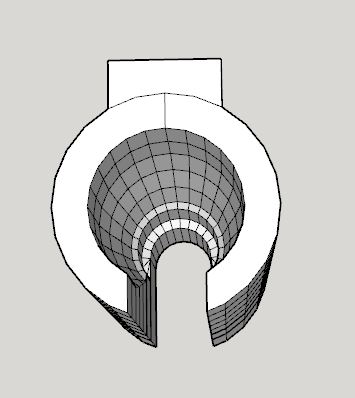
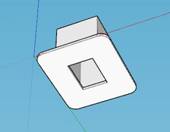
Dremel Flex Shaft Attachment Hanger (3DP) |
|
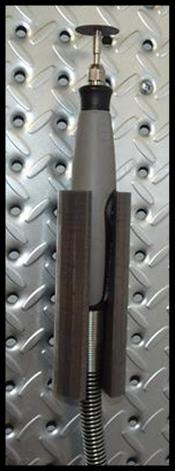
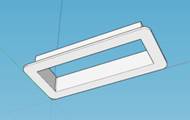
What I always called a Dremel Pencil is technically a “Dremel Flex Shaft Attachment”. It lets you get into smaller spaces or allows a cutoff wheel to remain perpendicular to something you are cutting without the tool’s body getting in the way as quickly. If I keep it in a drawer I have to take off the cutoff wheel as it will break as it roams free. I tried a conventional pegboard dual-prong hanger, but twice it slipped out, fell on my bench and broke the wheel. That was it, time to get crazy on it.
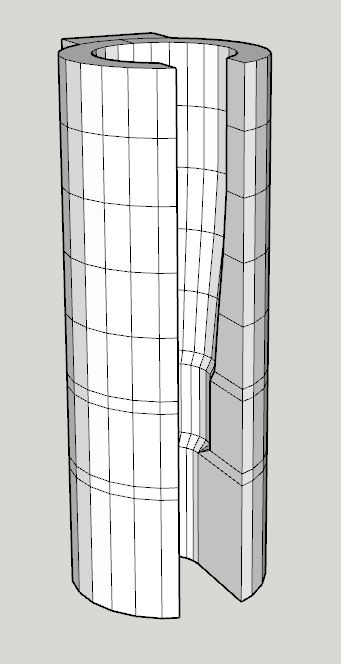
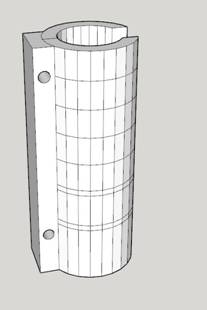
I designed the holder with internal contours which match the tool. The large gap in the front allows the lower spring / cable to pass, then just drop the body down into the holder. I use two large tie-wraps through the holes you can see in the CAD side view to hold it to the pegboard |
|
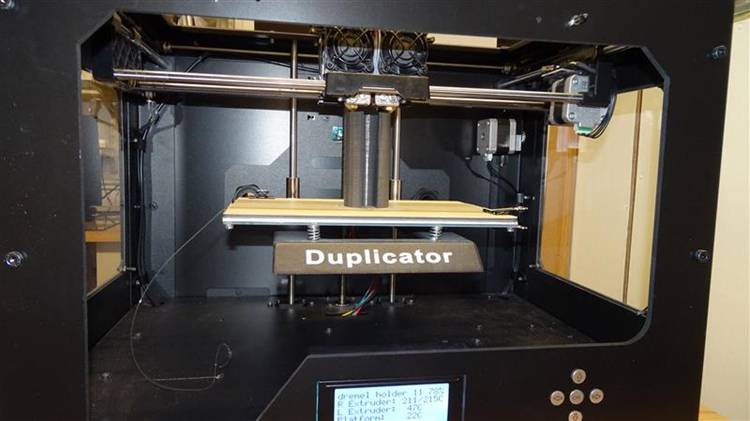
Being Printed |
|
Lipstick Rack (CNC)
|
|
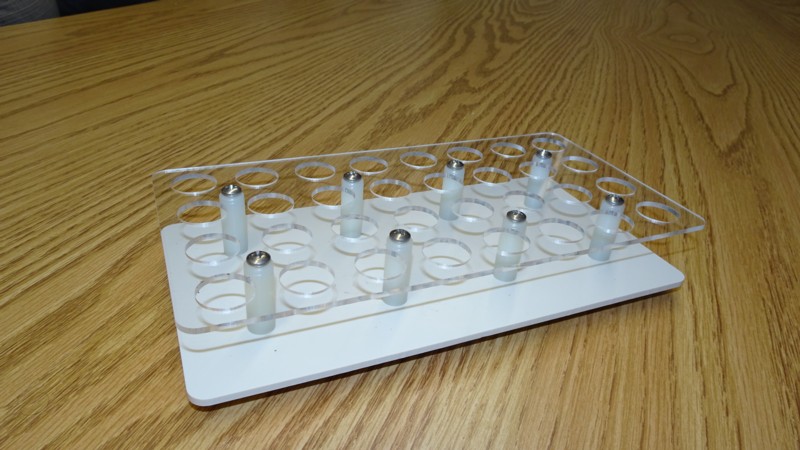
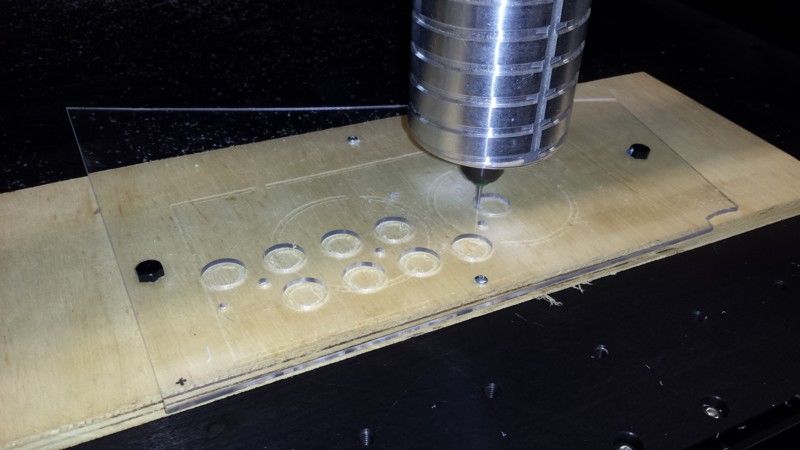
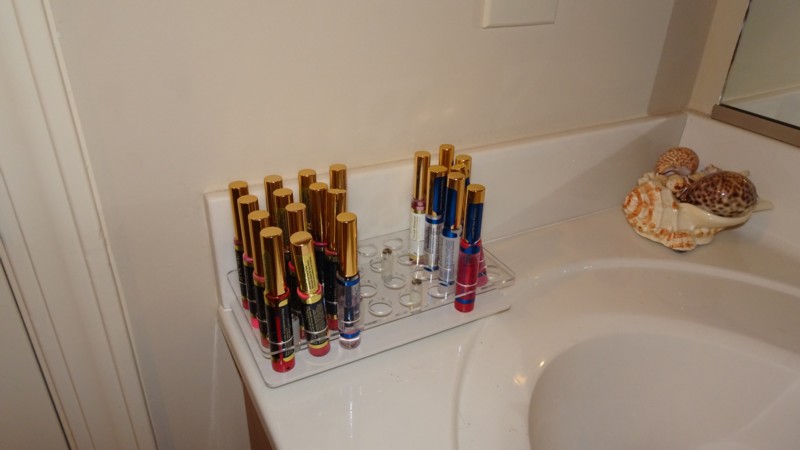
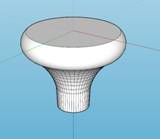
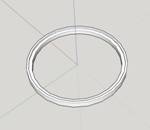
When Linda said she would like a holder for her lipsticks, at first I was going to do some kind of 3D printed base with holes. But I always like the commercial retail fixture look, so I started thinking about acrylic. I ended up CNCing the top level out of clear acrylic and a base out of white plastic. Luckily I had the large standoffs and stainless screws in stock. |
|
Arcade Game (3DP, Woodwork, Assembly)
|
|
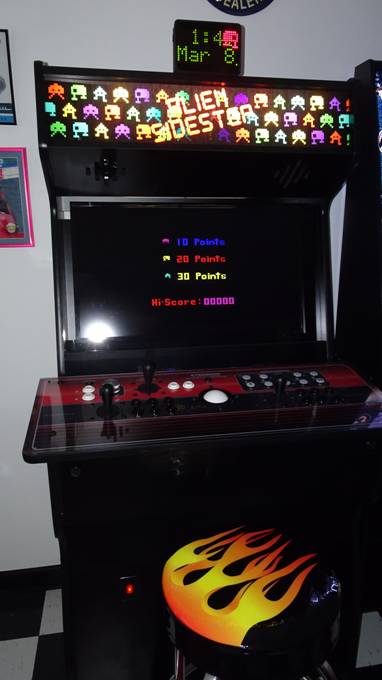
[Finished 2019-11-07] In 1983 I wrote a video game cartridge for the Commodore VIC20 and C64 computers. That story is elsewhere on our website. I always wanted to make a stand-up arcade game and be able to play my “Alien Sidestep” on it. In FL at our old house we had our “Diner” area in the garage. This would have been the place to put an arcade game, but it was so hot that we rarely went out there and the heat would have ruined the electronics.
When planning the new house in TN we put the Diner in the 2nd floor “bonus space”. I left a spot for the arcade game and now the time has come! At first I started to design the cabinet, but it was clearly going to be a big woodworking job. We no longer have our trailer so picking up whole sheets of wood is a problem. I decided to just buy the cabinet. I shopped for months, but eventually bought a cabinet kit from recroommasters.com It comes in pieces like furniture and is easy to put together. I also bought their game controller. This was a preassembled box with all the buttons, joysticks, etc.
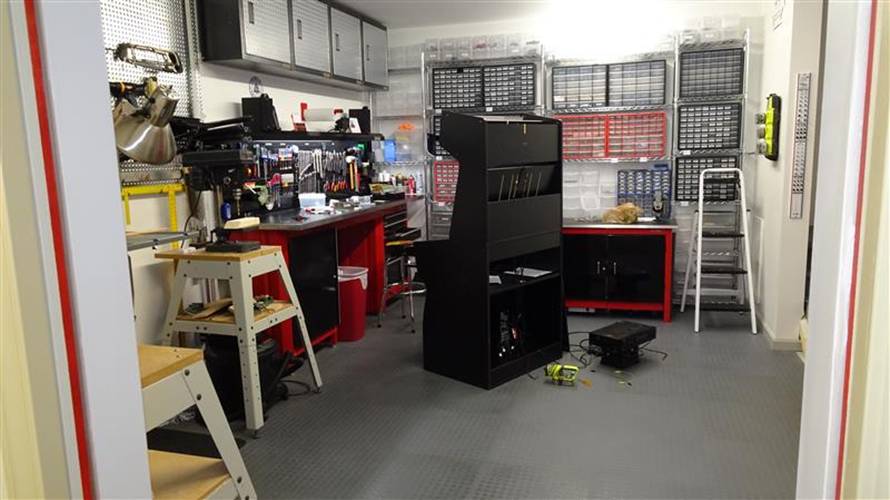
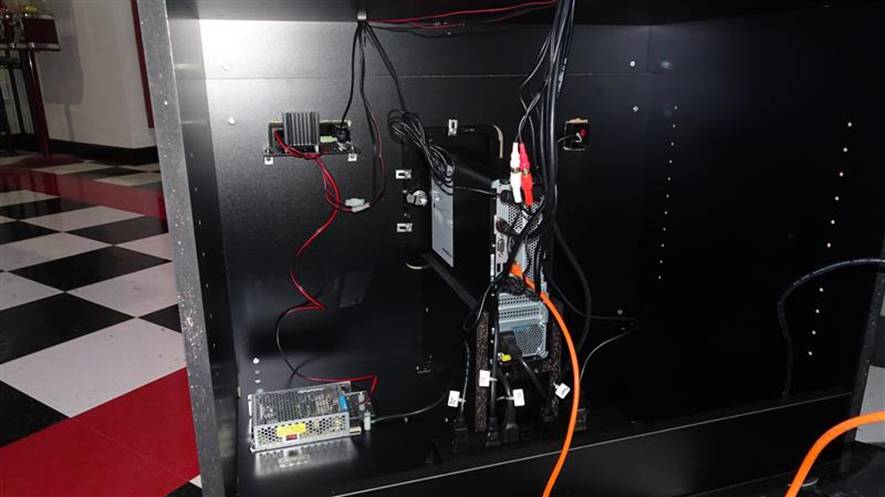
Sounds like the lazy way out, but I’m so glad I did it this way because all the other elements it took to get where I wanted to go became a moderate sized project. I not only wanted to play my game, but also our favorite arcade games from the late 70s and early 80s like Asteroids, Centipede, Galaga and a few others. I particularly miss Asteroids because many years ago I had an actual machine in my first house. So I got a small PC, installed the MAME emulator along with a VIC20 emulator. Pictured are some of the things I had to make to put the whole thing together. It all came out great and we’ve actually gone up there to play it several times.
|

|
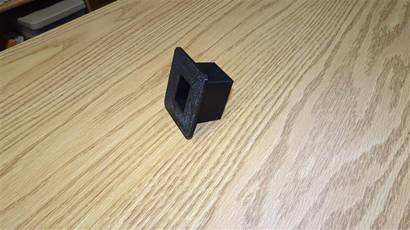
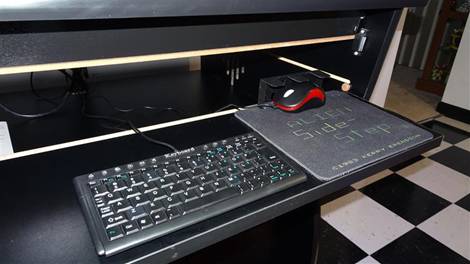
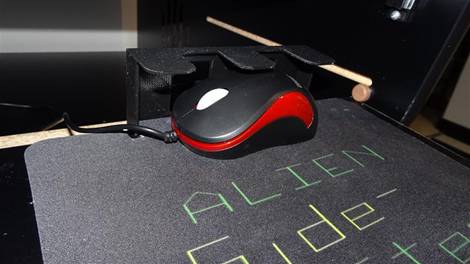
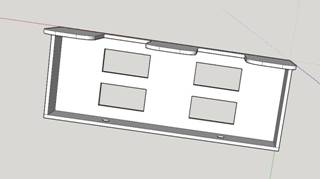
The “mouse house” is installed on the back of the fold-down keyboard shelf. I designed it to hold the mouse from falling into the machine when the shelf is returned to it’s upright position. Linda gave me the custom Alien Sidestep mouse pad years ago, but now I really have a place to use it! |
|
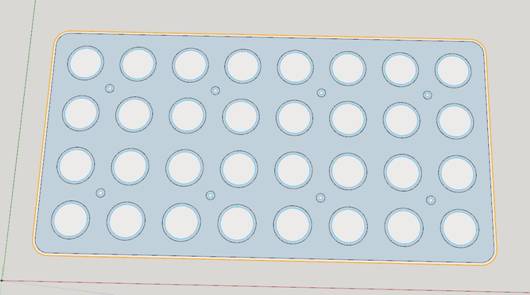
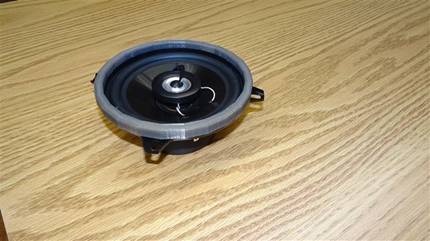
The coaxial speakers I chose had tweeters which extend higher than the cage, so I made 3D printed spacers to allow mounting in cutouts above the screen. |
|
I bought a chinese audio amp PCB and made a bezel to allow mounting it on the front of the cabinet. I wanted to be able to quickly change the volume without having to go into the PC or TV’s audio controls. |
|
I found a great illuminated rocker switch in my collection to use for the main power switch, then made this bezel to allow front panel mounting |

|
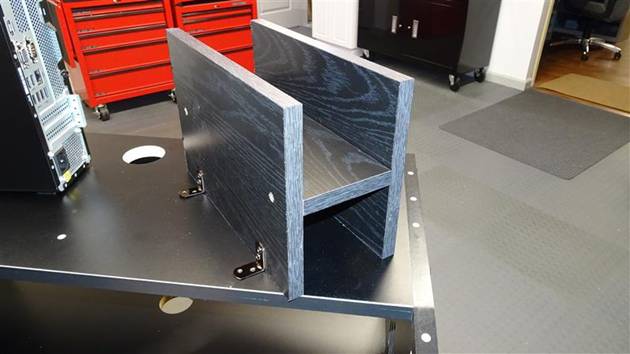
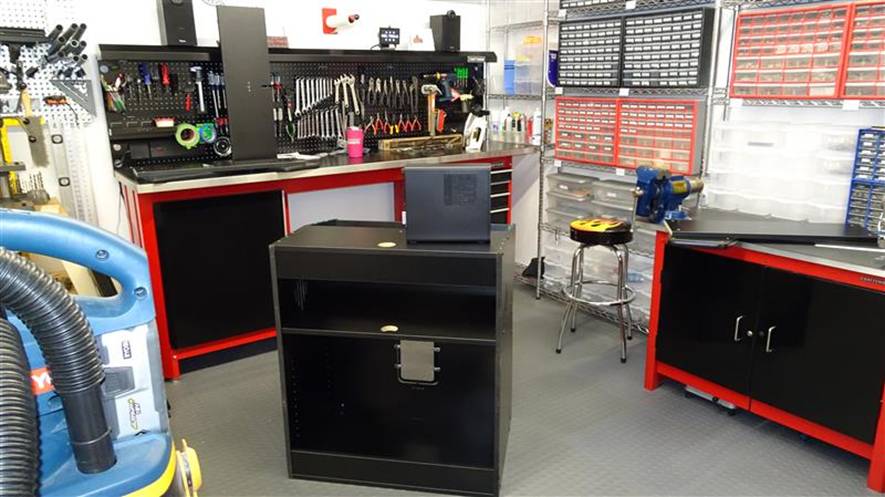
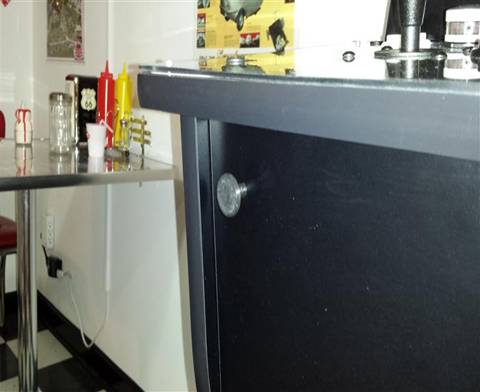
I wanted the mini-PC’s power switch and DVD drawer to be accessible behind the arcade’s front metal door. This meant the PC had to be positioned at just the right height. I designed this PC riser/holder which mounts to the cabinet’s internal floor. |
|
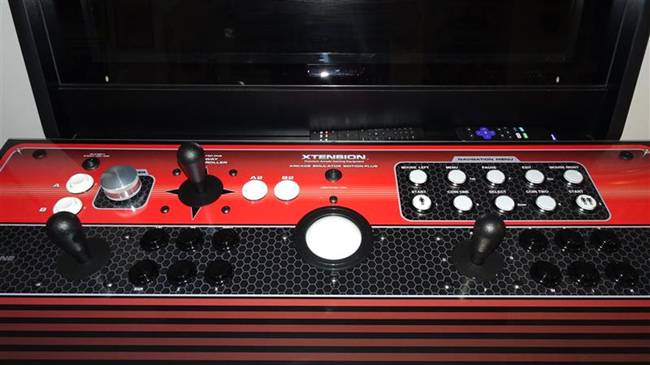
Though a little large, their controller is quite nice, well made and has lots of controls. I added small labels which identify exactly what keyboard key is delivered to the PC when that button or control is actuated. |
|
I have several digital calipers which I use all the time. I normally keep them in a toolbox drawer in the lab. I finally realized that I was constantly needing them at the main shop bench and going into the lab to get one. I tried hanging a caliper on normal pegboard hooks, but it was all wrong. That’s when I decided to make something dedicated to the task. To make it easier and more secure, I cheated and took advantage of the fact that I can get to the back of my main bench’s metal pegboard. I just mounted it with 2 black button head socket screws & nuts. |
|
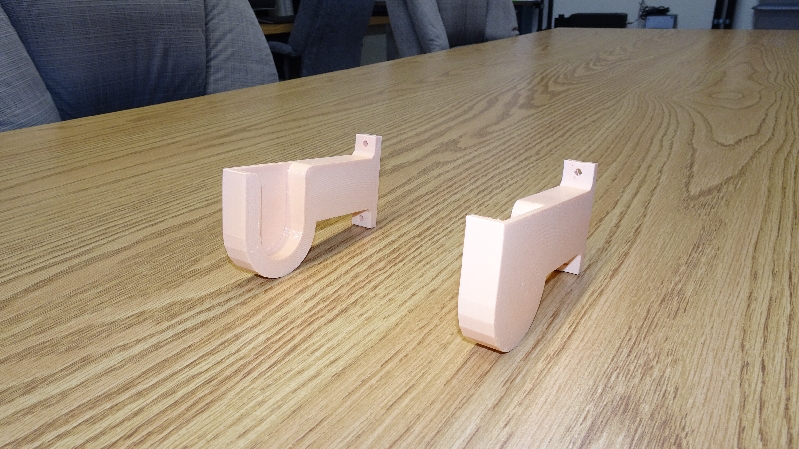
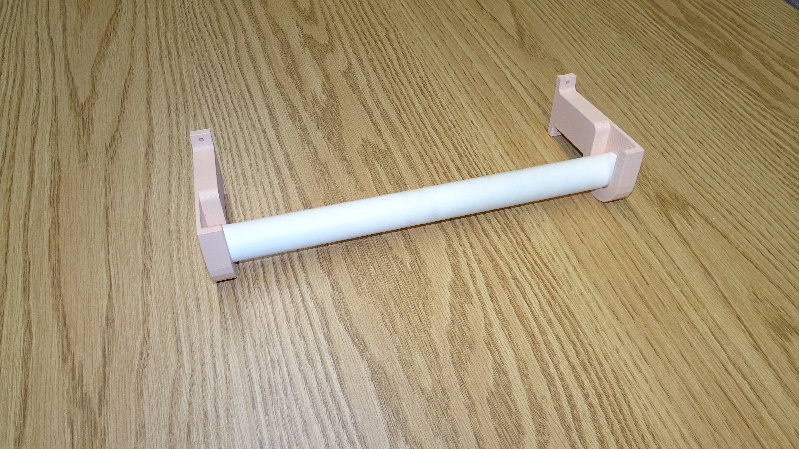
Paper Towel Holder (3DP)
|
|
OK, yes I know you can buy a paper towel holder for next to nothing. But why do that when I can spend hours designing my own! Also, I wanted to be able to just lift the roll out quickly to take it with me and most of the ones I’ve had you have to fiddle with. I just bought this new filament which they called “tan” that I thought would be closer to our house & lab wood tones, but it’s good enough. |

|
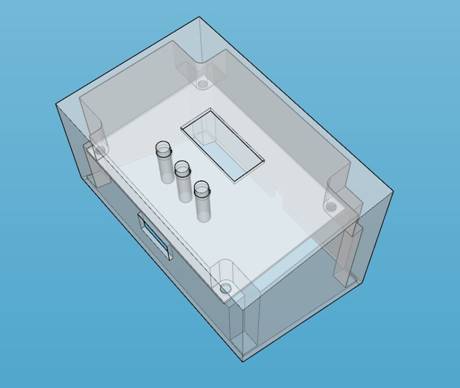
Servo Tester (Electronics, Software, 3DP, CNC)
|


|
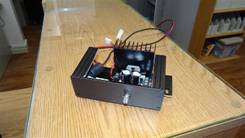
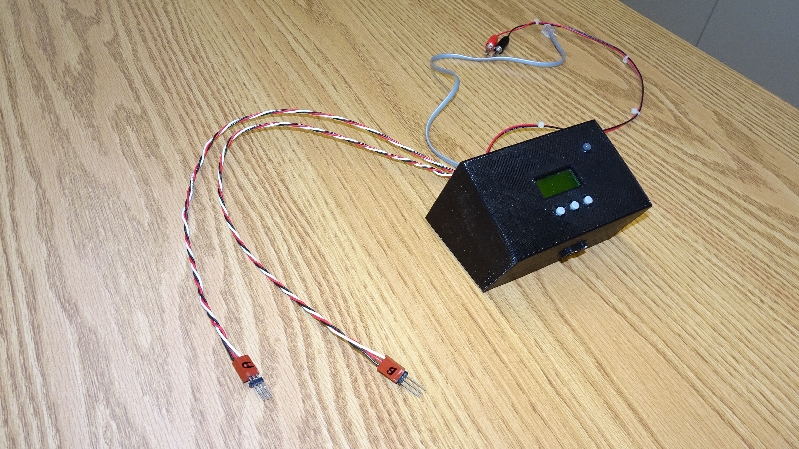
I was thinking about a new project which might use 2 servo motors, when I realized that I always have to start from scratch. What I should do first is build a dedicated Servo Tester that would allow exercising a servo to see it’s range of motion and possibly get a feel for the basic function of a new project.
I had created a sloping enclosure for a previous project made to house my “Dispenser Bd” originally used in the “Cat Food Dispenser”. The board is set up for a small LCD display with 3 “soft switches” (selection buttons). It has an expansion connector with signals available for serial COM and two PWM outputs. The original project never had a bottom cover, so I CNC’d one (bottom left photo) to size along with the screw holes.
Today’s servos have a lot more range than earlier ones. They used to have about 90° of swing now it is common to have 180° or more. That expanded the range of PWM output from 1 to 1.5msec hi-phase to .5 to 2msec. I decided to scale that to integers ranging from 0 to 400, where 0 would be 90° CW, 200 would be center, and 400 would be 90° CCW.
The LCD will show the current position (0-400) of “A” servo/PWM on the top line and “B” servo/PWM on the bottom line. The left button selects which PWM “A” or “B” to be changed. The center button increments the number (UP) and the right button (DN) decrements the number. The Servo Tester powers up with both at 200.
The modular cable (silver) is for serial communications and plugs into my in-house standard USB to logic level serial adapter. This way I can use a terminal program to directly send a new position number to a servo, such as the command “A145”. That way I can easily choreograph a motion sequence when developing a new concept. |

|
The two new photos to the left are from 2021-03-08. The finished arcade is the same, but I got rid of the plain generic “Arcade” marquee that came with the enclosure kit and replaced it with one I composed with an Alien Sidestep theme. The lettering is actually a very nice red in person, but the camera just couldn’t capture it accurately. |
|
Also shown is the Netclock Bi-Matrix LED Clock I made later [2020-07-04] mounted on top of the marquee. It’s write-up is on “Electronics & Maker Projects (page 14)”. |