|
Electronics & Maker Projects (page 16) |
|
Soap Dispenser Tray (CNC)
|
|
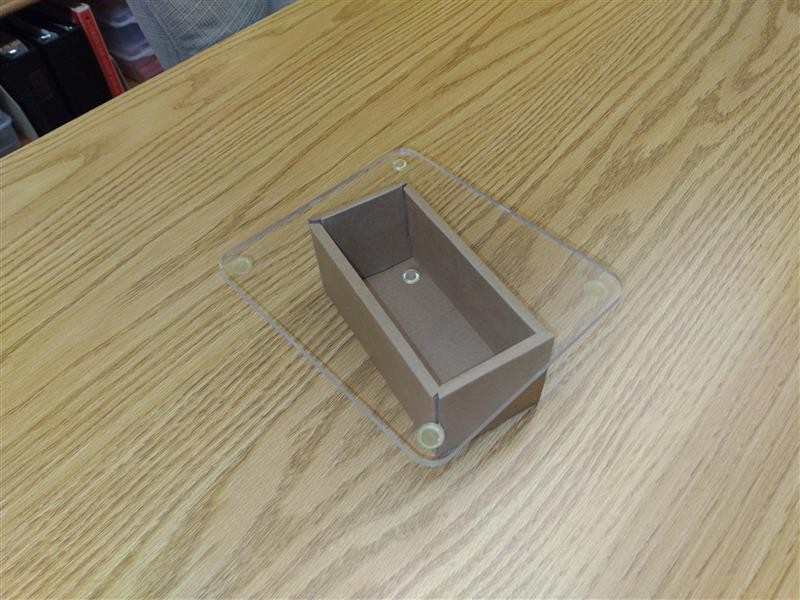
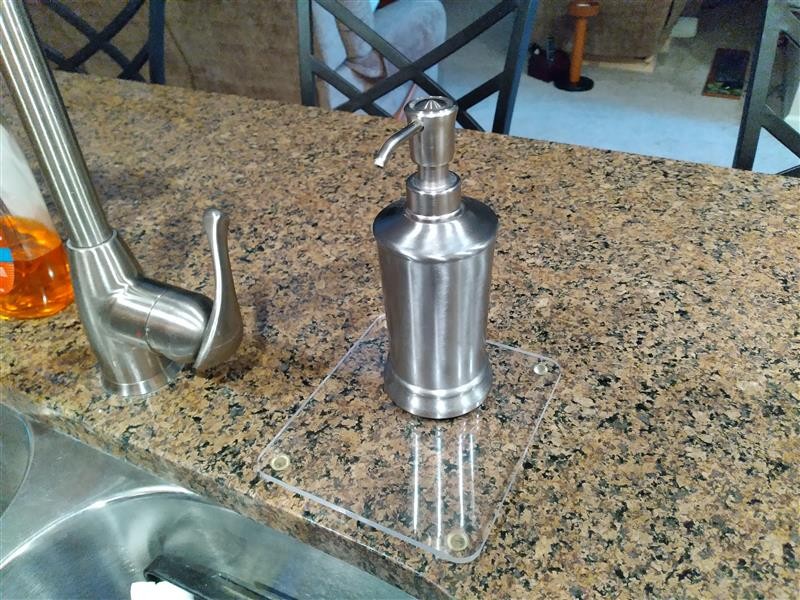
[2021-04-28] Linda wanted a counter protector tray for the kitchen soap dispenser. I thought about several approaches, but in the end the simplest was really the nicest. I took a scrap piece of .22” plexiglass and CNC’d it to size with nice large radius corners. I had just enough clear rubber feet in stock to finish it off.
|
|
Network BiMatrix LED Clock w/Sound (Electronics, Software, 3DP, CNC)
|
|
[2021-05-04] On page 14 of “Electronics & Maker Projects” is the write-up for my “Network BiMatrix LED Clock”. It ended up being mounted to the top of our Arcade Game in our “Diner”. Linda liked it so much that she wanted one for her office. The clock has the little aliens from my 1983 video game “Alien Sidestep” march across the screen over the time display. She asked if it could also make some of the game sounds. I kind of thought this would be annoying after a while, but if she thought it would be fun to have, I can always put in an on/off switch for the audio.
I began by putting together another one of the chinese LED matrix PCBs. This time I put in low-profile sockets for the 8x8 matrix blocks, because in the first unit I had soldered them in and then found that one of the blocks was way brighter than the others. I talk about that in the first unit’s story.
Since I put sockets on the new unit, and had ordered 3 more of the matrix kits, I was able to mix and match to get all the LED matrix blocks to have similar brightness. Therefore, I had to make a new version of the software which didn’t have the special multiplexing trick.
Then I assembled another of my dedicated matrix clock controller boards I had designed, which has the µC, RTC, WiFi, etc. Then I put the whole clock together on the bench and verified operation. Next came designing a little PCB to hold an mp3 player module. I CNC’s it and then assembled it. I continued modifying the software to incorporate sending serial commands to the mp3 player module. I recorded and edited some sounds from Alien Sidestep and loaded them on a µSD card which gets inserted into the mp3 player module. I decided to have the sounds occur at the top of the hour and at :15, :30 & :45 minutes, somewhat like a grandfather clock. At least the sound effects would have a small practical value.
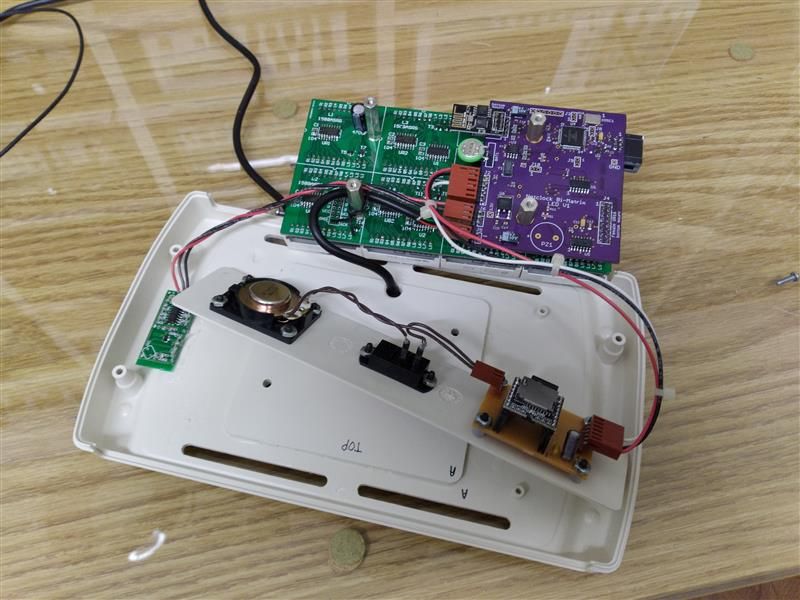
Unlike the first unit, this unit needs additional room for the mp3 player PCB w/module, a small speaker and the audio on/off switch. I didn’t want to design a 3D printed enclosure this big, as the one for the first clock pretty much taxed the limit of what my machine will print. I had a very nice Polycase enclosure, a model which had expanded height. After a lot of measurements, I decided this would make a nice case.
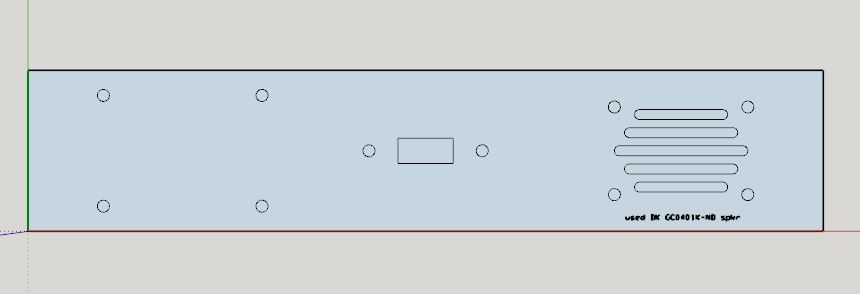
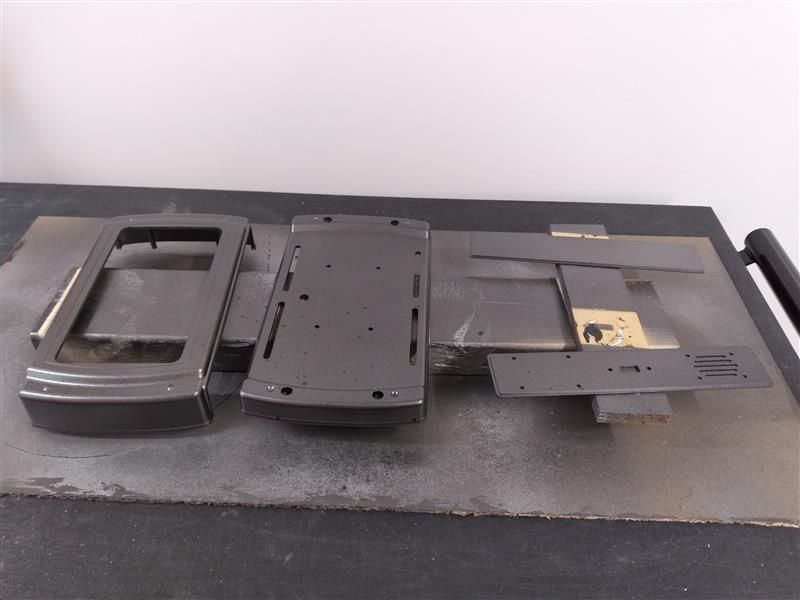
I CNC’d some smoked gray plexiglass for the “screen” then 3D printed a bezel to go around it. Then I CNC’d the top face of the enclosure for it to all sit in. Next I CNC’d what is normally the front panel of the enclosure but for this project it is the top panel that holds the speaker, switch and internally the mp3 player PCB.
I put it all together for a test fit, then took it all apart. Linda painted all the pieces a nice metallic bronze. I put it all back together, tested it and put it in Linda’s office.
|

|
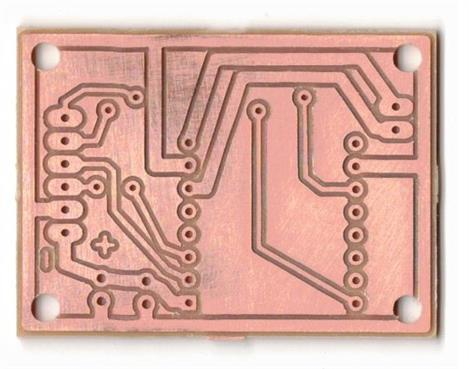
CNC’d mp3 Player Module PCB |
|
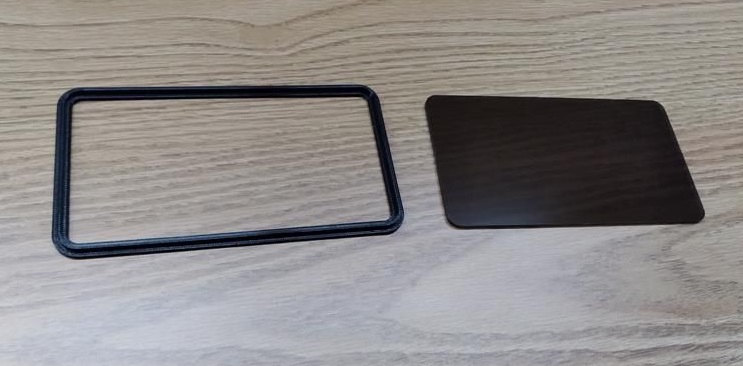
3D printed bezel and CNC’d gray plexiglass front screen. |
|
Above: CAD drawing to CNC top panel. |
|
Above: test assembly before taking it apart for paint. |
|
Model Car Turntable (CNC)
|
|
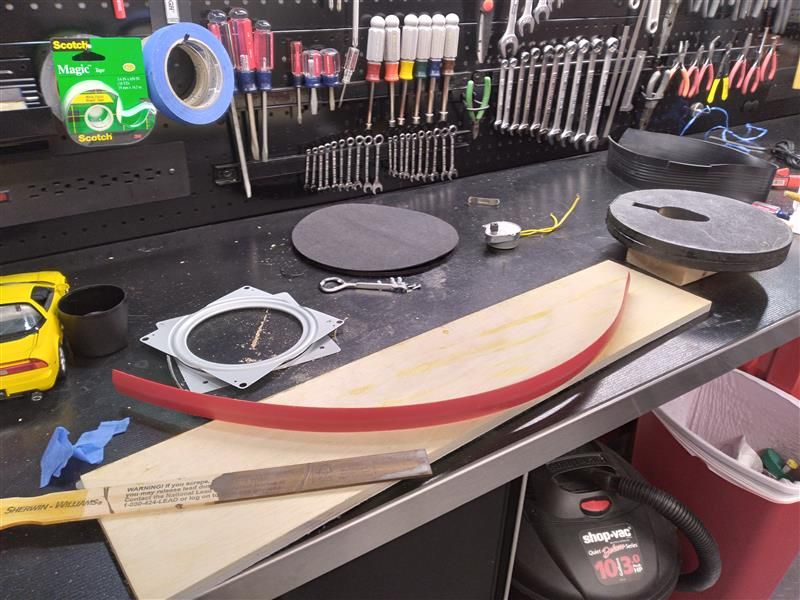
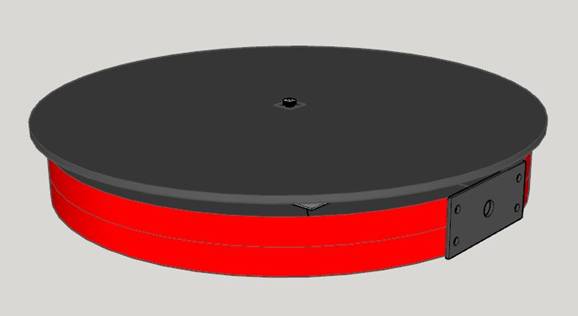
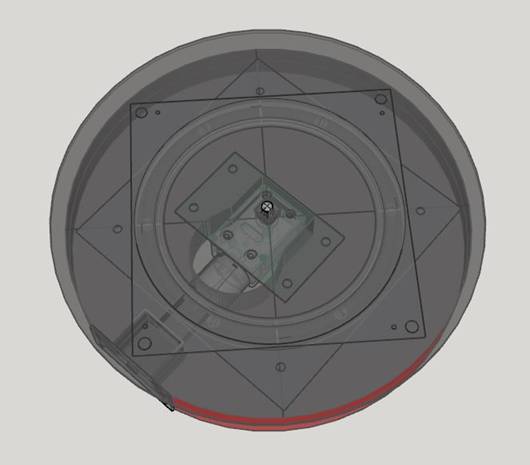
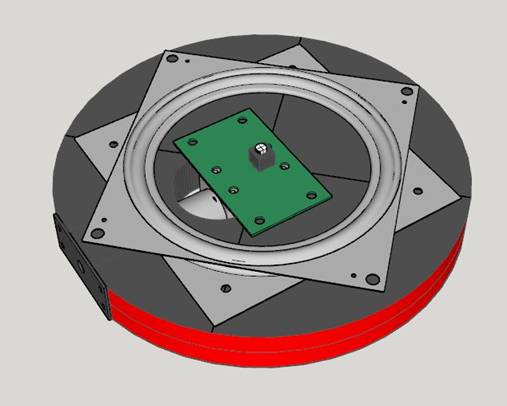
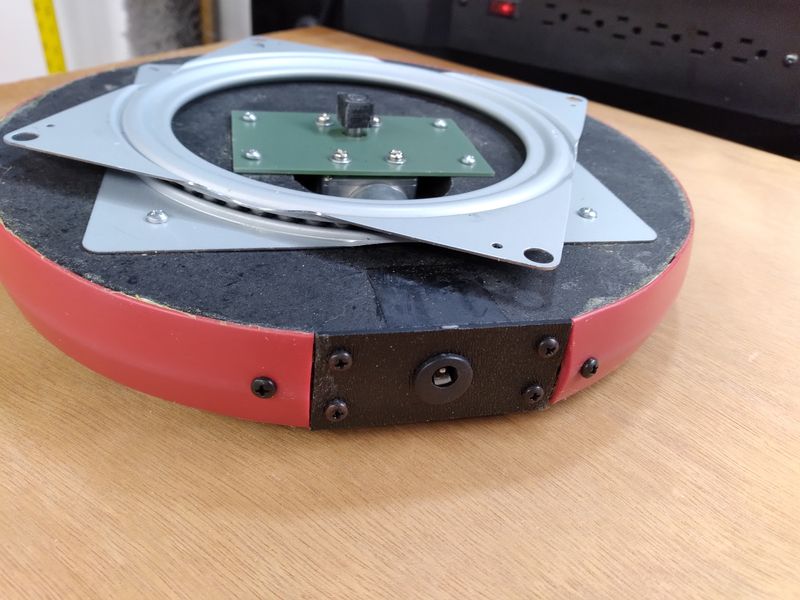
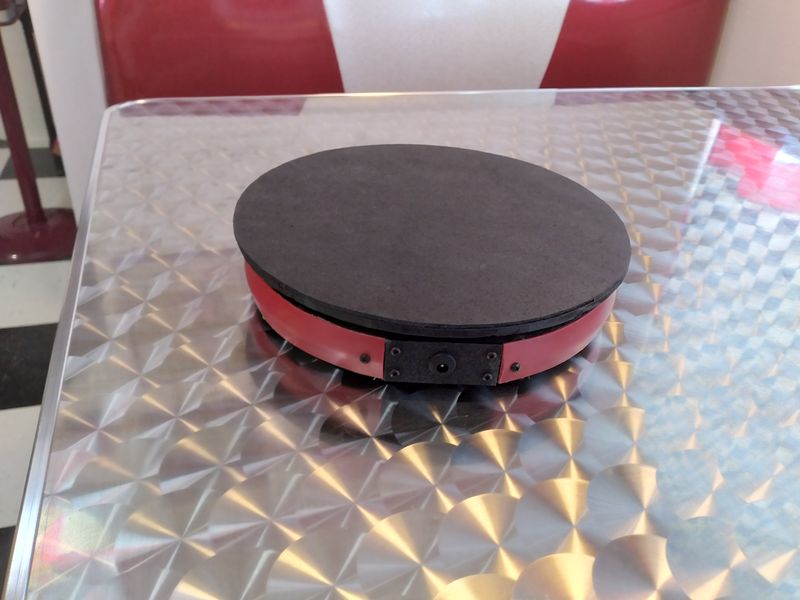
[2021-05-03] This idea has been sitting around for a long time. I never really had a place to put this, so I never got around to building one. Now, though, the “pedestal cubes” under the Prisoner Game in the Diner have 6 openings. In one we have this light-up sphere which looks just like Rover. I thought the next cube over would be a great place for a Model Car Turntable.
At first I went with a used AC gear motor, but it quickly failed. I ordered a 3RPM DC gear motor and made some small jigsaw cuts in the CNC’d wood base to make it fit. I milled a disc from 1/4” plywood for the top rotating surface and used a simple lazy susan mechanism in between. I 3D printed an adapter which has a D-shaped hole to push on the motor shaft and an outside .4” square which the top rotating disc’s center square hole fits over. This transfers the force for motion and provides some play. I used an LED array from an old HF flashlight to put above the turntable in it’s “cube” to light it up, as seen in the video.
|

|
Mail’s In! Alert - Updated (Electronics, PCB, CNC)
|
|
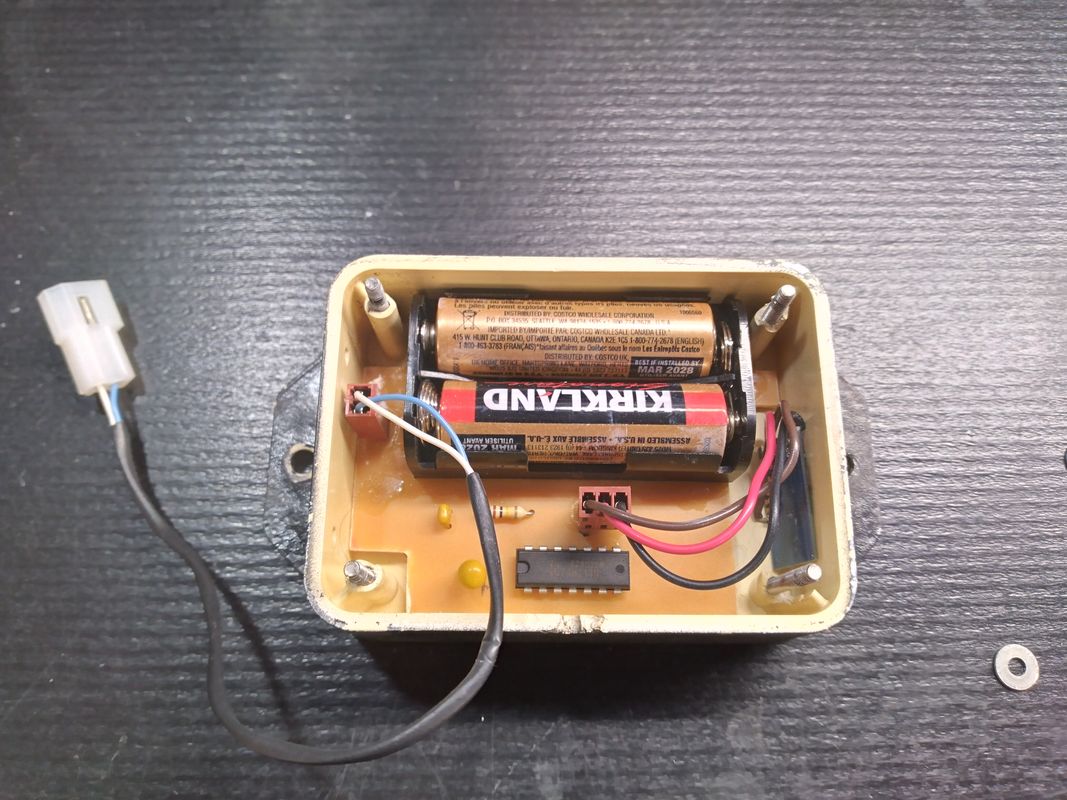
[2021-05-11] On page 9 of “Electronics & Maker Projects” is the write-up for my “Mail’s In Alert”. It has a transmitter at our mailbox and a receiver in the house. Whenever the mailbox is opened, it plays Morticia exclaiming “Mail’s In!”. I made this several years ago. When we moved to TN I installed it here, but over time it’s become unreliable.
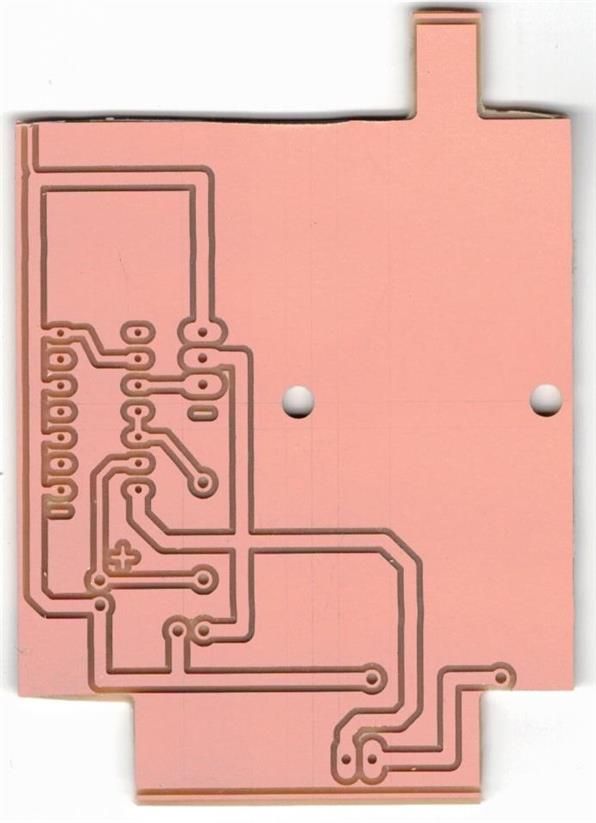
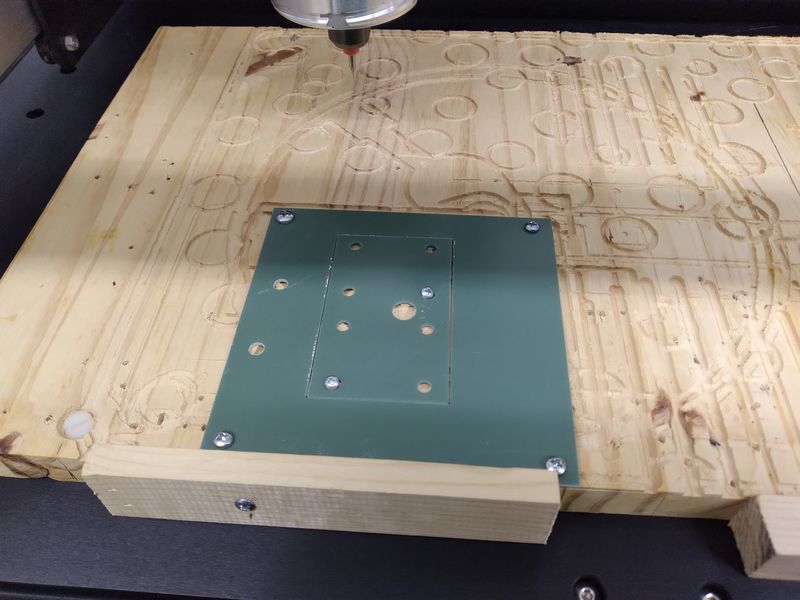
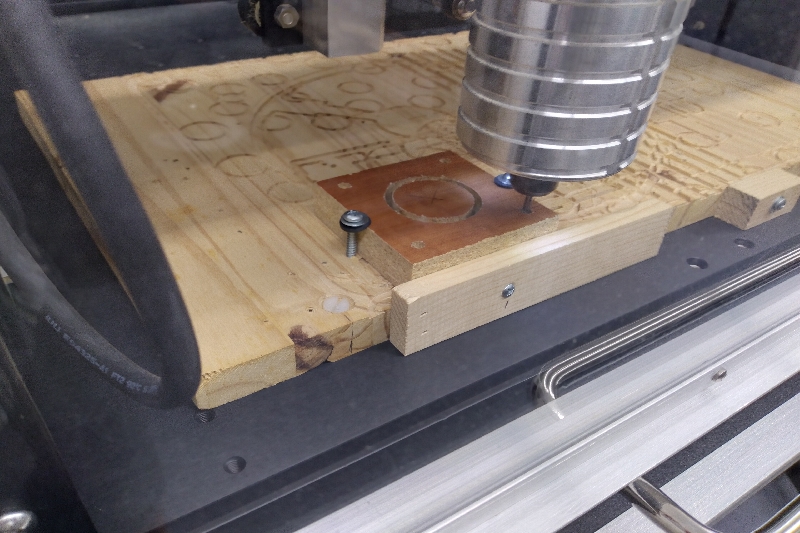
I had used a cheap Harbor Freight wireless doorbell for it’s RF sections. I threw that out and instead I’m going to use two 2.4GHz small RF transceiver modules which I bought a long time ago. I needed some logic at the mailbox transmitter end so I designed a simple PCB and milled it on the CNC.
|
|
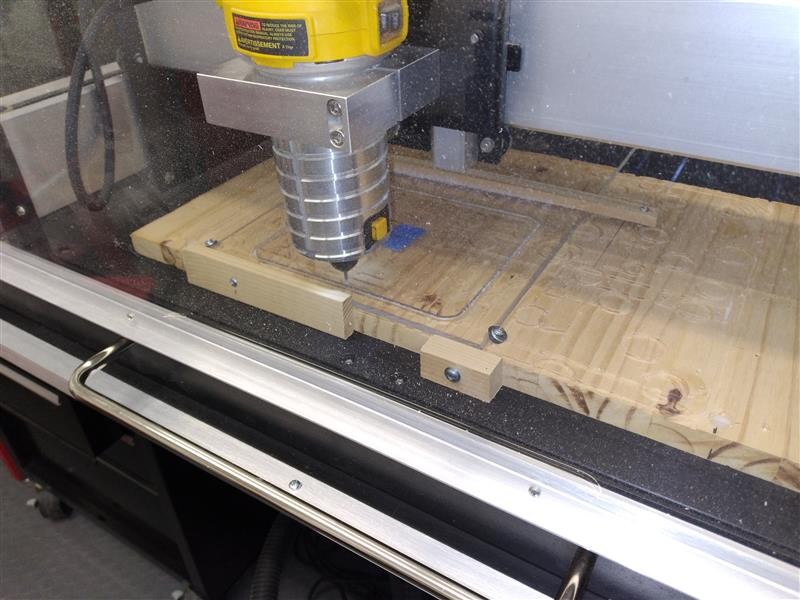
CNCing DC Gear Motor Mounting Plate |
|
Teak Headboard & Nightstands (Woodworking, CNC)
|
|
[2021-06-08] We have a lot of teak furniture, most of which we either built or modified. Long ago we ended up with lots of teak material. That story is part of the “Drink Holder” description on Projects page 7.
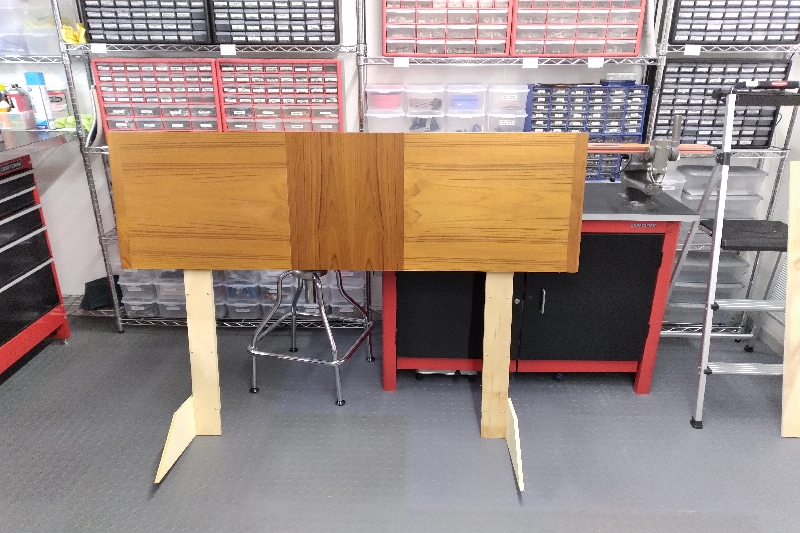
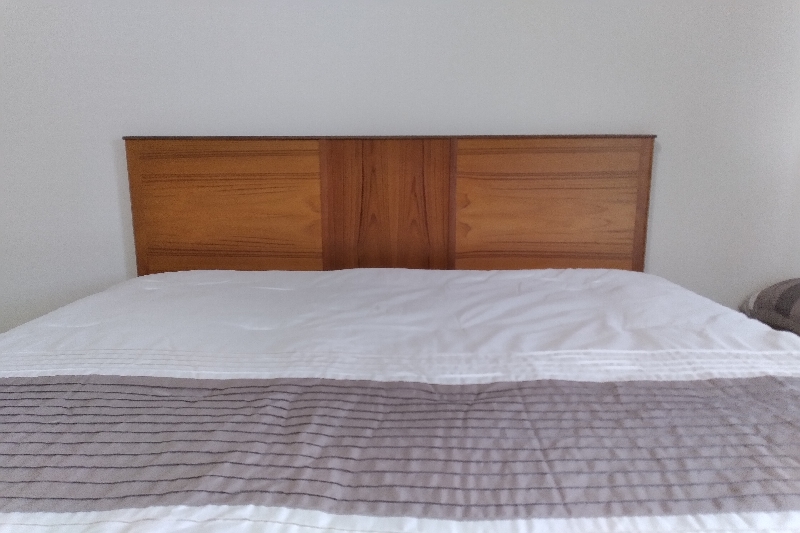
Now in our TN house, we have a guest bedroom. We finally bought a nice bed to put in there, but there was no headboard. I went through our teak panel collection, found some appropriate pieces, and put together this headboard.
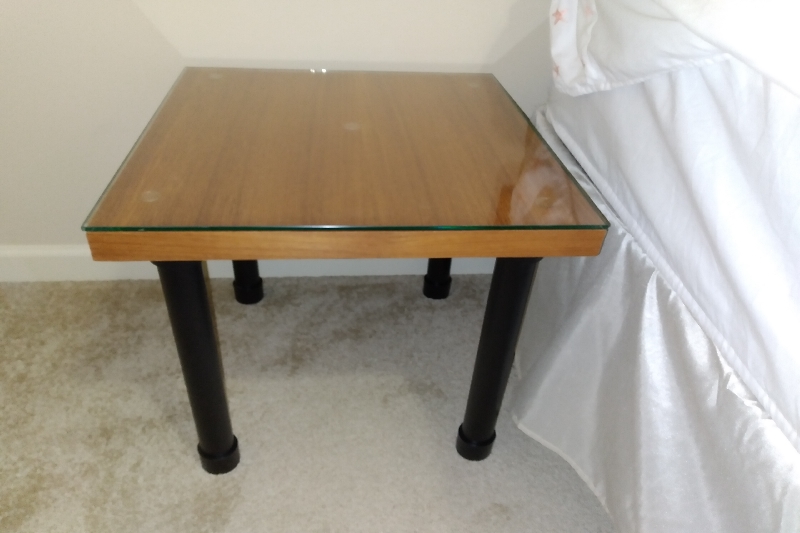
Long ago we had made two rather large teak end tables. We took one of those, cut it in half and made it into two nightstands. We took the glass top and had it cut in half to make tops for the nightstands.
The only CNCing I did was to make flanges for the 4 new PVC pipe legs. |