|
Electronics & Maker Projects (page 17) |
|
Sprinkler Timer Bracket (CNC)
|


|
Mini-Saw Power Supply (CNC)
|


|
[2021-06-25] Linda had ordered a Mini Table Saw for me for Christmas. Months went by and it finally arrived. But, it was completely the wrong one! She had ordered a much more powerful and capable machine. What arrived was the cheapest unit of this type. She paid over twice what this unit costs every day.
I researched it online, and found that the place that sends these out is a kind of clearing house for Chinese goods. I saw hundreds of complaints, some where all they got were empty boxes. Linda complained to Visa saying we would gladly send it back if we knew where to send it. They took forever to give us a refund.
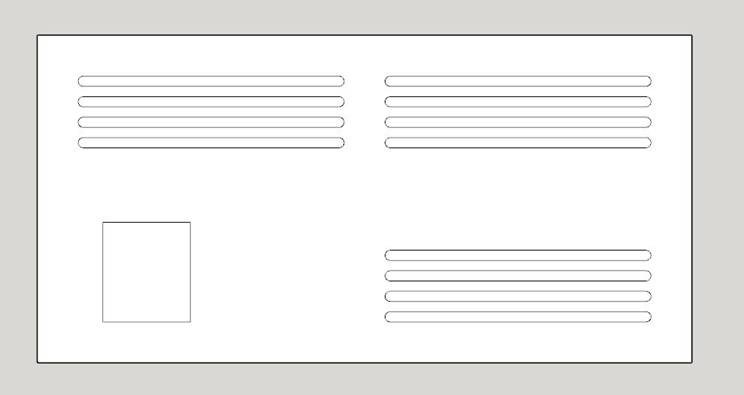
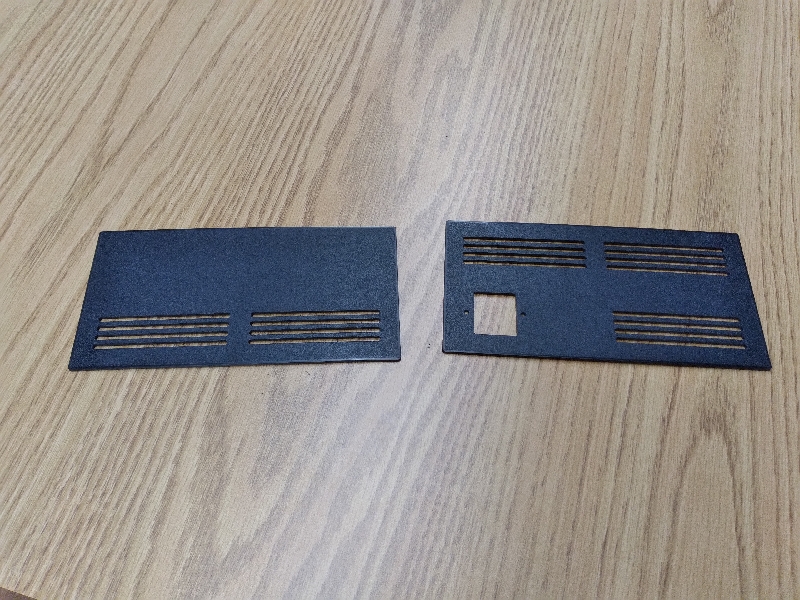
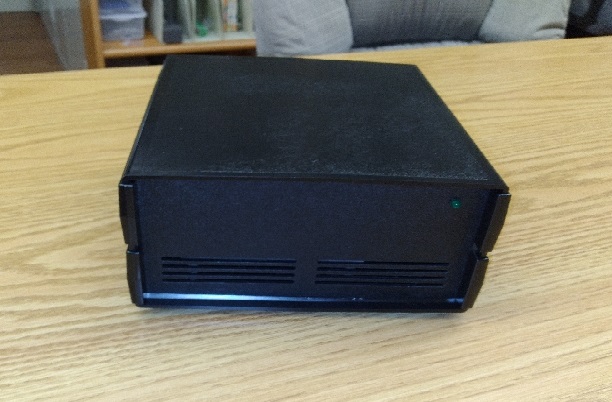
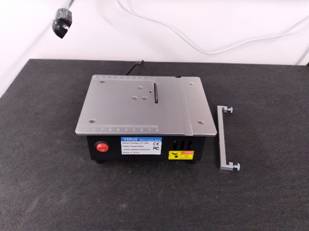
Anyway, I decided to set it up and use it for whatever it could handle. The first time I used it the power supply burned up! I wasn’t going to spend money on a new supply, so I decided to use whatever I had sitting around that was 24V. That turned out to be a huge open-frame linear supply. The only appropriate enclosure I had that was big enough was an old faded brown color. Linda painted it black, and fortunately the front and rear panels I had for it were already black. I CNC’d the panels with slots for airflow and an HP power inlet on the back.
While not nearly as good as the one she had ordered, I have used it to do a few simple cuts and it seems to work if you don’t ask too much and are patient.
|
|
Roku To Yamaha IR Translator (Electronics, PCB, Software)
|
|
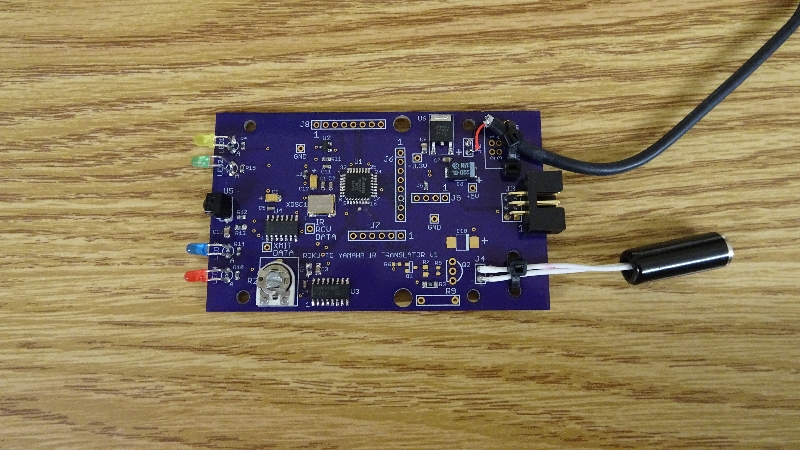
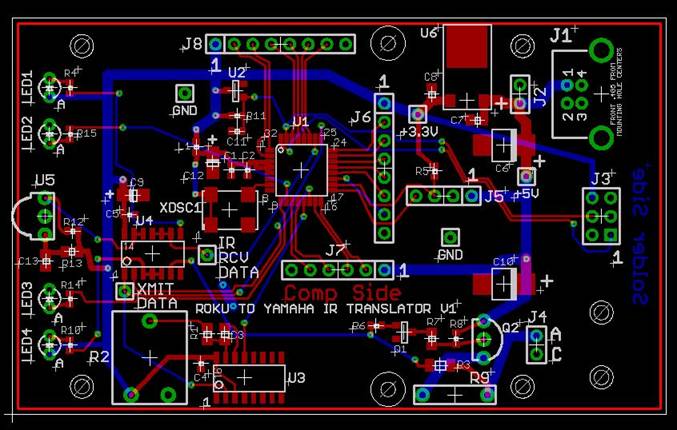
[2021-07-28] I’ve got Roku streaming devices on all 8 of our TVs. On some of the Roku remotes they have Volume Up/Down & Mute buttons which output IR remote signals for the TV you have the Roku connected to. That’s great, but in our living room I use the stereo for TV sound.
When we shopped for the living room’s TV, I wanted it to have an analog audio output that I could feed into the stereo. So, I bought a Vizio even though I though the Samsung had a better picture. It turned out not to matter because I ended up using the audio output of the cable box. Now we’ve “cut the cord” and no longer have cable. Time to make use of the TV’s audio output. I hooked it up and as planned it let me control the volume with the TV’s (or Roku’s) remote.
However, now there’s something like a 400Hz hum that varies with the picture’s white content. After some thought and research, I think they haven’t properly sized and decoupled the backlight’s power supply PWM. My next step was to buy a little box that converts the TV’s digital fiber SPDIF output to analog. I knew they would be passing the audio content from the incoming HDMI to the SPDIF digitally so I expected it would be clean.
And clean it was. However, as I expected, the TV doesn’t let you control the output level of SPDIF. So now I’m left having to use the Yamaha stereo’s remote for volume. I lived with this for a while, then when I was between projects I said that’s it, let’s build something.
Fortunately the Yamaha has a miniature phone remote control input on the back. After finally finding it’s schematic, it turns out that that input just goes to an actual internal IR LED that is aimed at the side of the stereo’s IR receiver. To drive it, you need to supply the same modulated 38KHz signal you would use to drive an IR LED if you were building your own remote.
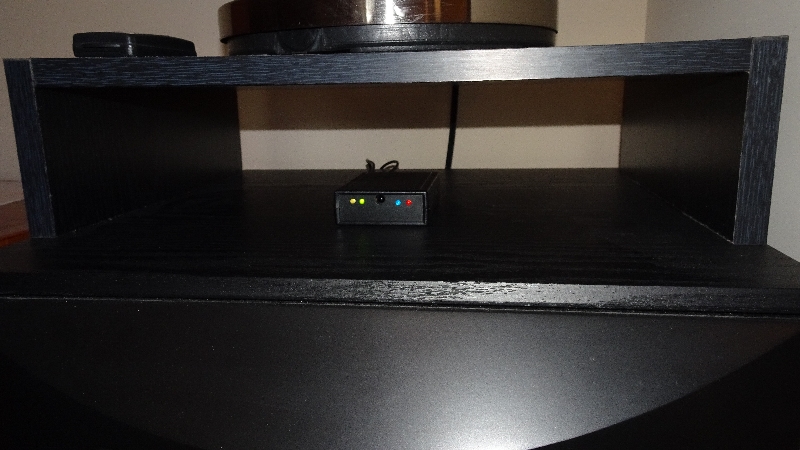
That works fine for me. I designed a circuit that receives the Vizio IR signal, whether from the TV’s remote or more importantly from the Roku remote. Then I convert it to Yamaha protocol and send the modulated 38KHz through a miniature phone to miniature phone cable to the back of the stereo. I had put a mask over the Yamaha’s IR receiver so there is no collision between the signal. I also put 4 LED indicators on the front panel so I can watch it receive, process and output signals as they flicker.
It’s working great and now we only need the Roku remote. |

|
Sword Hanger Plaque (CNC)
|
|
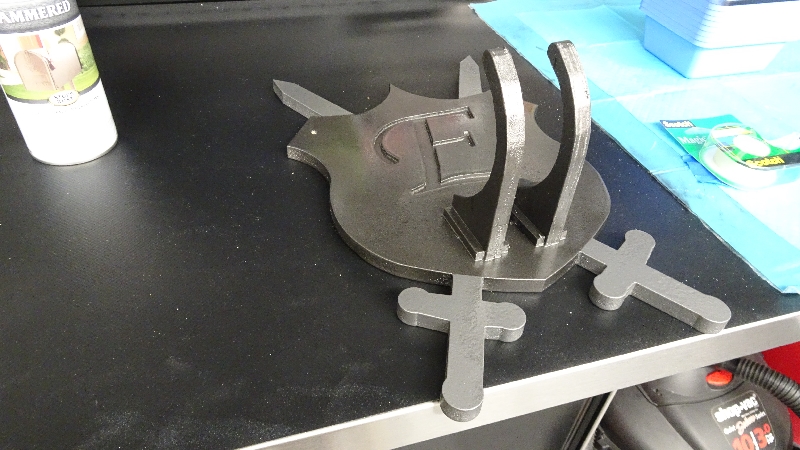
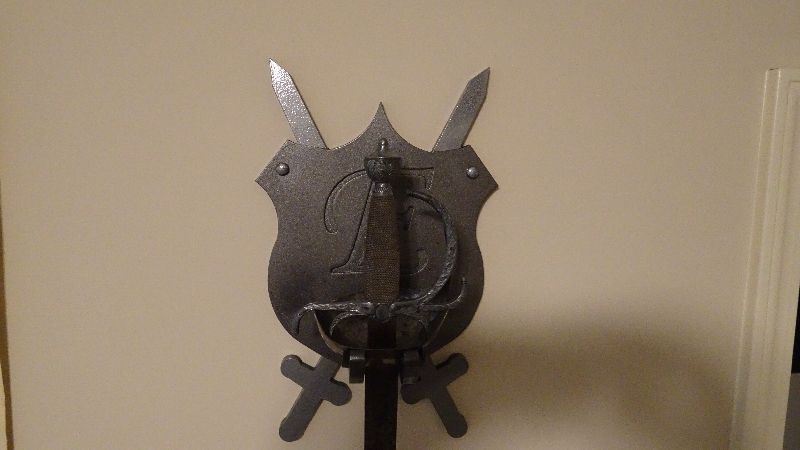
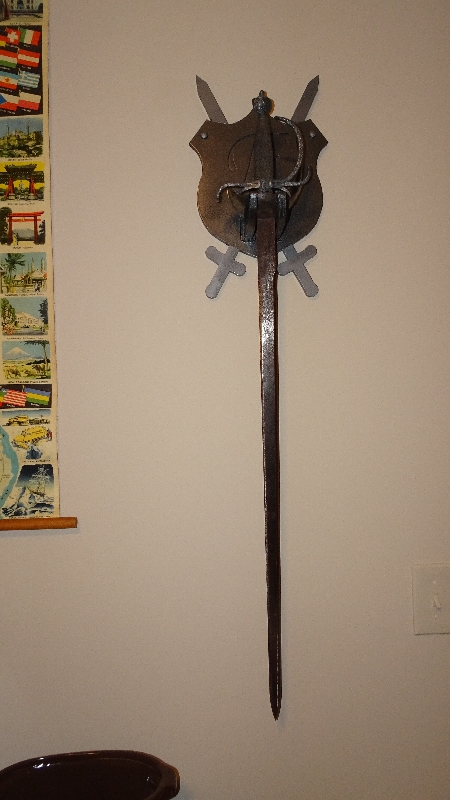
[2021-08-05] In the summer of 1969 my mother and I took a trip around the world. In Barcelona we went to Montjuic Castle. They not only had a large display of ancient weapons, they sold replicas. I bought this sword, and because we were only a little into our trip, we ended up taking it as carry-on for the rest of the way. Try to do that today.
I never really had it on display. Several years ago I did a minor restoration to get some of the rust off. But now our guest bedroom is taking on a kind of a travel theme, so I thought why not.
I designed a kind of plaque/coat of arms and CNC’s it out of MDF. Linda painted it to look like hammered metal. I CNC’d two brackets which pretty much match the shape of the handle surround to hold the sword.
|


|
cheap mini-saw |
|
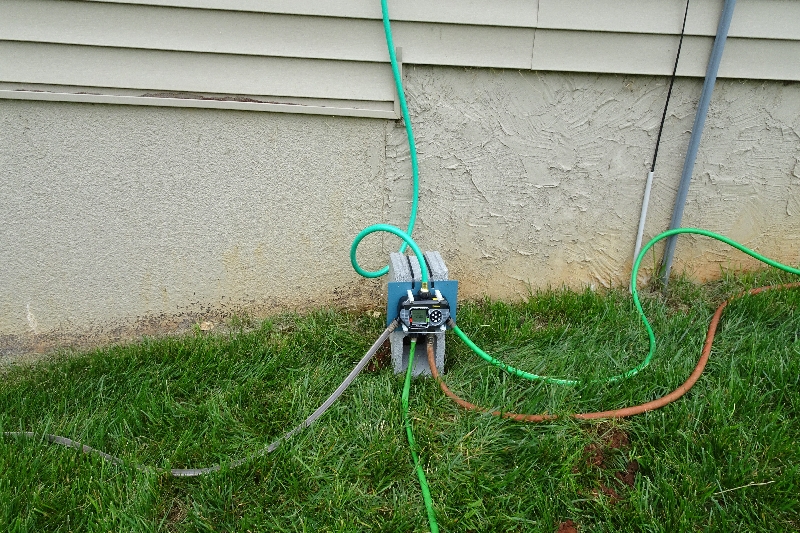
[2021-06-06] Here in TN, at least at our house, it turns out that drilling a well and having a sprinkler system is only for the rich and famous. What people do in our neighborhood is run a bunch of hoses all over the place feeding all kinds of sprinkler contraptions.
We ended up getting two 4-way timers to feed 8 sprinklers. They started out just hanging from our two outside faucets, one on each side of the house. When the lawn people move the sprinklers and hoses out of the way, it puts all sorts of stress on that connection, to the point where one of our timers had it’s inlet connector break off. For this and other reasons, I decided to connect hoses going from the house faucets to the timer’s inlets, and mount the timers to cinder blocks to keep them up off the ground.
With the strange shape of the timers and no attachment points, at first I tried just using huge tie-wraps to strap them to the cinder blocks. This kind of worked but they never really stayed in place. Also, to change the batteries I had to cut the tie-wraps to get to the back of the unit and use new ones to strap it back in.
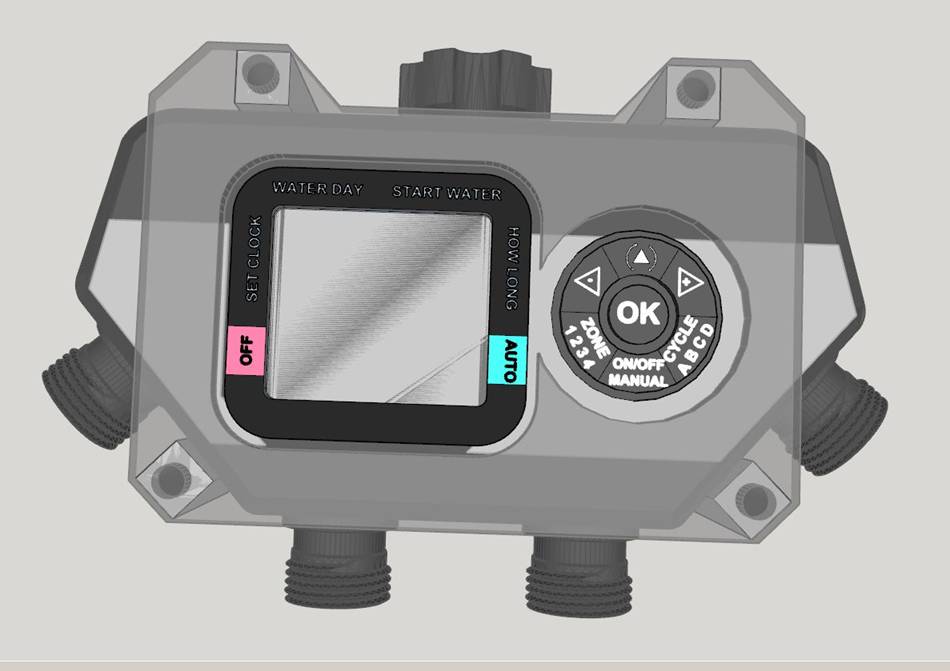
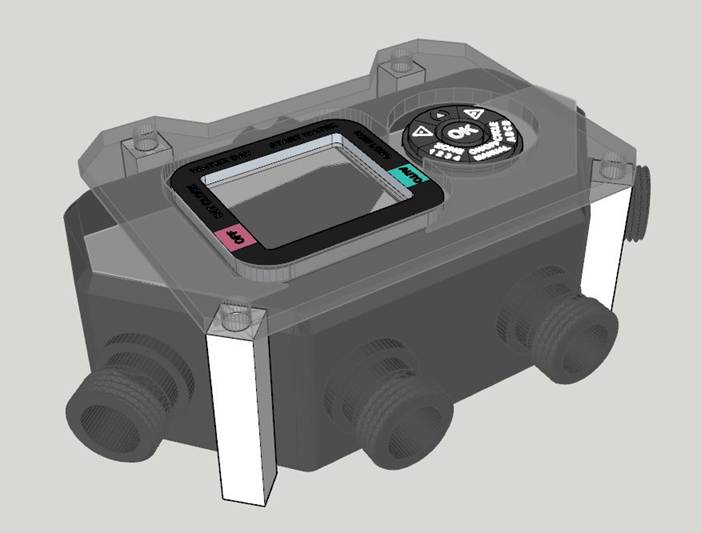
That’s what led me down this path to design a bracket to hold these oddly-shaped timers. In order to do that, I first had to 3D model the timer itself from scratch. Once that was done, I could design the plexiglass “faceplate” in place on the model. In addition, I made 4 standoffs which are .5” square and tapped them at each end.
For backplates, I used a couple of aluminum plates which were painted blue I had sitting around. I drilled holes and elongated them into slots to easily pass three large tie-wraps which would strap the backplate to the cinderblock. The tapped standoffs, which I made with HDPE plastic, would then screw to the backplate. Then the timer is put in place, and finally the plexiglass faceplate is screwed to the standoffs. I used all stainless screws.
Hard to believe they couldn’t have put a few mounting holes in the timer’s mold, but it was designed to hang from the faucet and that’s that. So far it’s worked nicely.
|