|
[ 2022-04-05 (ordered CNC) to 2022-06-27 (finished enclosure) ] Building infrastructure doesn't normally count as a project, but making the enclosure for my new Next Wave Shark HD520 CNC machine turned into a huge project.
Linda had thought of making a little community "Library" for our subdivision. It would look like a little house, with the door having windows, and sit on a post. When she told our friend and neighbor Carol about it, she liked the idea and said it would also be great to have one for the retirement village where she works, though that one would be indoors.
I started to design one in 3D, and when I got into it, I thought how great it would be to CNC all the panels. Well, my Shapeoko 3 was way too small for the job. What I needed was a CNC big enough to slap down a 2' x 4' plywood panel and carve all the pieces. Then I could just use glue and the brad nailer to put it together. How simple!
Researching the broad array of CNCs, I narrowed it down by the desire to mill 2' x 4' plywood panels. These are easy to obtain at Home Depot, either by using their already cut Handi Panels, or having them cut a full sized 4' x 8' sheets into 4 pieces. Also, this is the largest size board that easily fits into Linda's small SUV, not to mention the ease of getting the boards down to the shop, especially since I seem to keep getting older for some reason. In addition, while I didn't have any new projects at the moment, both my "Prisoner Game" and "Outer Limits Game" would have been WAY easier to make with a large CNC.
There were several machines on the market around this size, but the HD520 can travel a little over 2' x 4', so I could mill the whole board edge to edge if I wanted to. Also, they were throwing in some accessories which I thought was a good deal but later found out they do something similar every month.
I bought it through the local Woodcraft store which saved shipping. We rented a small UHaul trailer to get it home. The package was huge and heavy. Only by enlisting the help of my friends John and Houstin did we manage to get it down to the basement shop floor.
I had to learn new software, VCarve Pro, which came with the package and generates the files to take to the machine. It was a bit of a learning curve, but not that different than my current Shapeoko tool chain. To get started, I made some test cuts with the machine on the floor. Bad news, the cuts were terribly out of square! I ended up having to take the whole thing apart and square the internal rails with the moving X/Y axis carriage. It turns out the machine is not as rigid as you would hope. When I was doing my research, I mostly just saw great reviews talking about the things they made with the machine. Only when you know what the issues are can you search directly for complaints. In the end, I was able to adjust it to be pretty close. Also, the huge 4' distance it covers naturally reveals greater inaccuracy than the 16" my Shapeoko travels.
After that harrowing experience, the next hurdle was to put it on a cart and get an enclosure. While I was waiting for the machine, I had gone ahead and bought a heavy-duty cart at Northern Tools and put it together.
In their catalog and online, Next Wave offered an enclosure made entirely of T-Slot aluminum extrusion and plexiglass. It was about $1200, so I was hesitant. At this point, though, a lot of time had gone by while I got the machine running and then had to take it apart to calibrate it. I just wanted a ready to go enclosure that I didn't have to design and could drop onto my cart. Sounds simple. Well, when I got the enclosure and was halfway into putting it together, something told me it wasn't right.
The catalog and on-line listing said it was 70" long, just long enough to house the machine. I had built half of it, and when I measured the half, it was 40"! I called Next Wave and asked them what was going on. They said, "Oh yeah, we decided to make it 80" long" but hadn't changed it in their catalog or mentioned it anywhere on line. Well, I had carefully rearranged and measured the available space in the shop where I was going to put the machine, and that made it impossible. They said they would take it back if everything was perfect and packed the exact way I received it. Thanks.
Other than the fake news dimensions, their enclosure design has a major flaw that I thought I might be able to live with. You see, it only has doors at each end to access the machine and material. But, it's 70" (sorry, 80") long. You could never reach into that tunnel to get at your work. Given all this, I decided to use the T-Slot extrusions and plexiglass as expensive raw materials and design my own enclosure.
Using my design for the Shapeoko enclosure as inspiration, I decided to have a plywood "riser" in the middle, and have two T-Slot/plexi "clamshells" at each end. These clamshells would be hinged at the top attached to the center riser. They would each have a door for quick access, but the clamshell could be lifted (one side at a time) for complete access. When lifted all the way up, it would go over center and rest on the riser. The whole thing will be up in the air, out of the way and just miss my 9' ceiling by a couple inches.
Since I now had the freedom to do anything I wanted, I settled on an overall length of 72", which still fit my available space. The cart/bench that I purchased had a top that was useless. I started the design by doing a rather precise 3D model of the cart/bench. Then I rendered a simple benchtop which would be made from 3/4" plywood. The entire strength of the cart/bench I purchased rested on the legs which took the weight down to the large casters. There was nowhere to simply lay down a benchtop. Not only that, but the benchtop would need to be heavily reinforced to handle the weight of the machine and enclosure.
The only answer would have to come in the form of a steel structure. I rendered a support made from 1 1/2" box tubing, using 1/16" wall thickness to try and keep the weight down. Four small vertical members would mate with the cart/bench's leg tops. My drawing was great, but I don't weld! My friend John is a metal man. He has all the metal skills and tools that I don't. In the end, he fabricated this big steel structure for me. Fortunately, he had the same cart/bench in his shop, so I went over and we assembled it right on his cart/bench.
I put that steel structure on the cart/bench and fastened the new benchtop to it. Then I printed out various views with dimensions of my new enclosure design and began cutting aluminum T-Slot extrusion and plexiglass. I also used the Shark, with no enclosure yet, to CNC the riser plywood. I designed shelving which would hang on the end of the cart/bench with slots to interweave with it’s structure. This is where all the electronics would sit. These pieces were also CNC'd and put together. When I finally got it all together and it worked, I took it apart and Linda painted all the wood elements & steel structure black. I put it all back together and started on the final element, the end doors.
The doors the as-purchased enclosure used were just more T-Slot with plexiglass that swung sideways. Well, there was no room for that action so it would be useless, not to mention crazy heavy. I designed plexi end doors that swing up using a piano hinge. The only problem was that by definition, a CNC's enclosure panels are always too big to make on the CNC itself. So, I called the only plastics place in town that would take my file and use their huge CNC machine to make them.
Simple? No, no no. After a long wait, we pick them up and they were bowed tremendously. They told me to leave it out in the heat on the driveway and it would flatten out. They said if they made it again, it would do the same thing because their CNC shop was not air conditioned. The heat and humidity just does that. We couldn't believe it. Here are the plastic "experts", and they mill plastic where they know it's going to bow.
I tried the driveway, a heat gun, and everything else. Nothing worked. In the end I had to buy a lot of aluminum extrusion and force the plexi into submission. I called and told them they needed to at least pay for the aluminum it took to make it work. They balked but Linda got on and threatened them with a Visa denial and they finally did the partial refund. Crazy.
The Shark comes with "drag chains" which hold the cables that go to the motors and keeps them contained and organized. However, there is no provision for the router's AC cable. Therefore I added another drag chain on the left side that handles that cable. Also, I have the 7W Laser Engraver option. It has a captive cable which plugs into it's own electronics package. I wanted to have the laser's cable go through my drag chain, so I bought more multi-conductor cable and a Next-Wave laser extension cable. I used the two ends of the extension cable and spliced a long piece of the new cable in between, which allowed it to flow through the drag chain.
The only problem was that the laser's captive cable was too long. I wanted to cut it down so it could plug into the end of my new cable which rests near the router, waiting for the laser to plug in. I called Next Wave and asked if shortening this cable would void my laser warranty, and they said it would. I explained I was an electronic design engineer and the work would be done professionally. They said do whatever I want, but it would void the warranty on the $995 laser. So, I had to just loop it together tight and tie wrap it. When the warranty is up, I'll shorten it.
I decided to put a small, aluminum enclosed LED strip light under the riser to light up the workspace. Also under the riser I 3D printed a housing for a laser cross-hair generator. I have it pointed to the exact center of the router travel extents, so I can make a mark on a sheet of wood's center then place it directly at the crosshair.
The shelves I incorporated into the end of the cart I use to place the CNC's controller and the Laser Engraver's controller. I also made space for the handheld LCD interface (pendant). For the bottom shelf, I rewired one of my spare AC switch boxes and Linda painted it black. Here I can control power to the two controllers, the router, the LED illumination and the red laser crosshairs.
So, rather than spend a few extra hours making the Libraries with the table saw and jigsaw, I had the foresight to spend $7000, 3 months of work and a mountain of aggravation to set up a giant CNC machine which sliced up the Library panels in no time flat.
|
|
Electronics & Maker Projects (page 19) |
|
(CNC, Woodworking, 3DP) |
|
Enclosure For Shark HD520 CNC Machine |

|
Above: 3D design goal.
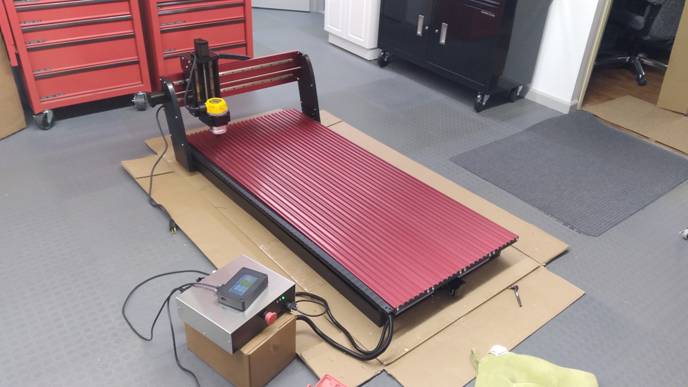
Below: Shark CNC brought home in huge heavy box. |
|
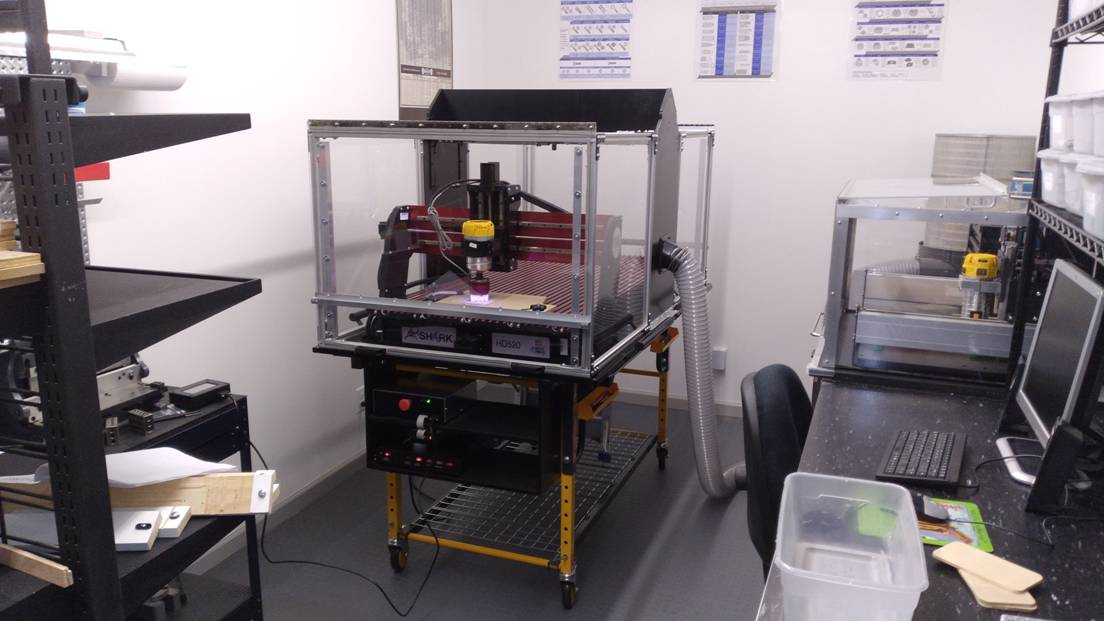
Above: After getting it down to the shop, it stayed on the floor for some time while I took it apart for calibration, got it working and eventually carved wood for the enclosure’s riser.
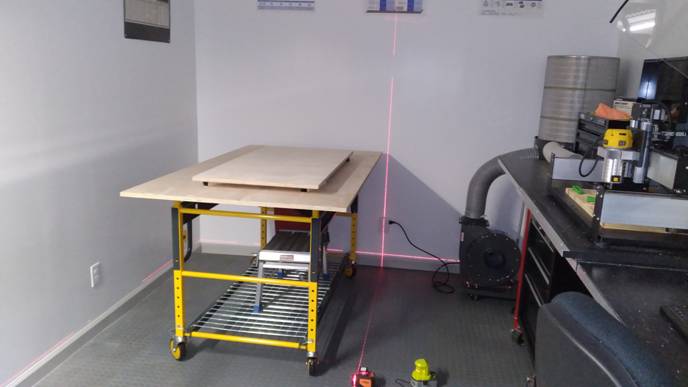
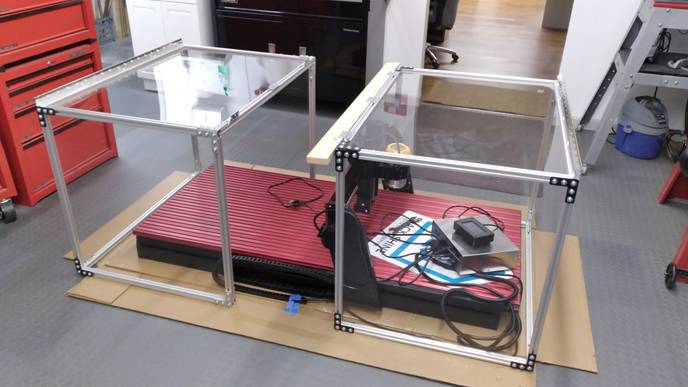
Below: Sizing up overall space for the new CNC. When the end “clamshells” are opened up and resting on the riser, they will be so close to the ceiling that they would hit the fluorescent lights. Here the crosshairs show the furthest the machine/cart can be pulled to the right before a clamshell would hit the lights. This turned out to be OK as I still need to be able to walk back to the dust collector and also use that existing bench space. |
|
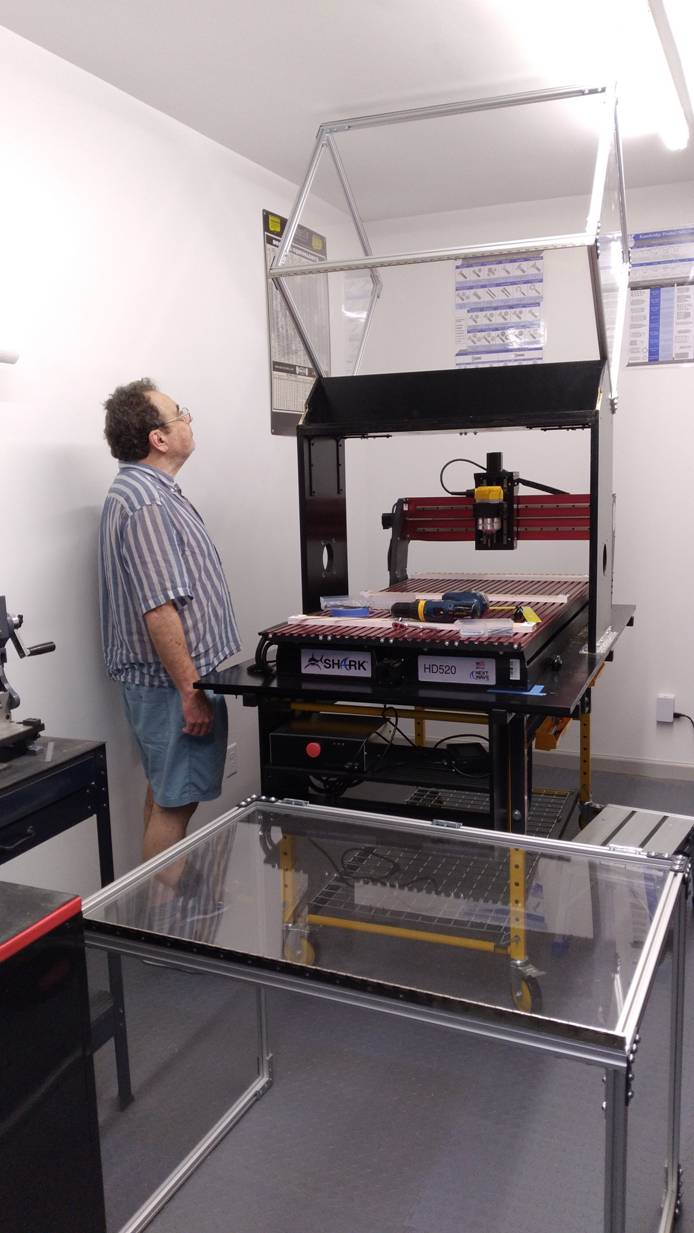
Above: After cutting T-Slot aluminum extrusions and plexiglass to match my 3D model, I assembled two “clamshells” and put them on the floor over the CNC. Given I had already cut the bench top to 72” which establishes the outer edge of the clamshells, now I could nail down the final dimensions of the center riser.
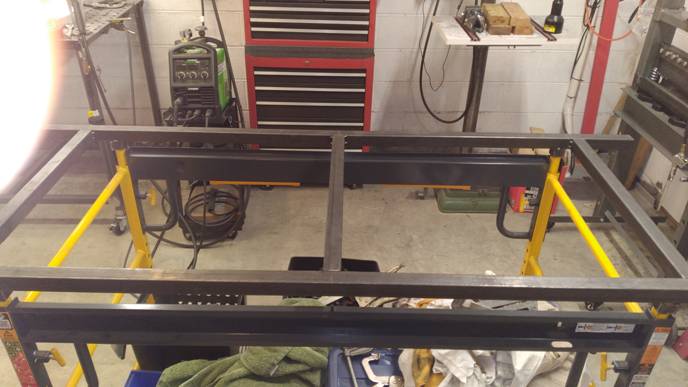
Below: Here we are at John’s house, where he welded together the steel support frame which rests on the legs of the cart and provides the real structure for the benchtop. |
|
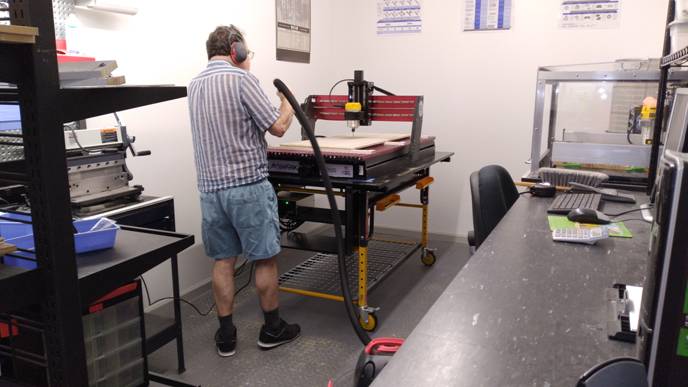
Above: Here the painted benchtop is on the cart with the CNC in place. I’m milling more pieces I need for the enclosure.
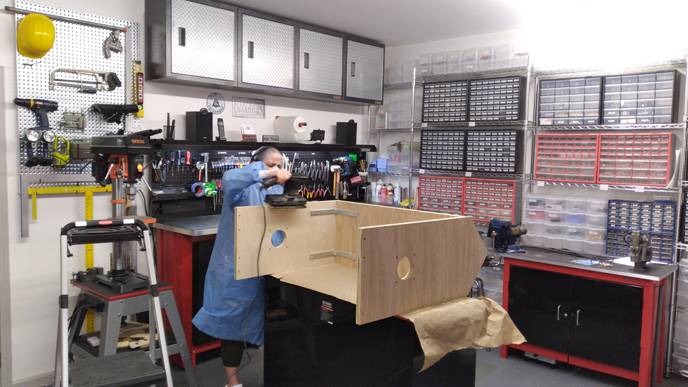
Below: Linda is sanding the riser before painting it black. |
|
Below: The “rear” clamshell is in place and raised.
|
|
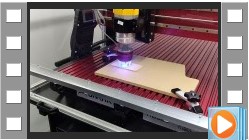
Above: The entire project is done. Here I’m using the Laser engraver to make a plaque. Note the hose on the right side. It goes to the dust collector system. There I have 2 “blast gates” to allow switching between servicing the new Shark CNC and the old Shapeoko CNC.
On the Shark enclosure’s end doors, I have a series of holes just below the lower horizontal aluminum Z extrusion. These let in air that flows through to the dust collector port. The Z extrusion acts as a fill width handle.
|
|
Lending Library |
|
(CNC, Woodworking) |

|
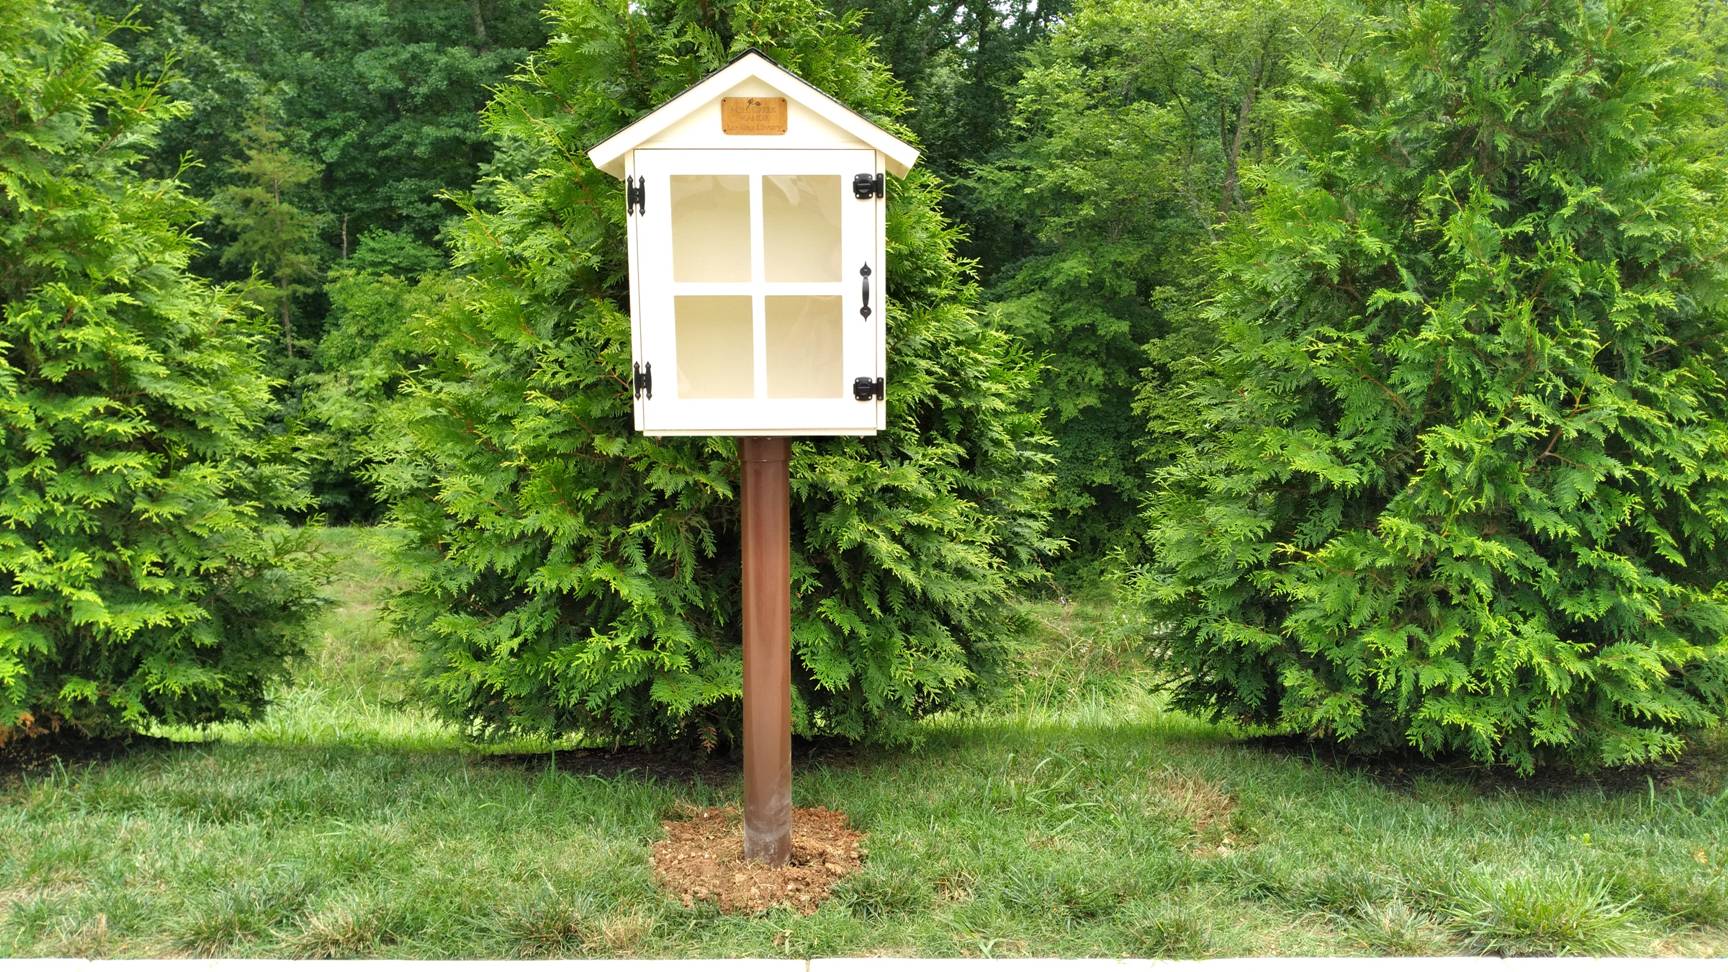
Linda wanted to make a little community "Library" for our subdivision. It would look like a little house, with the door having windows, and sit on a post. When she told our friend and neighbor Carol about it, she liked the idea and said it would also be great to have one for the retirement village where she works, though that one would be indoors. As described in the section above, that’s what led to getting the large CNC.
To the right is the design I came up with for the Libraries. The only difference between the two was the outdoor one was fitted with two rotary latches. These force the door against the weather stripping we put on the front surface of the outdoor unit to seal against the door. Also I put some quarter-round above the door to keep water from hitting the face and running down directly into the weather stripping.
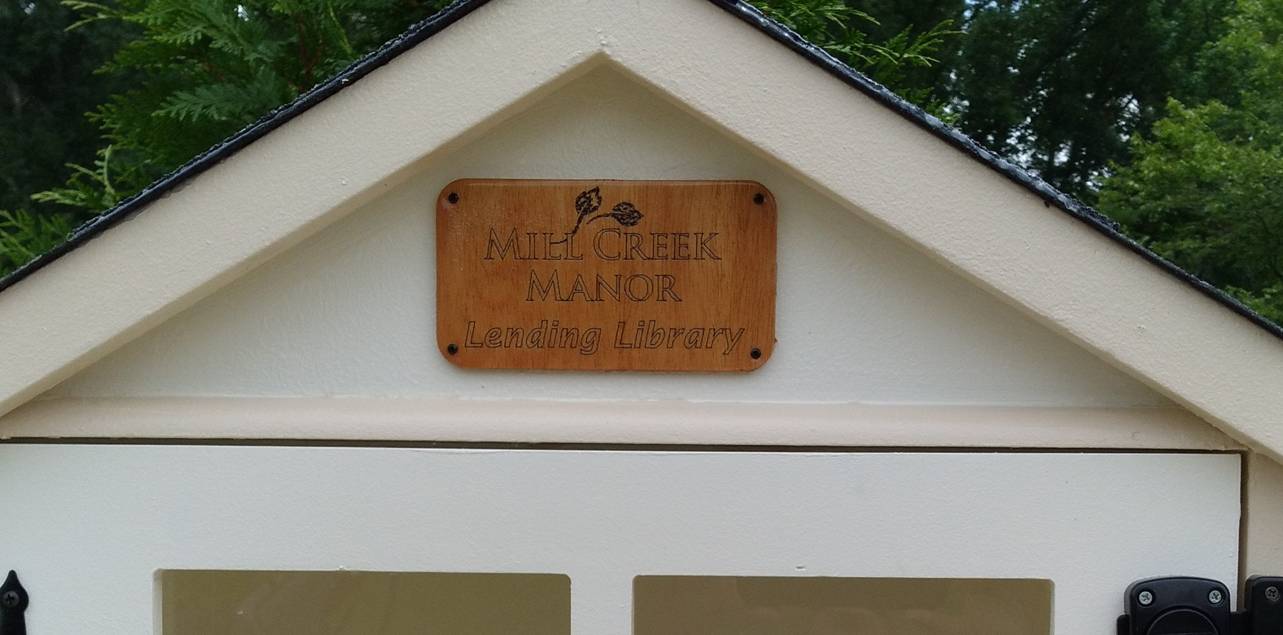
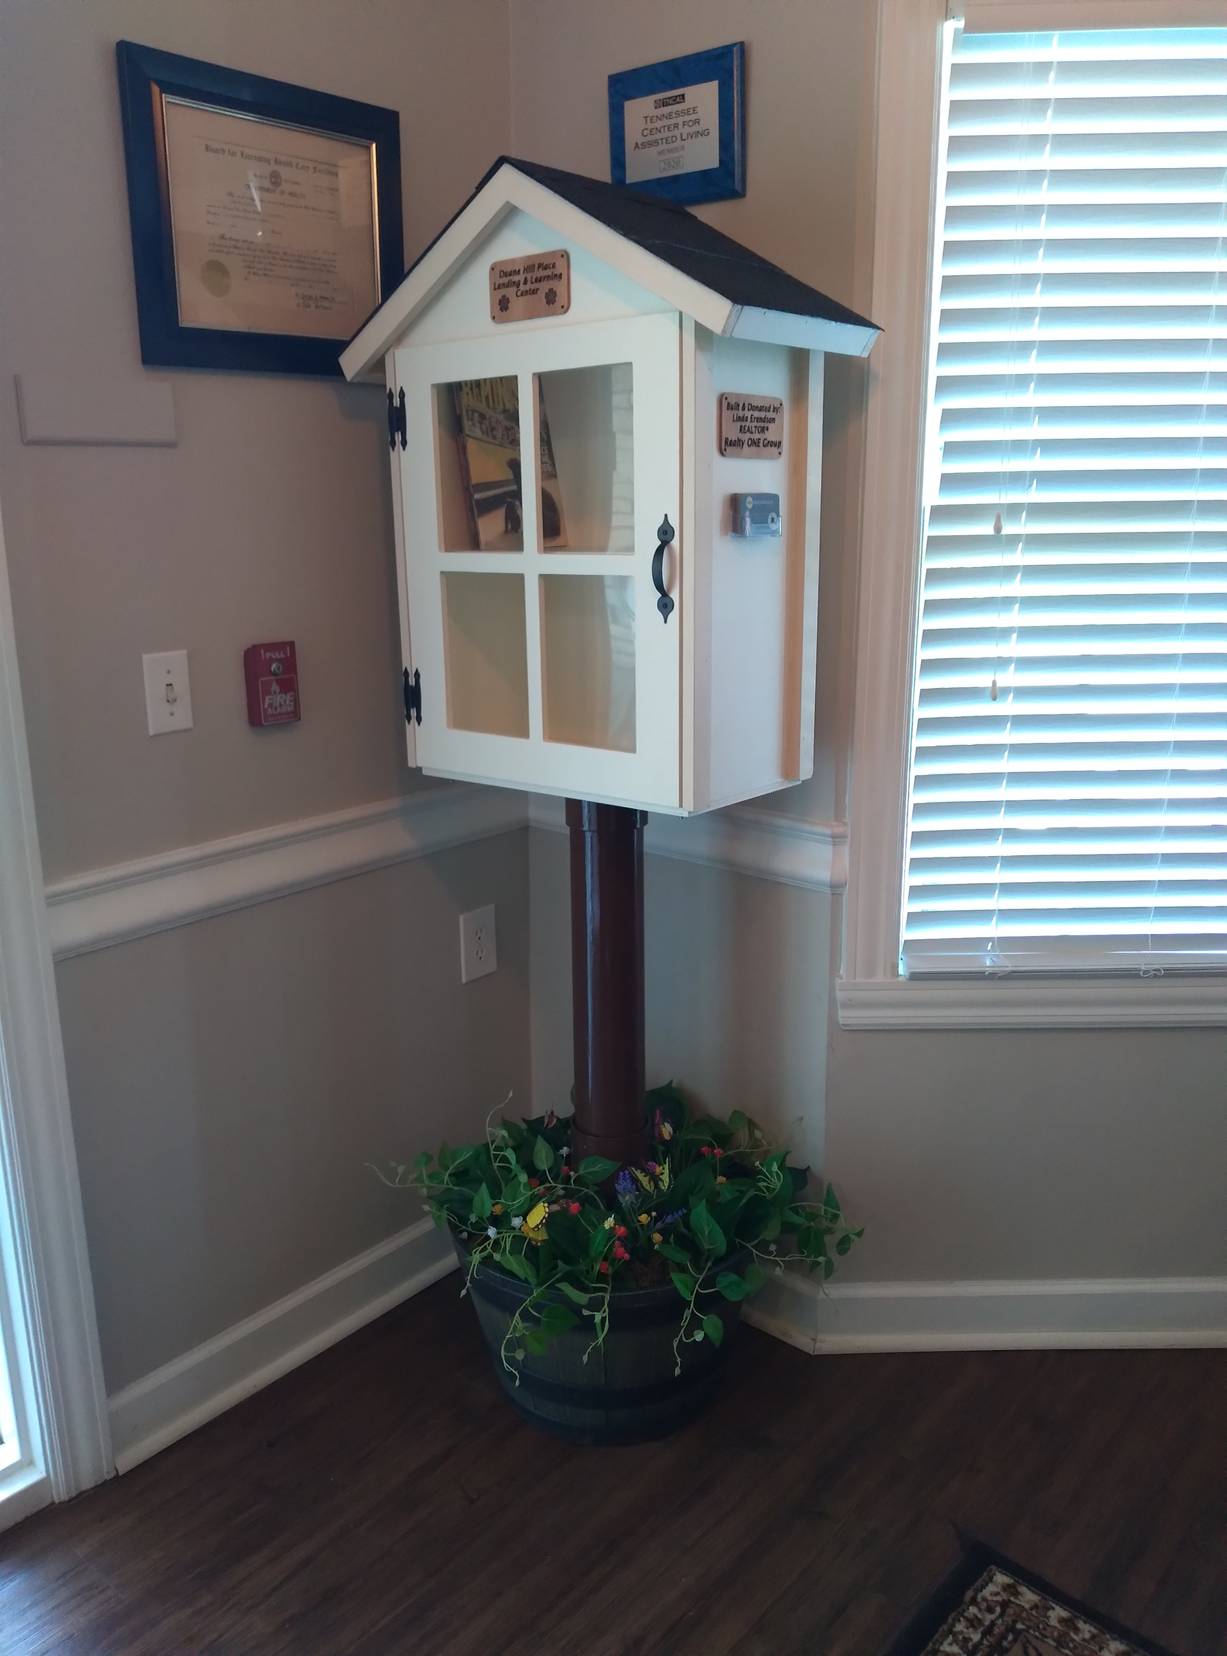
Photos below: 1 Outdoor library we put up in our little community. 2 The front laser engraved plaque for it. 3 The indoor library in it’s place. |