|
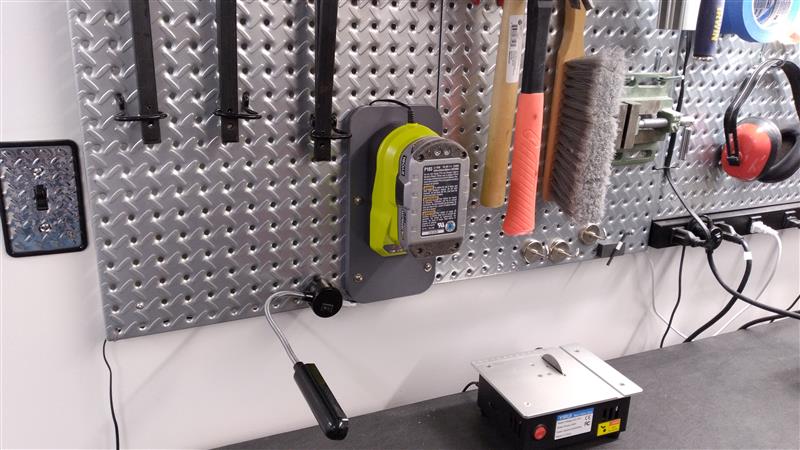
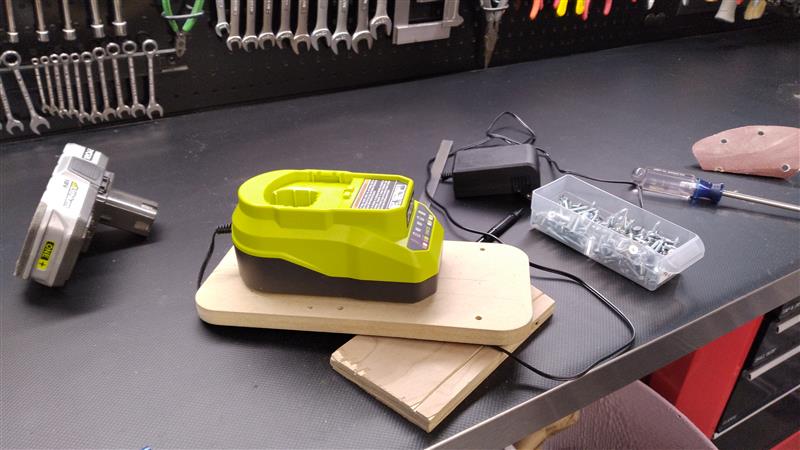
[2022-06-20] I’ve got a lot of Ryobi batteries, and my experience is that they should always be kept on a charger unless you are using them. I have a big 6-way charger in the main shop, but I decided to put one on the diamond plate pegboard in the CNC shop.
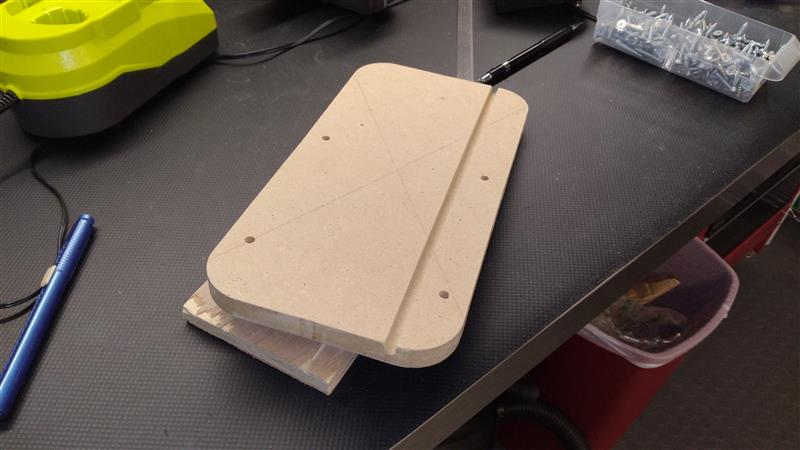
Simple project where I CNC’d the wood and left a pocket for the cable to run behind. It’s hard to hang some things on pegboard, but here I cheated and just ran screws all the way through to the wood wall slats the pegboard is mounted on.
|
|
Electronics & Maker Projects (page 20) |
|
(CNC) |
|
Ryobi Charger Pegboard Mount |
|
Kitchen Utensil Holder |
|
(CNC) |


|
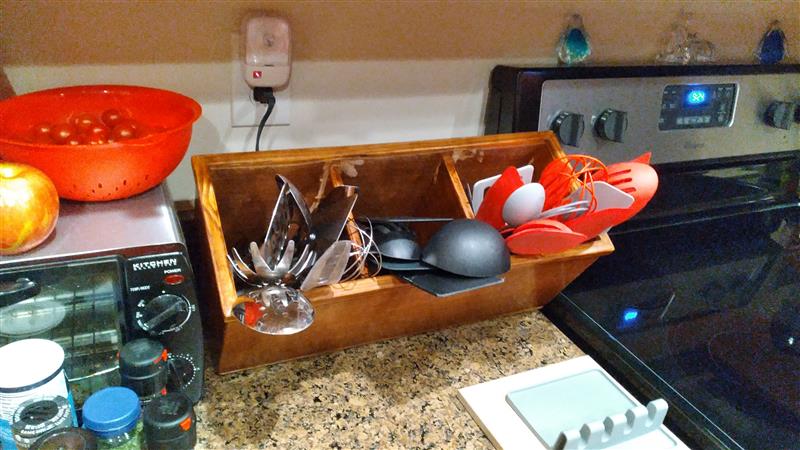
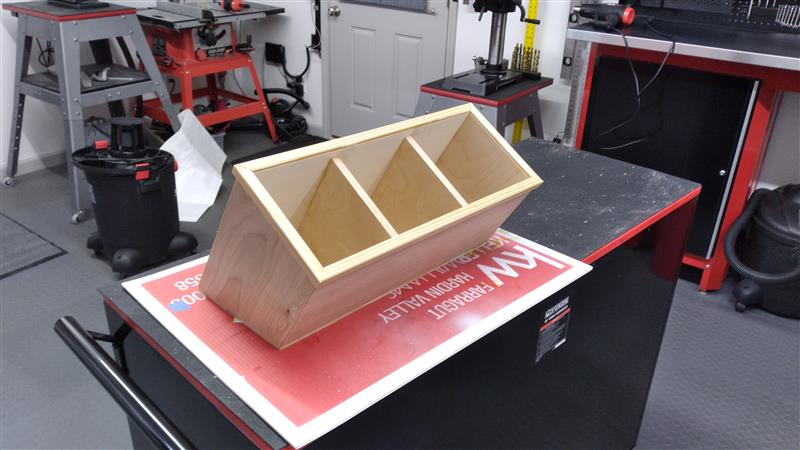
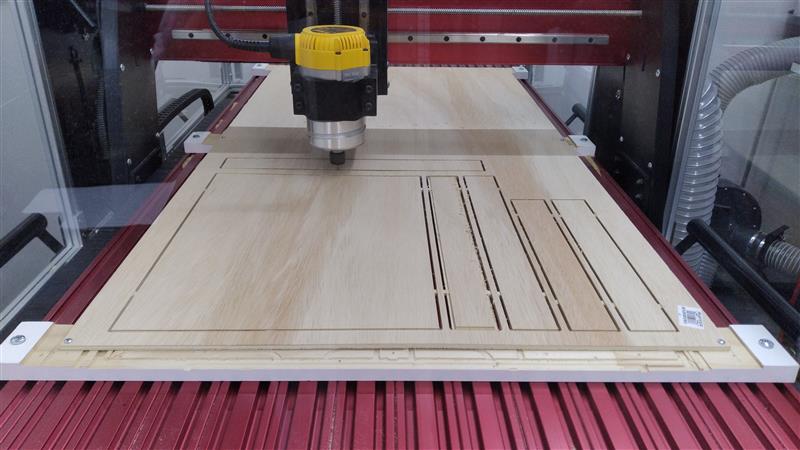
[2022-09-19] Linda wanted a kitchen utensil holder that was a lot bigger than you would normally find. After rendering it in 3D, I realized I would need angled edges. I used a router bit to mill those edges (see photo below) and everything fit together perfectly!
|
|
HID Sender |
|
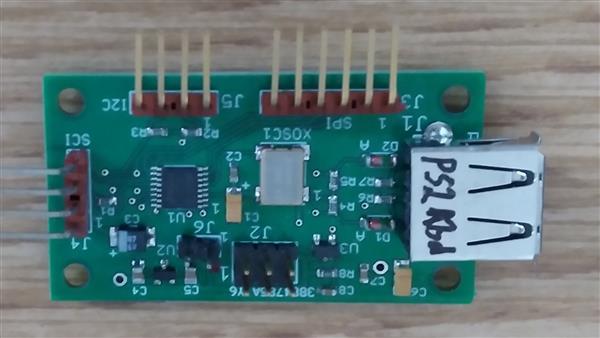
[2022-11-09] I’ve actually done this development before in my ill-fated entrepreneurial attempt “eCheckIn”. At any rate, every now and then I have a project, usually with a display, that I would like to be able to connect a keyboard to. “eCheckIn” used a monitor and needed a small keyboard. I bought a bunch of these very small keyboards, which are not only USB but still have a PS2 protocol over the same connector available. Well, interfacing to a USB keyboard is a big project requiring a µC that has USB host hardware. However, the PS2 protocol, used for years in PCs up to XP, is a very simple synchronous serial interface.
For this project, I use a tiny 16-pin µC to get key data from the keyboard using PS2 protocol and convert it to ASCII. Then it generates either SCI (async serial data), I2C (2-wire common µC interface) or SPI (3 or 4 wire common µC interface) transmissions to whatever project’s main µC.
|
|
(Electroincs, Software, CNC) |


|
PS2 Keyboard Interface |
|
(Electroincs, PCB, Software) |
|
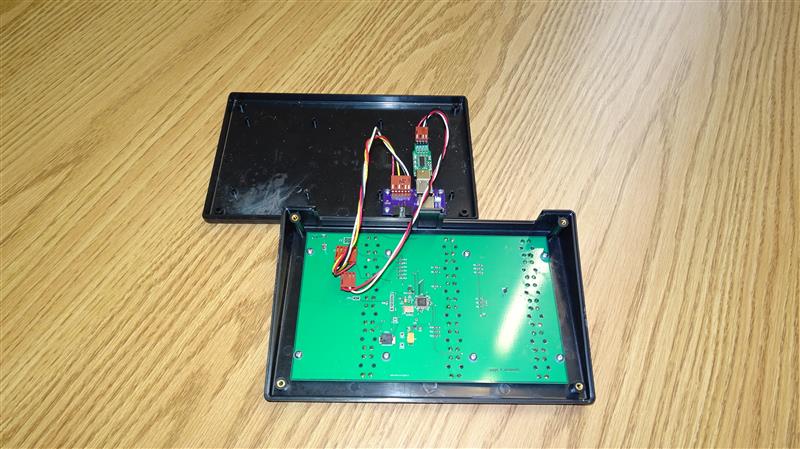
[2022-09-24] I unfortunately have to buy lots of little things from China from sites like Aliexpress, IC Station and Banggood. They have fundamental materials for making things you just can’t get here. When looking for something else, I ran across a little board that converts serial characters to HID (Human Interface Device) USB messages. You can send it an ASCII character, and it will send it over USB, looking exactly like a keyboard sent it from the PC’s perspective.
Years ago, I actually did an experiment where I did this with one of my Motorola µCs that had built-in USB interface hardware. However, they don’t make that chip anymore and it was a lot of work the first time. Here they have done all the USB work for me.
I had a sloping panel enclosure in stock, so what I wanted to make was a sender that had rows of buttons with text strings labeled next to them. Initially, I just wanted it to send some common command strings for SketchUp. When I got into it, I decided to make it larger and have some of the things I commonly type like passwords, etc.
I designed a PCB with 18 pushbuttons that had large square caps that were easy to hit and sent that off to be made. I used the pushbutton coordinates along with the locations of the enclosure’s lid mounting bosses to create a SketchUp drawing that I would use to CNC the lid with square holes for the pushbuttons. Coordinating all these and centering it all with the actual cover on the CNC machine was actually quite challenging. However, as I’ve mentioned previously, modifying plastic enclosures was something I’ve wanted to be able to do for decades, and now I do it regularly.
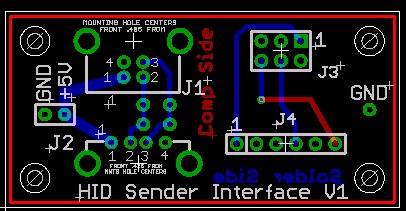
The other little board I designed would let me have a USB type B connector on the back of the unit for a normal USB printer cable. In addition, it has a USB type A female that accepts the purchased Serial to HID board. Finally, there’s a connector to accept serial data from my main board and provide the main board with +5V from USB.
I composed and printed a sheet on thin cardstock which shows the cutouts for the buttons and has the text next to each button. It works great! I just hit a button and a whole string is sent to the PC as if I had typed it, and I have it give a little chirp.
|

|
Blondie Shadow Boxes |
|
(CNC) |


|
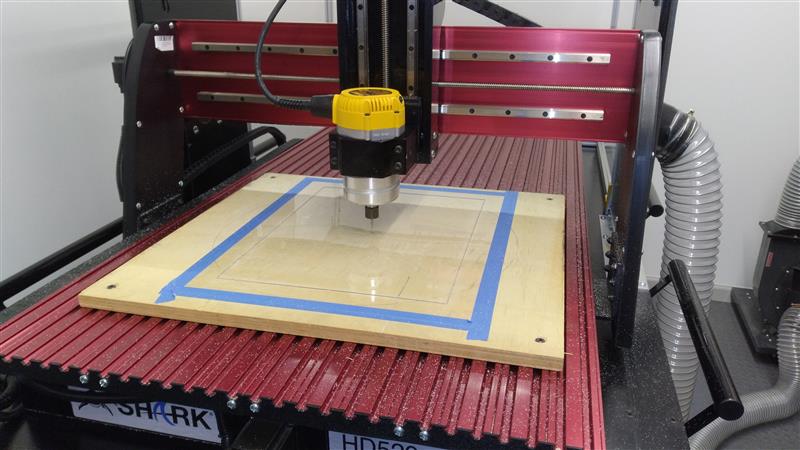
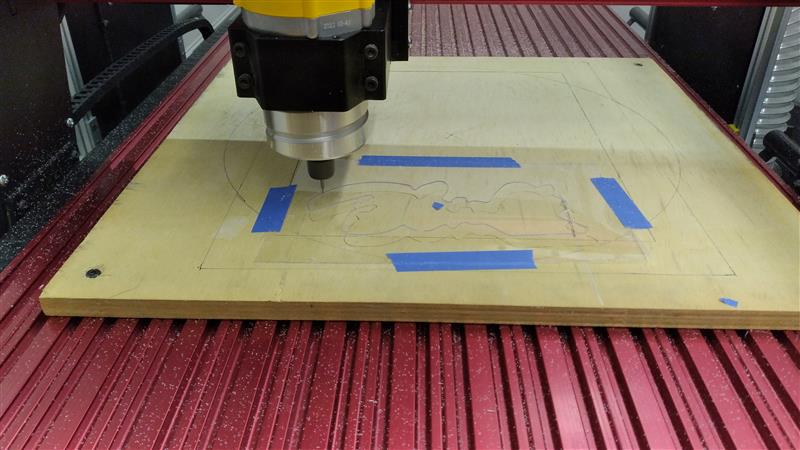
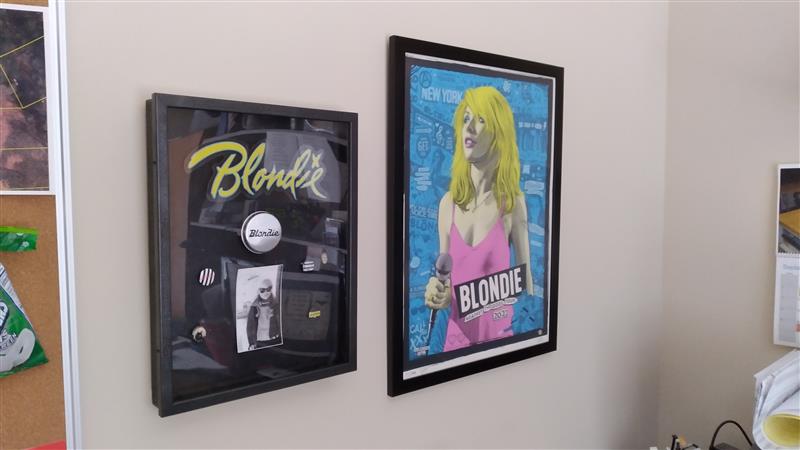
[2022-10-08] Linda and her sister Donna went to a Blondie concert. There they picked up Blondie stickers, buttons & photos. They asked me to CNC a shadow box to display it for each of them. I thought as a centerpiece, I would CNC some thin acrylic to the outside shape of the sticker text and apply the sticker to it. Then I put a couple standoffs behind it to have it kind of hovering in the shadow box. I put black fabric on the interior and magnets where the buttons would go.
|
|
Christmas Tree Plaque |
|
(CNC) |


|
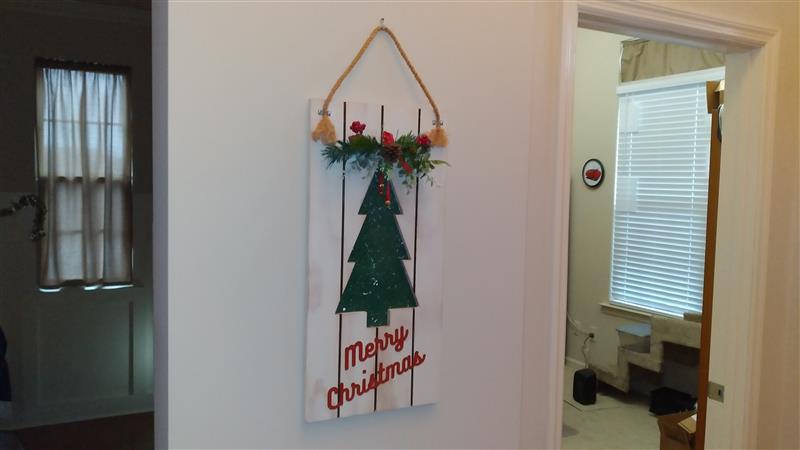
[2022-12-11] Linda saw a Christmas Tree plaque in a store and wanted us to do our own version of it. I CNC’d the tree all the way through and the stripes just as grooves. Then I laser cut very thin wood to make the Merry Christmas lettering which when painted was glued on top making for a very 3 dimensional plaque. Linda did all the sanding, painting and decorations.
|
|
Below Linda is sanding plaque in preparation for painting. To the right is the finished project on the wall. |
|
Left is the VCarve drawing for laser cutting the thin wood for the lettering.
Right is the VCarve drawing for the main plaque.
|
|
NibblerStat & Nibbler Badge |
|
(Electronics, Software, CNC) |
|
[2022-12-16] Our newest family member is a chinchilla named “Nibbler”. Linda had done research on having a chinchilla, but after we got her and asked more questions, it turns out that they have to have a very specific temperature range, ideally 60-72 degrees. Well, that wasn’t too hard in the winter, but with summer coming we ended up supplementing her office, where Nibbler’s house is located, with a portable AC. We had to drill through the wall for the vent, put up strong wire shelving and rearrange her office. Big project.
One of the things I worried about was whether the portable AC could really sense the temperature in the room allowing accurate thermostat control. Indeed, it could not. There’s really no way an internal sensor can get a true reading of the room temperature. Also, unless Linda is in there, we had no way of knowing if the room was going out of range.
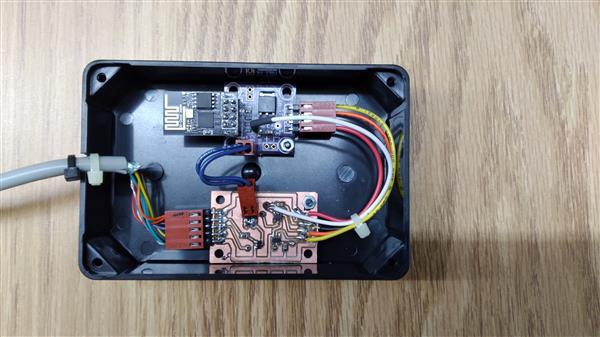
Well, one of my careers was designing SensorStat thermostats and their infrastructure for hotel rooms (documented elsewhere). I found an old SensorStat prototype, wrote new software for it and put a WiFi module in an adjacent enclosure and wired the two together.
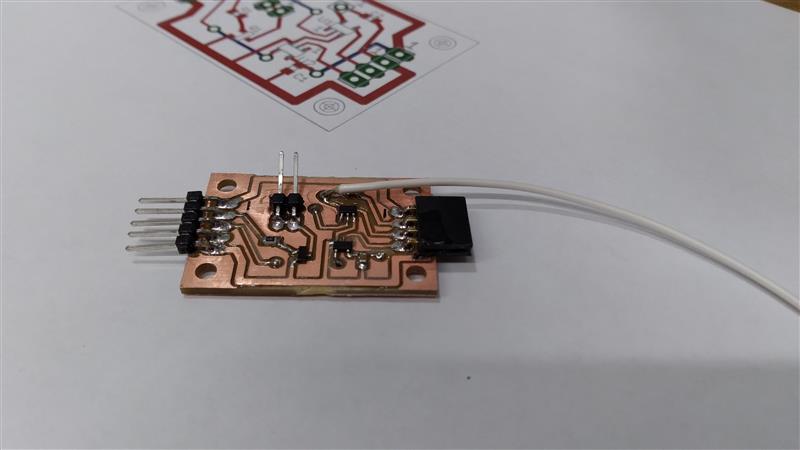
I had to design a level translator board for the serial data which I CNC’d. I also had to CNC a mounting plate since there is of course no wall box that my SensorStat was originally designed for.
Now we have a display of the actual temperature in the room. More importantly, my software detects when the temperature goes out of Nibbler’s comfort zone and sends a text to our phones. It also reports if the temperature recovers and goes back into her range. I had all sorts of problems with my service provider about my texts. At one point I had to do emails instead. Anyway, it all worked in the end and now we get notified if our little chin is too hot or cold.
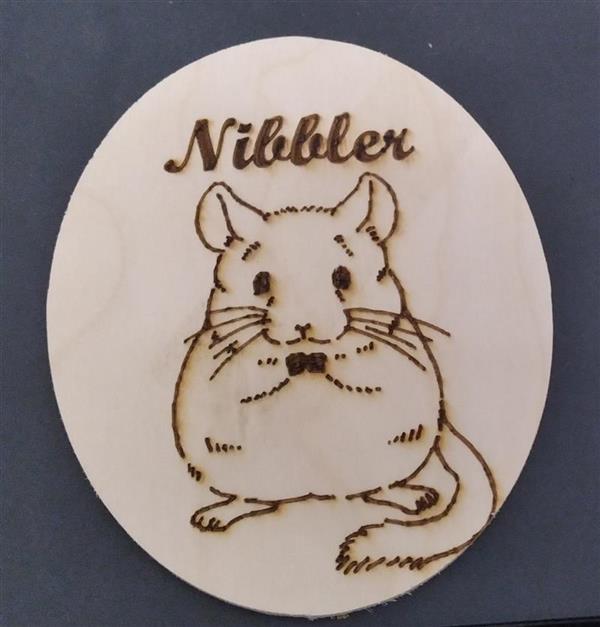
In a related matter, Linda wanted a little plaque or badge using a chinchilla drawing she found online. I CNC’d a little oval and laser engraved the chin.
|


|
Level translator board. |
|
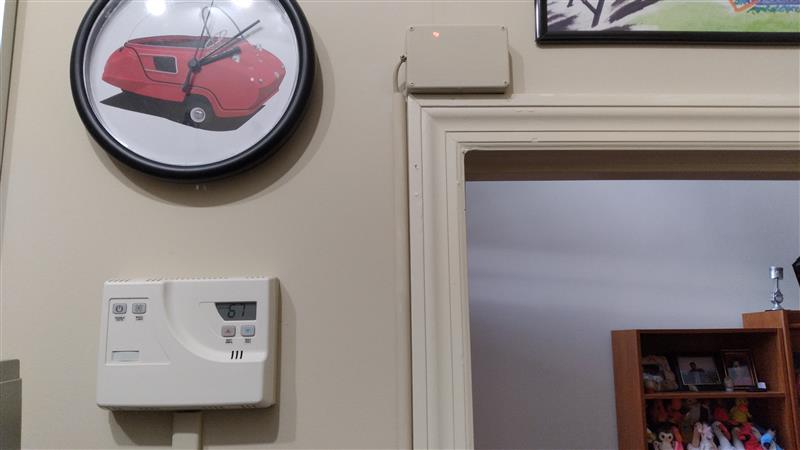
Level translator, WiFi Interface and purchased WiFi RF board in a small enclosure I mounted above Linda’s office door. |
|
Above, final installation of NibblerStat & WiFi box. |
|
Laser engraved Nibbler Badge |